In this blog post I continue the description of building my Polish army for the 1620s, starting with the famous ‘Winged’ Hussars. In this part I get on to painting. (See Part 1 -
here.)
 |
| Polish Winged Hussars looking awesome! |
I am by no means an expert painter and so will not go in to too much detail, but will instead talk through some of the processes I used, and any tips I picked up along the way.
The horses were black undercoated, as already described in Part 1, and painted separately from the riders. Not much to report. I used triads of browns for most of the horses, with a grey added in for good measure. I went for bright saddle cloths but resisted the temptation to try and spruce these up with any free hand detail. I reckoned on neat stripes looking better than poorly executed detailing. After the paint was throughly dried I brushed on gloss varnish as a protective layer.
 |
| Foundry Hussar horses ready for their varnish. |
I also like to use a black undercoat on 17th century cavalrymen as I find it a good base for armour, and it also helps hide mistakes / missed bits! In my previous TYW armies I kept armour very dark as it was typical in the West to blacken armour to protect it from rust. I made the Hussars armour brighter as this seems to have been more typical for them to not blacken armour (I guess they had more people available to shine their armour!). For my first unit I chose several different shades of red for the Hussars’ clothing and cloaks, to make them look part of the same unit, without giving them a uniform. Red was considered a higher status colour, and so popular with the noble Hussar companions. Yellow boots or shoes were also a must-have fashion accessory and so I used a Yellow Ochre for these on the figures which was a good match for the pictures in the Osprey books.
 |
| Foundry and TAG riders with armour and flesh colours done. Numbering is to match riders to mounts. |
One item on the figures that was a ‘first’ for me was the animal pelts. These were very popular for the wealthier Hussars, and leopard skins seem to have been most popular. It was not unusual to make fake leopard skins by adding spots to pelts from other animals. I had never painted leopard skins before and so I resorted to searching YouTube for a suitable tutorial. I found one (
link) which was nice and straight forward, and I was quite pleased with the result. Here are the steps I used. (All colours are from Vallejo Model Color range.)
 |
| First 131 Orange Brown as a base, leaving a gap at the edge. |
 |
| Random ‘splodges’ added in 169 Black. |
 |
| Base coat highlighted with 121 Yellow Ochre. |
 |
| Splodges highlighted with 140 Flat Brown. |
 |
| Splodges further highlighted with 121 Yellow Ochre |
 |
| Edges painted with 124 Iraqi Sand. |
 |
| Edges highlighted with 5 Ivory and 4 Off White. |
I was quite pleased with the result. At a wargaming, arm’s length, distance it looks like a good approximation of a leopard skin, although I don’t think it would fool a real leopard. On the basis that many of the cloaks worn by the Hussars were ‘fake’, this might actually be a point in my favour!
One other discovery perhaps worth pointing out was painting reds. Although I have been a fan of black undercoating for a long time I have always struggled with reds (and yellows!) on top of black. As I wanted to use quite a lot of reds here I decided to investigate the Games Workshop (GW) paint ranges. Those 40k Spaces Marines come in some very bright colours and so perhaps they have a trick or two up their sleeve? I often catch the GW painting tutorials on YouTube, and one of their presenters, has recently gone solo (Duncan Rhodes,
link) with his own tutorials. These are all super easy to follow with all of the steps layed out very clearly. After watching a few vids about some very red Space Marines I invested in a few of the GW red paints. GW have a paint system which includes ‘Base’ colours, to give a nice opaque covering (even over black!) and ‘Layer’ colours, to highlight the Base colours. The two red Base colours I have used give really good base coverage, even over black. (You’ll have to excuse the strange names which I understand are used for the sake of creating a unique IP.) Khorne Red (Base) with Wazdakka Red (Layer) gives a nice carmine red odour. Mephiston Red (Base) with Evil Sunz (Layer) gives a nice bright red. I am pleasantly impressed and will be using these a lot, I suspect, in my Polish army.
 |
| Lances made using 80mm brass spears (from Warlord) and with a small bead added to each. Undercoated with black spray primer. |
These reds certainly came in handy when it came to the lances. These are typically shown as painted red, often with patterns. I decided to keep the lances red, but fairly plain, with just a small detail on the hand guard. (I will try to work up to stripes etc. for future units.) I painted and varnished the lances separately before attaching them to the figures. One of the striking features of the hussars are the brightly coloured, swallow tailed lance pennons. I bought some sets of these from Battle Flag (
link). I cut these out with a modelling blade and then glued them on to the lances.
Once dry, I painted the edges of the flags (very important!).
 |
| Lance pennons and flag attached, with edges to be touched up. |
Final steps were to glue the riders on to the mounts, matt varnish over the complete model, and then gluing the lances on to the riders. It was great to finally add the lances; the figures seemed to come to life with the lances in their hands!
 |
| A finished Hussar with his lance added. |
To complete the unit I followed my normal basing approach. The figures were glued, two figures to each 50mm wide and 60mm deep MDF base, from Warbases (
link). The bases were then covered in an earth coloured paint and PVA glue mix, and sharp sand sprinkled on to the mixture while it was still wet. Once the PVA mix was dry it was dry brushed with a beige colour, and then static grass and tufts were glued on with more PVA.
 |
| Hussars glued to MDF bases from Warbases. |
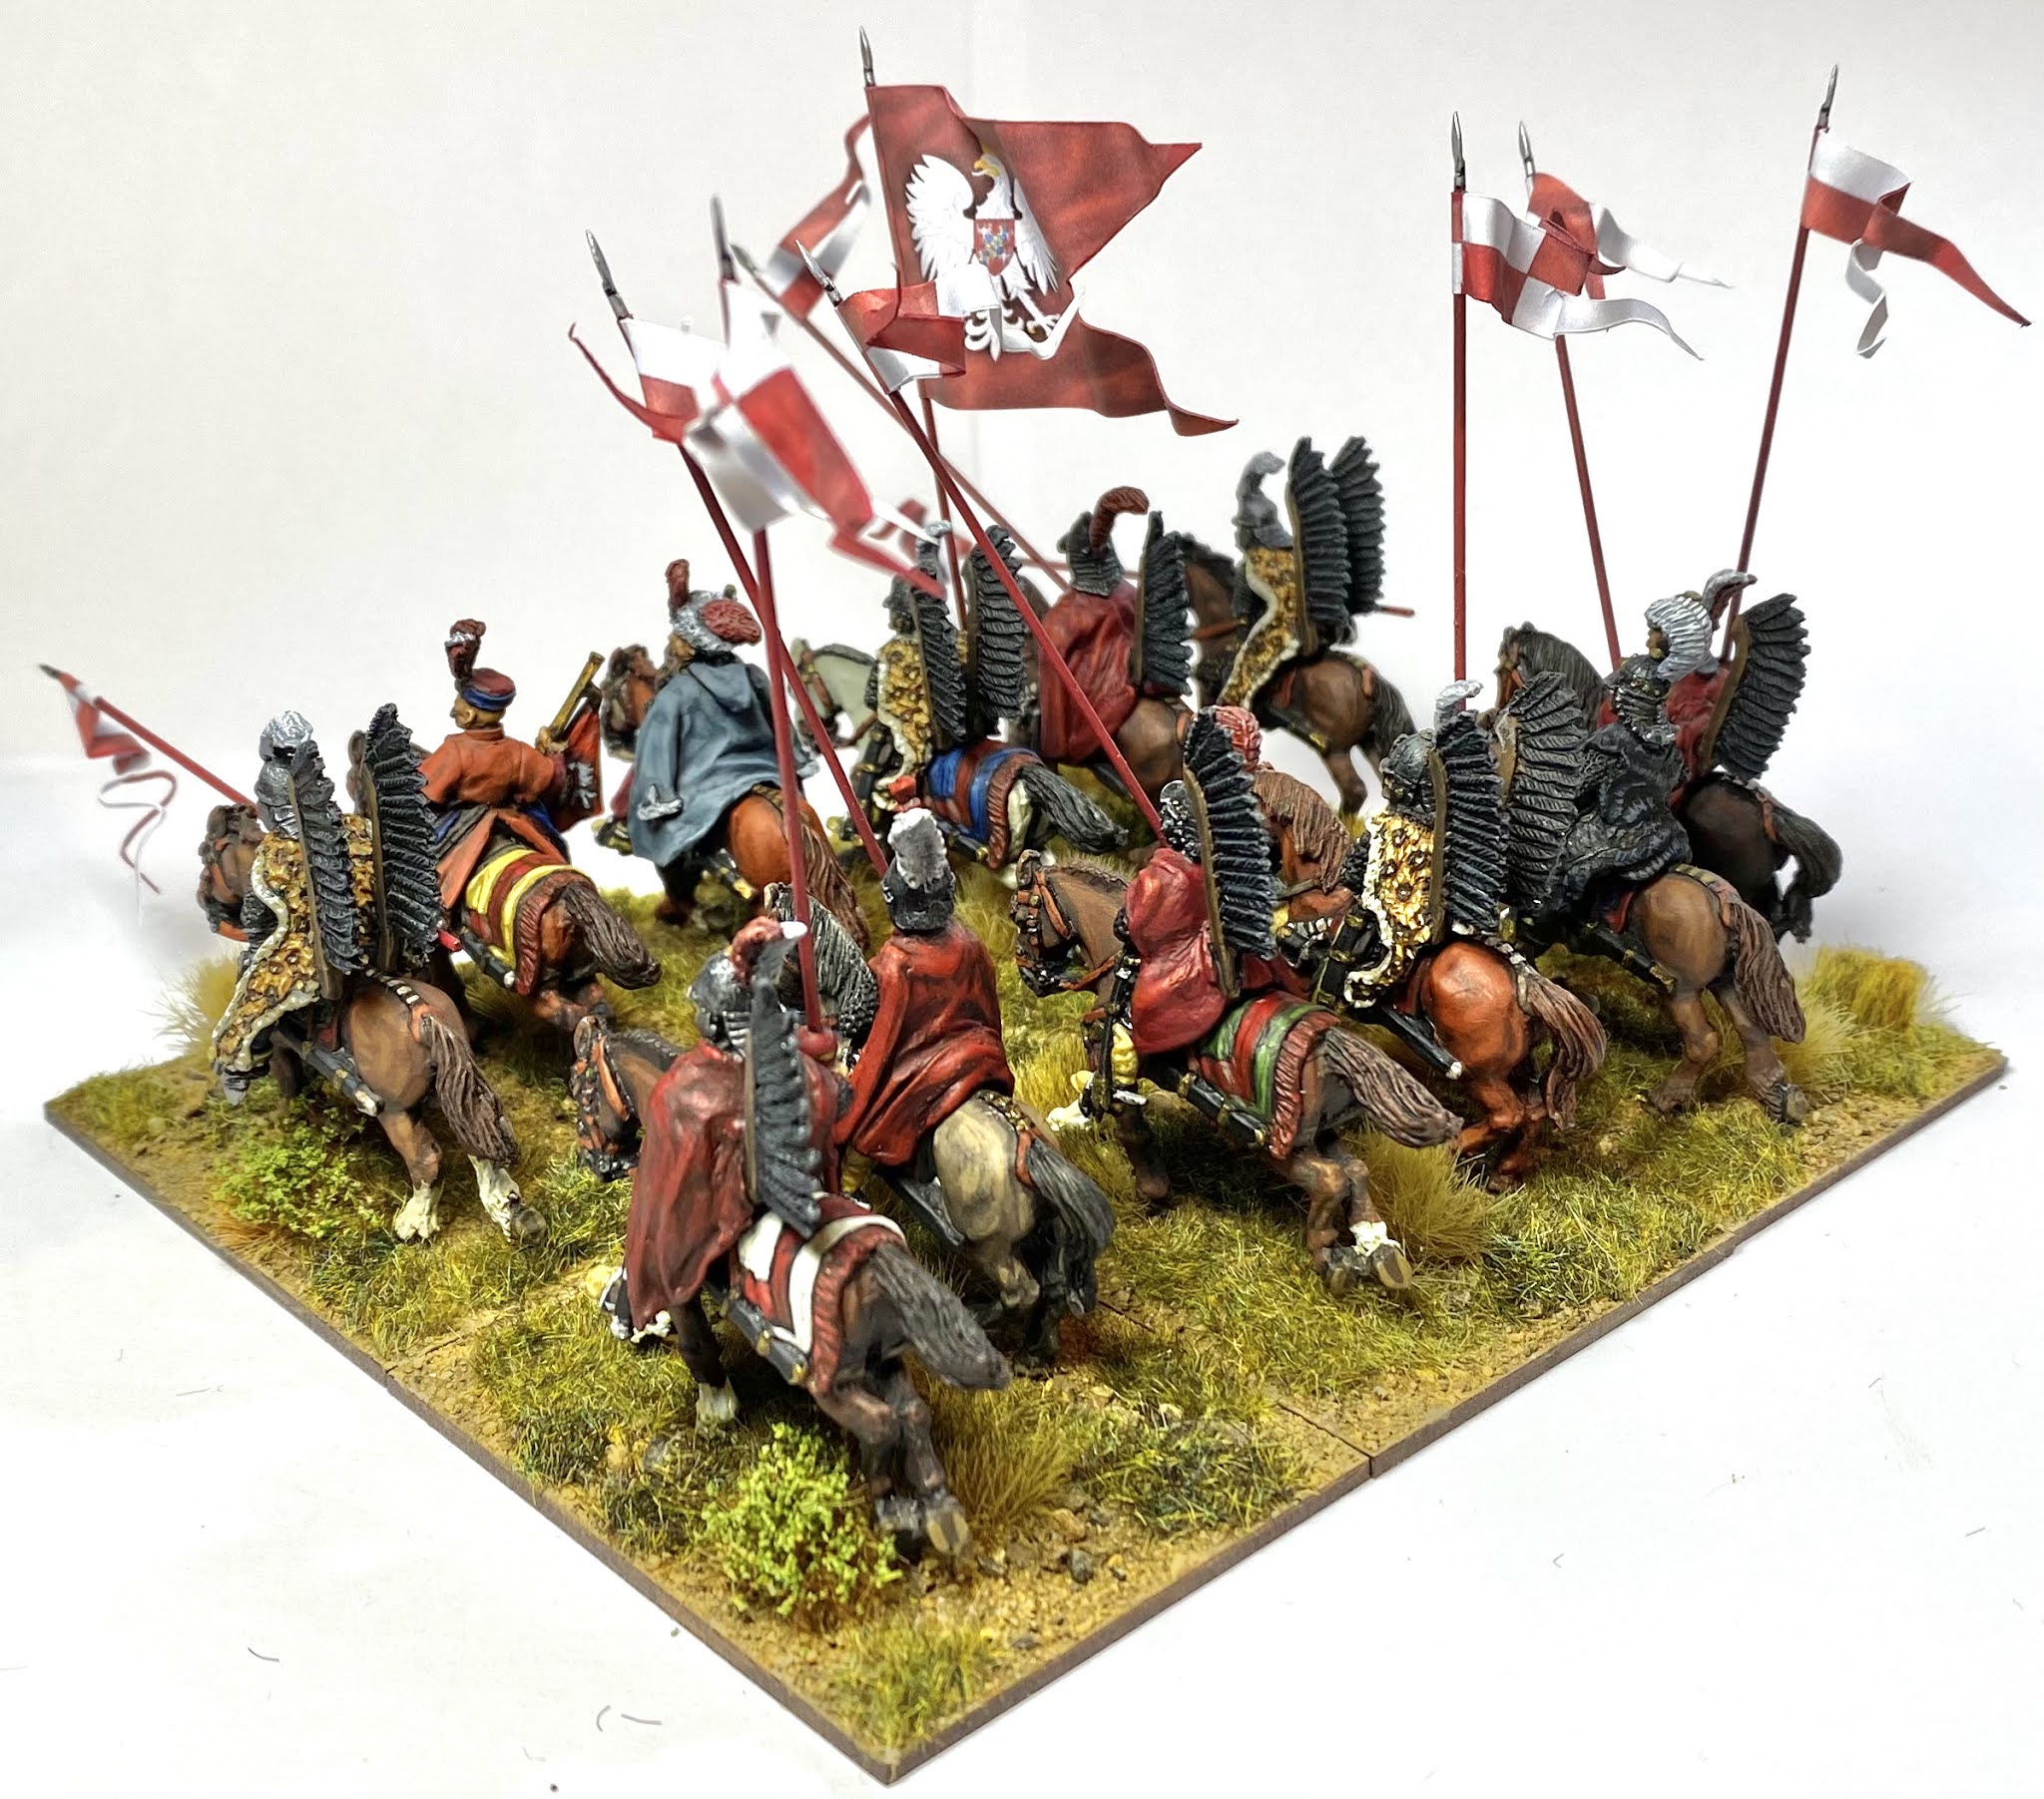
With a final fanfare of trumpets my first unit of Hussars was completed!
 |
| The finished unit charging in to action! |
 |
| I really like the impression of the swirling lance pennons. |
 |
| There they go. |
 |
| Drone shot! |
It feels pretty good to have the first unit done. I realise that I have made a bit of a ‘song and dance’ over one unit of cavalry, but I really enjoyed putting it together, and trying out some new techniques. I’m also pleased that the unit looks like I’d hoped it would, and should give a good impression of a 1620s Hussar formation.
Next in the painting queue is another unit of Hussars. I look forward to pushing through a bit faster on this one, using all of the lessons learnt on this first unit.
Until next time!
Andy @ FoGH.