
In this blog post I walk through updating my Killing Fields ‘Classic Teddy Battle Mats’.
 |
| A Highland Charge across the final mat. |
My first experience of making a fur based terrain mat is shown on the blog here https://theviaregia.blogspot.com/2019/03/fun-with-fur.html .
Since then I have acquired two of the 7’ x 5’ ‘Classic Teddy Battle Mats’ from Killing fields (https://www.killingfieldsterrain.com/store/p14/Killing_Fields_Classic_Teddy_BattleMat_7x5%27.html). These are great as they are pre-dyed in a multi tone effect to simulate grass land.
The Material
The mats are fine just to use as you receive them, but I wanted to ‘upgrade’ mine. First, I wanted to permanently attach them together. The tables in our club hall can easily be set up for 10’ x 6’ games, and I wanted something able to take advantage of this and cover the whole area. Two 7’ x 5’ joined along the 7’ edge make a great 10’ x 7’ matt. Secondly I wanted to change the colour and look of the matt a bit. Especially with such a big area, now two mats are joined together, having only one colour theme didn’t look so good to my eye.
Two Became One
 |
| Dress making pins used to pin the fur matt to the long strip of calico material. |
I used the same method to join the two mats as I had when making my large mat for Lutzen (see link above). I cut a strip of calico material to roughly 12” wide and 7’ long. This would act as a join between the two mats. I pinned one mat to half of the calico material.
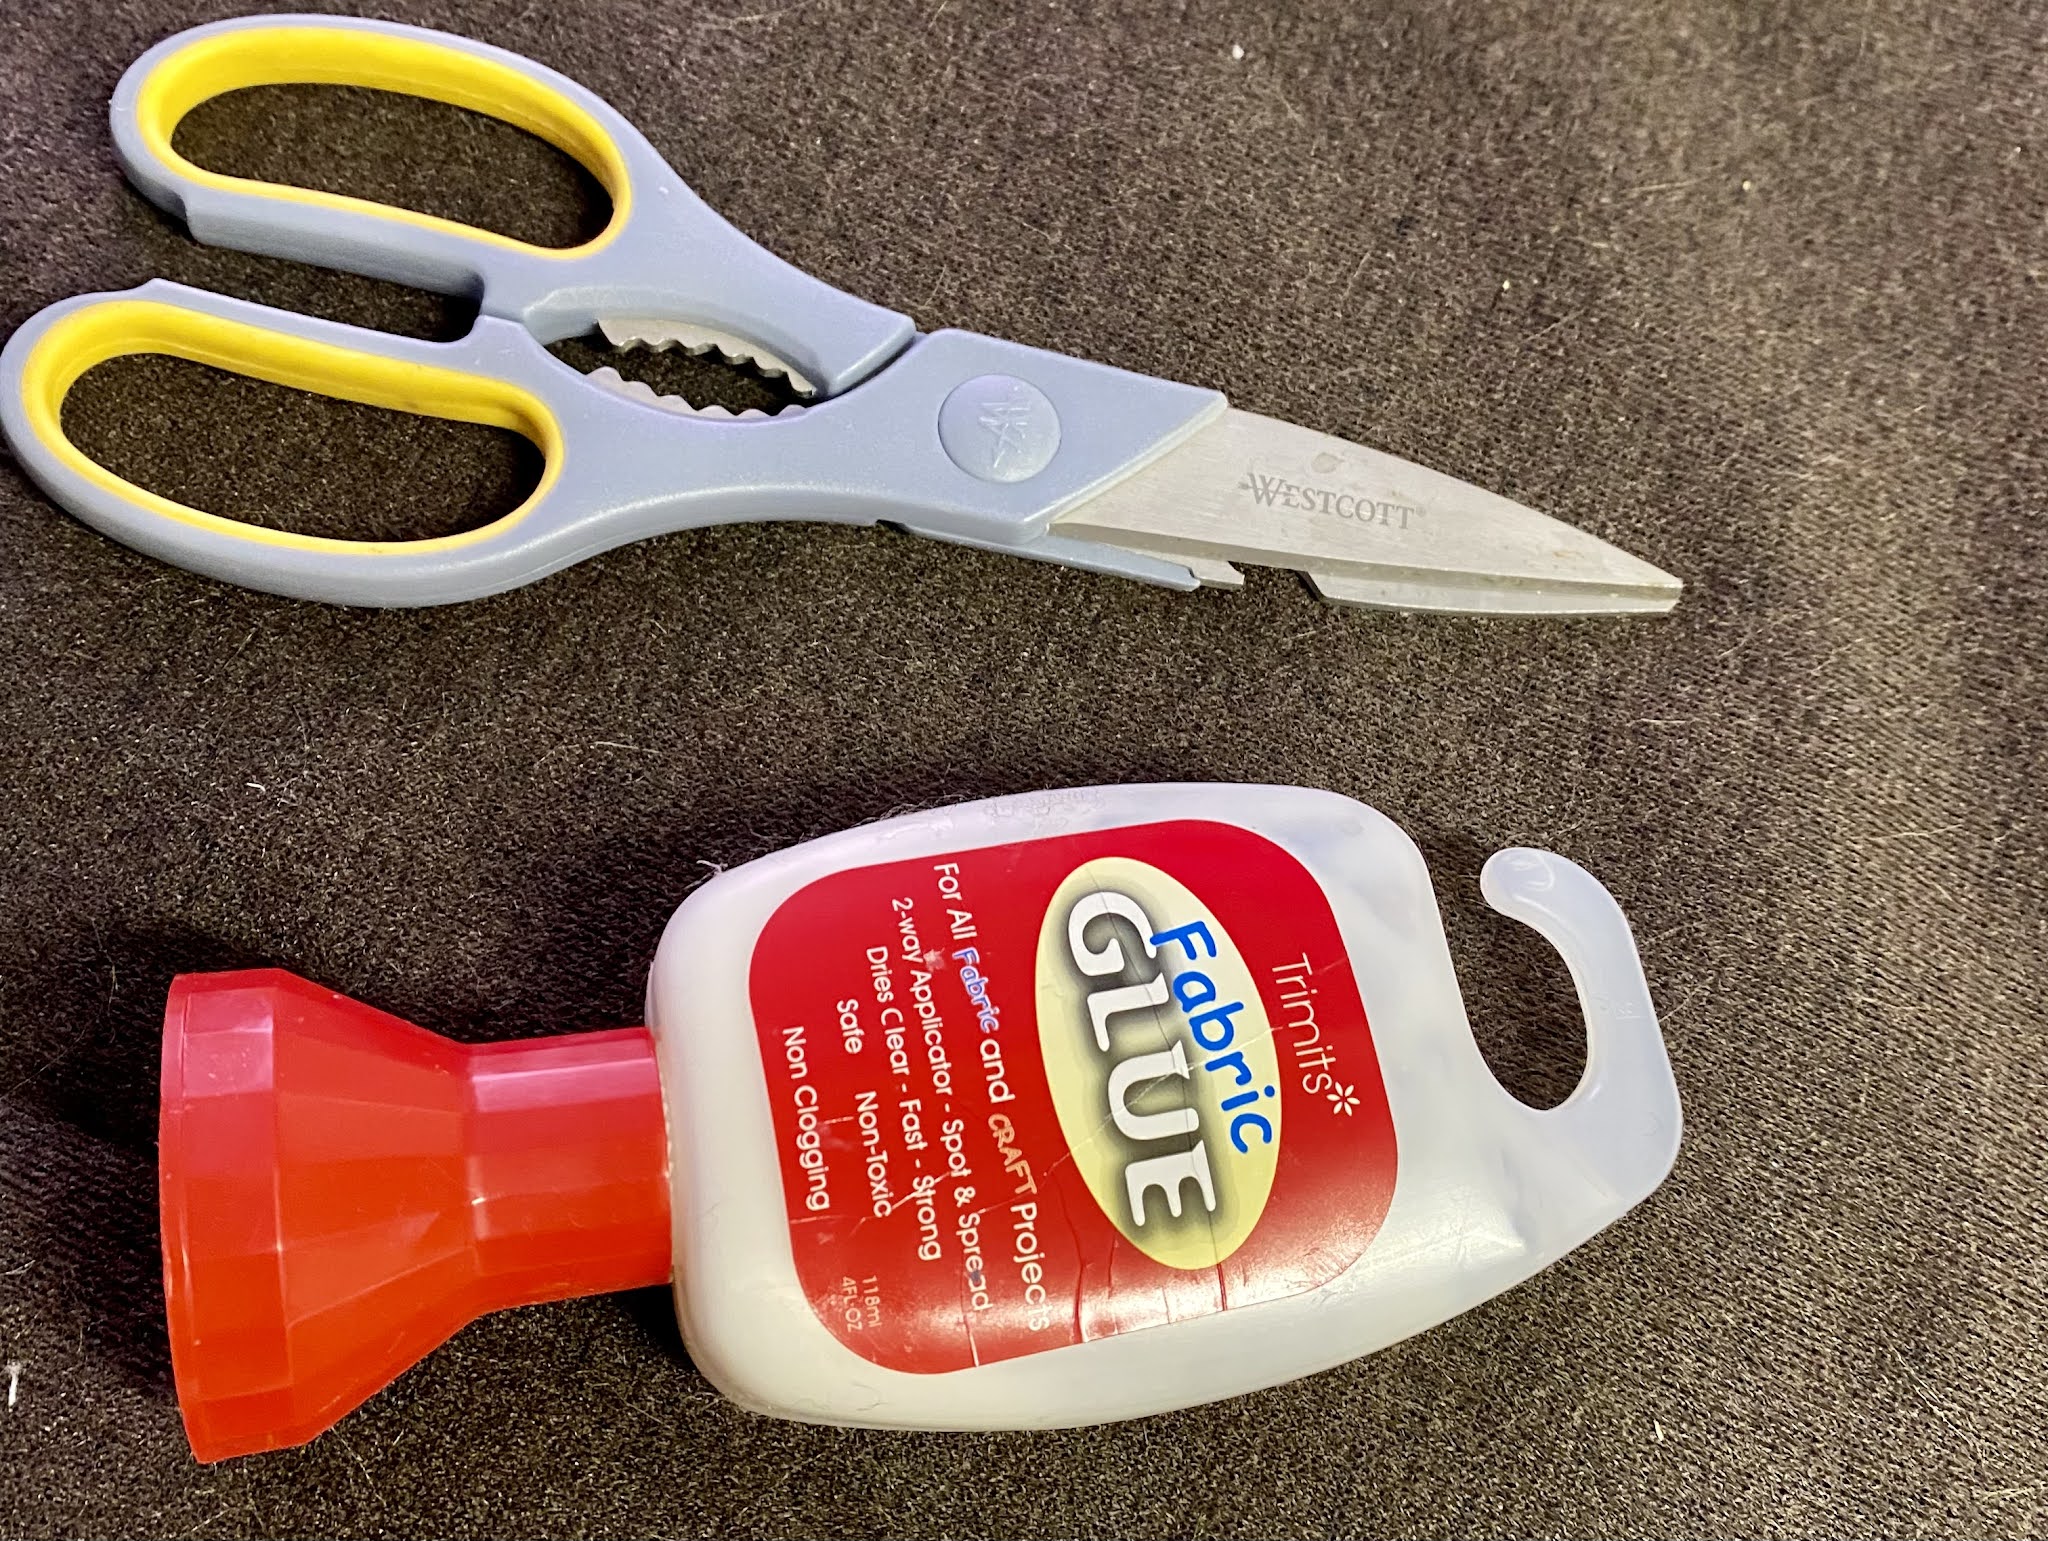 |
| Recommended glue. A pair of large, sharp scissors is a help too. |
Once happy that it was fairly straight I then glued the calico down. I found this fabric glue in Hobby Craft and it was a bit easier to work with, and one tube did the whole job for me. This was left overnight to dry thoroughly.
 |
| Glue liberally applied to calico base, then second mat neatly lined up with other mat |
I then pinned the second mat to the other half of the calico so that it matched up with the first as closely as possible. (Pro Tip: Make sure the knapp of the fur lies the same way in both mats!) Once pinned, the second matt was glued and set aside overnight to dry again.
 |
| Repair tip. |
During this process I came across a couple of small holes in the mat. This must have happened while moving or storing the mats. While I had the glue and calico to hand, I glued small patches of calico underneath the holes to prevent larger gaps developing.
The Coloured Mat
 |
| Trusty cheap, re-chargeable dog trimmer from Amazon |
With the two original mats securely joined in to a single giant sized mat, I set about adding some new colours. Before slapping on the paint I gave the mat a quick once over with a dog hair trimmer. I randomly shaved areas using the 6mm, 9mm and 12 mm guides that came with my dog trimmer. The original mats are dyed with three colours in layers. The bottom layer is dark brownish, the mid level greenish, and the top level a light buff colour. This meant areas trimmed heavily look darker as the brown shows through, and areas trimmed less were greener/lighter.
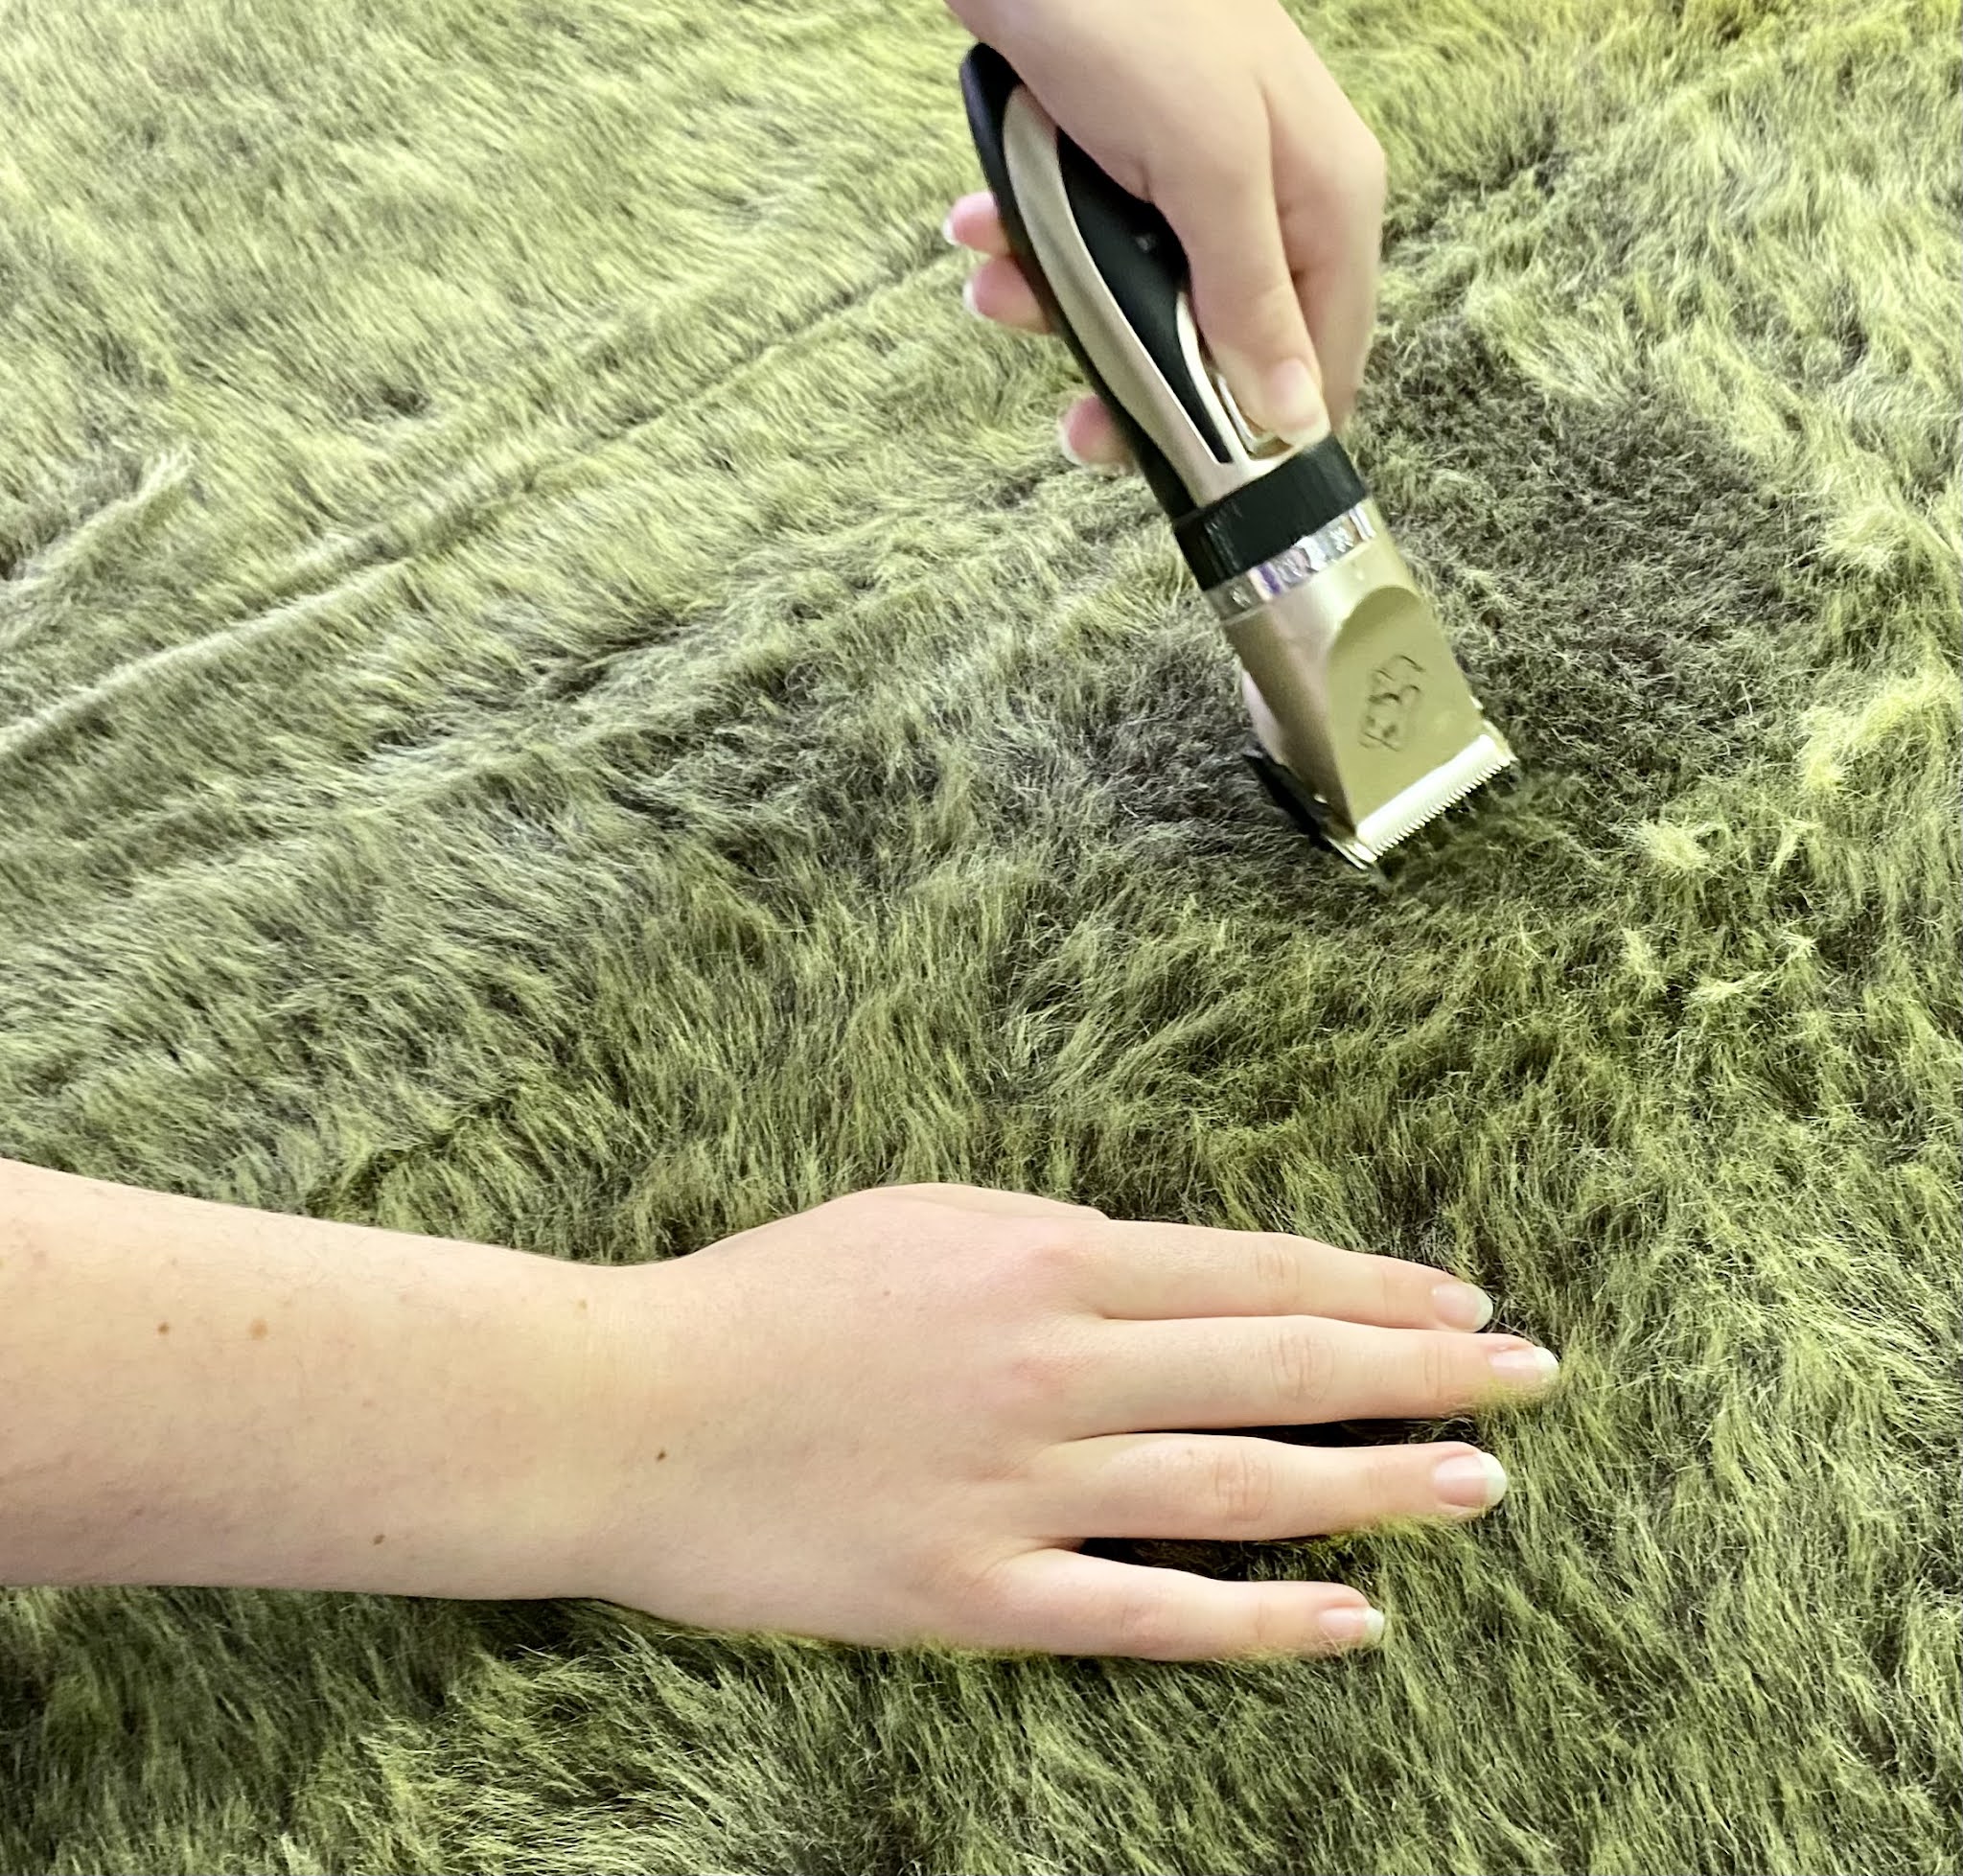 |
| Number One Daughter demonstrates fur mat shaving! |
This gives a very nice effect on the original mats, and can also effects the result when more colour is added, depending on the strength/saturation of the colour added. On my previous mat I poured paint directly on to the mat, and then spread it around with a wet brush. This resulted in areas being too saturated in paint and the fur becoming matted. A lot of combing had been required to rescue these areas.
 |
| A generous dollop will do. |
 |
| Blue gloves covered in dubious brown - not always a good look! |
For this mat I decided to follow Barry Hilton’s advice from a recent one of his blog posts (http://leagueofaugsburg.blogspot.com/2021/08/no-bears-were-harmed-in-making-of.html). He’d used his hands to apply different colour paints, and so I followed suit, wearing a pair of thin plastic gloves to make the process easier to start and stop. The paints were a mixture of acrylic paints, picked up from Hobby Craft (a UK craft store). I bought bottles of kids’ paint and tubes of artist acrylics that were on sale. Yellows, buffs, browns and greens. The technique is to squirt a handful of paint on to one (gloved!) hand, then massage it across both hands, before running the paint covered hands over the mat. Once the colour has worn off your hands, and is on the mat, then you go to work with a comb. This is essential and the only bit which is anywhere near hard work. This combing should stop the fur getting clumped together with the paint, as well as blending colour changes together. Loose fur, gunked up with paint, will get combed out, but this is fine.
 |
| The best bit - painting by hand! |
After a few trials I settled on the colours I liked. The cheap kids paint acts as more of a tint as there isn’t as much colour in the paint. The artists’ stuff is more colour saturated and will change the colour of the fur more.
 |
| The all important combing |
This ‘by-hand’ approach worked like a dream and gave a better result than my earlier attempt. It is also immense fun painting with you hands. I got the kids involved, and they were naturals at it! I ended up using a just two of three colours, trying to vary them across the mat. As one coat of the paint dries, you can apply different colours over the top to produce tonal variations.


Painting the whole mat was done in a couple of sessions, and left to dry overnight. This approach left the mat soft and furry, and I think it gives a nice look to a whole battlefield, or used as a base and backdrop for model photo shoots.
What’s next?
For next steps, I’m considering shaving some roads and tracks into the mat. I could place modular road sections on top of the mat, but shaved in looks better. I also need some marsh and stream sections for my Dirschau battlefield, but I think I might make these modular and place them on top. More thinking time required.
 |
| To create hills simply place things under the mat and it drapes over them nicely. |
 |
| Battle of Alford 1645 set out on the new mat. |
 |
| The new colour variations. |
I hope this post will inspire others to have a crack at fur. This was very easy to do, and the Killing Fields mats are a great starting point.
This new fur mat ties in nicely with #terraintober on Twitter. Also check out Alex’s Storm of Steel YouTube Channel (https://youtube.com/channel/UCNUYwNznn-ZuNMoHoF3urwQ) where he is going to feature some of the terrain made.
Cheers,
Andy @ Friends of General Haig


Wow! Really great job and very informative post. 😀
ReplyDeleteThanks, Stew, much appreciated 👍
DeleteThanks very much for your updated approach. This is really useful.
ReplyDeleteCheers, Unlucky General, glad you found it useful 😀
DeleteLove the fur look. Well Done.
ReplyDeleteMany thanks, Warhog 👍
DeleteBrilliant I’ll have a go 🤓
ReplyDeleteGood luck 👍
Delete