In this blog post I give an update on my Nightwatch project. (Part 1 is here
link.) In this project I am paying homage to Rembrandt’s master piece, The Nightwatch, by converting and painting wargames figures to represent the characters portrayed in the painting.
 |
| The original picture, just in case you have forgotten what it looks like! |
Progress has been slow but I have finally got the first eight figures painted, and also got another batch modelled and undercoated. Rather than my normal wargames unit, batch paint approach, I have been painting these one figure at a time. This is quite fun (even therapeutic!) as there isn’t the same pressure to bang on to finish a colour / process as there is when going through a batch. The downside is that it is a pretty slow approach, and I’m already known at my club for being the slowest painter!
 |
| The first eight figures painted, and placed in their relative positions in the original painting. |
I have enjoyed the process of studying the figures on the painting and trying to work out how I will paint my model as a representation. At the start this was a bit daunting. Master painters, like Rembrandt, earned large sums because they were brilliant at what they do. A lead or plastic figure and my meagre skills are obviously not going to get close to the same wow factor as the actual painting. Luckily I am doing this ‘just for fun’ so as long as I can vaguely recognise my painted figure against the picture then I am happy.
Studying the picture very closely has been fascinating. I have an ever increasing respect for the genius of these master painters. How they dealt with light, and how they represent perspective is amazing. As I mentioned in Part 1, it has been very useful to be able to download a high resolution version of the picture from the Rijks Museum site (
link). This allowed me to use photo editing software to increase the ‘exposure’ and see in to some of the dark corners of what is quite a dark picture. I also came across a very interesting lecture on “The Night Watch: Rembrandt, Group Portraiture, and Dutch History” from Yale University, available on YouTube (
link). In this video it shows a copy of the picture made soon after it was first displayed (supposedly by one Gerrit Lundens). The great thing about this copy is that it includes the pieces removed from the edge of the original when it was cropped (the horror!) to fit in to a new venue later in the picture’s life.
 |
| Copy of the original showing where the original is now cropped. Image has been 'enhanced' to see in to the shadowy background, which inevitably 'blows-out' the highlights. |
I have taken an image from the YouTube video of this copy and also ‘lightened’ it. You can see this brings out some interesting details of the setting of the picture. For example, I hadn’t noticed before that the sergeant on the extreme left of the picture is actually sitting on a low wall or balustrade. I’ve got him standing at the moment. Will have to think about that.
Here is a walk through of each of the eight figures painted so far. (More details of the actual characters portrayed are in Part 1 here
link). The figures are in the order in which I decided to paint them. Unless otherwise noted I undercoated all the figures in black, and then gave them a very heavy dry brush of Vallejo Beige Brown (a technique copied from Matt at Glenbrook Games).
Jacob Jorisz, tambour (drummer)
I decide to go for the drummer first as I wanted to get the drum out of the way, and as there isn’t much of Jacob in the original painting I had more of a free rein for the figure. The first challenge was that in the original he is wearing what looks like an iridescent silk or satin doublet. Rembrandt manages this faultlessly, but I had to accept a ‘flat’ approximation of the turquoise / green colour, and then highlighted with a greener hue. I was pleased that the drum was nice and plain as I find these very fiddly to do normally. Just a dry brush with some highlights here. The Avanpost figure was a joy to paint overall with nice crisp detail all over; something I would come to miss in some of the other figures.
Sergeant Reijnier Engelen


Next I moved on to Sergeant Reijnier. In the original he is a very dark figure. As noted above, it seems this figure is seated in the picture, but for now I only have a standing figure. I tried to show black clothing, with some different highlighting in green, grey and red to show some different blacks. With his armour I tried to give the impression of blackened armour that has then been burnished and polished over many years.
Unknown Man, musketeer

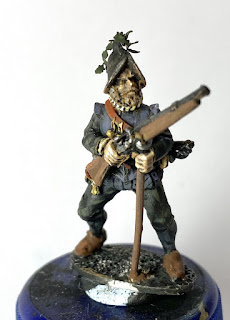
Next is the Unknown Man. I had a sense of grey with a hint of purple from this figure on the painting, and so this is how I approached the figure. The original has a very fancy design to the bandolier strap which I didn’t attempt. The most fun on this figure was the oak leaf sprig on the helmet. I have written a separate blog post on how I did this here
link. (I suppose I ought to look at a way of showing that the musket is in the process of being discharged in the original. This is one for the back burner.)
Running Boy, Powder Monkey

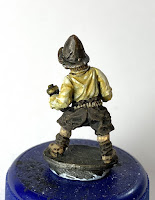
I have to admit to just going a bit ‘rogue’ with the running boy figure. The figure that I had converted appears to be in a scruffy shirt and so I have painted a very scruffy linen type of shirt. It is not clear exactly what the original is wearing but it is in a darker colour.
Jan Claesen Leijdeckers, musketeer


Although Jan is behind, and in the shadow of the Lieutenant, he is a bit more brightly attired than some. He is described as a married man and so shouldn’t be too brightly dressed. (It appears that in mid 17th century Amsterdam that young bachelors were expected to dress very brightly, until they married, when they would dress more soberly as befitted men of maturity.)
Jan van der Heede, musketeer


Next, one of the bachelors (i.e. brightly attired!). As he is dressed almost entirely in red I went for a lighter undercoat of GW Wraithbone, and then a wash of GW Agrax Earthshade. The base of the red was a GW Contrast Paint, Blood Angels Red. I then highlighted this up with Vallejo Orange Red. (I like this red contrast paint and also used it on my British Napoleonic red coats. It does need to go on a light undercoat though.)
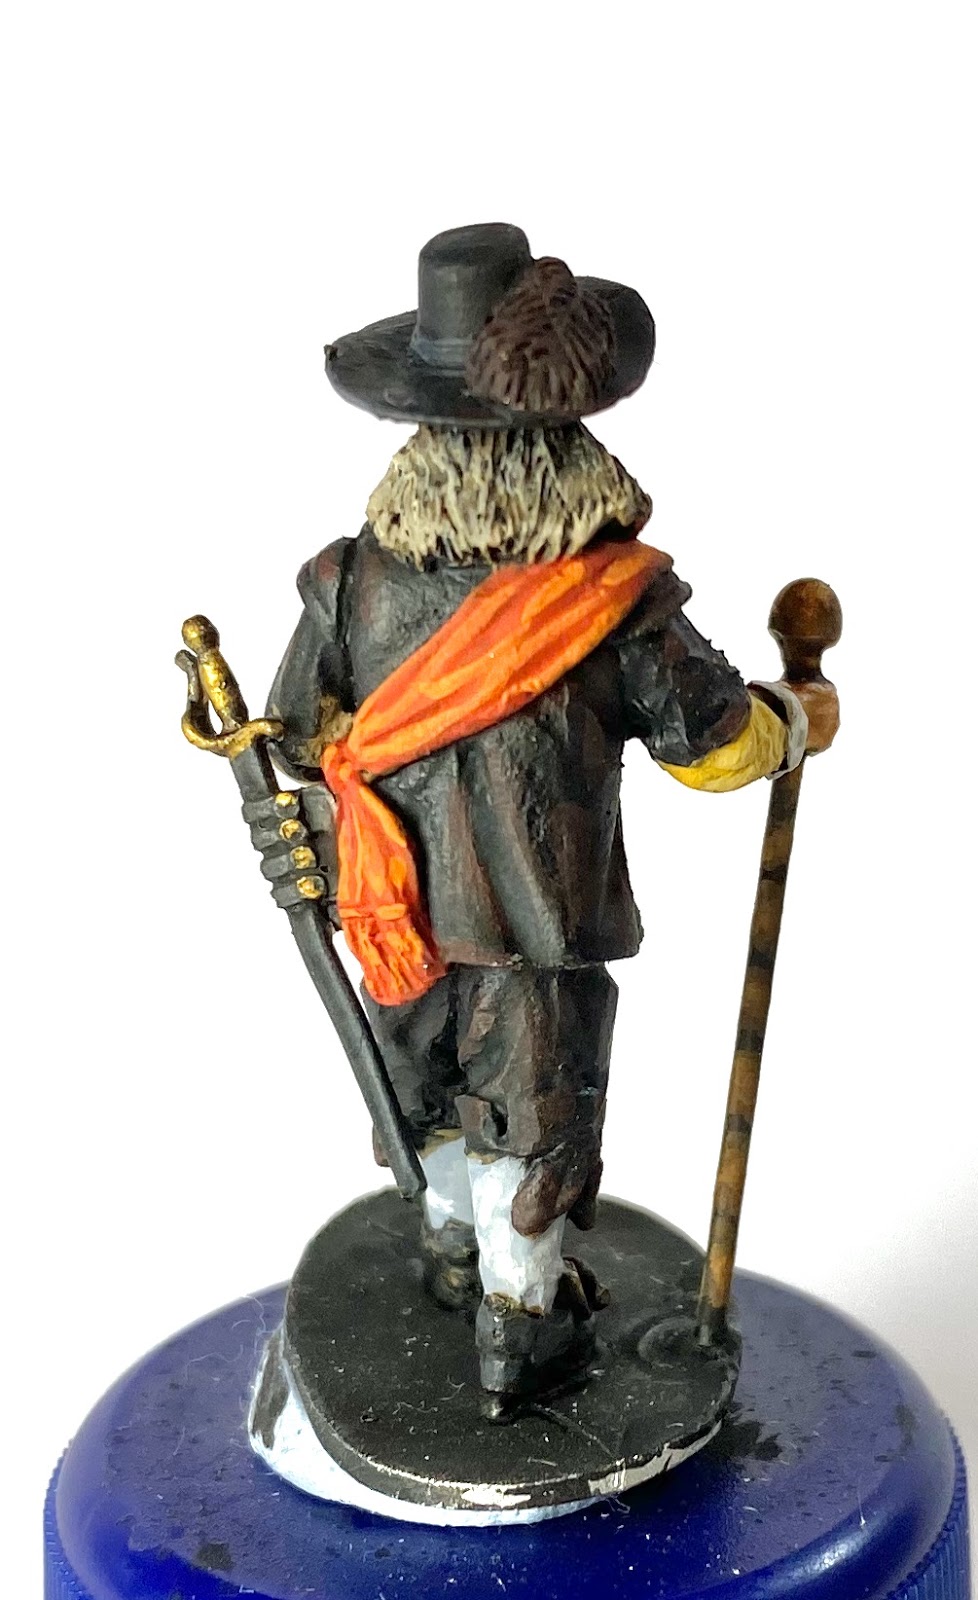
Captain Frans Banninck Cocq

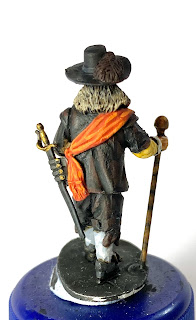
On to one of the big stars of the picture. I left the two officers to last to build up my confidence. These two figures are very much centre stage in the original picture, and so I know they are the first things people will see. I’m not sure my conversion is really doing the good Captain justice. Once I’d mashed the figure about with Stanley knife, pliers and files I think that I’d lost some of the original figure's details. The paint job helps a bit. I’m not 100% happy with my final figure, but without another suitable candidate for the base figure this is it for now.
Lieutenant Willem Van Ruytenburch, Lord of Vlaardingen and Vlaardingen-Ambacht

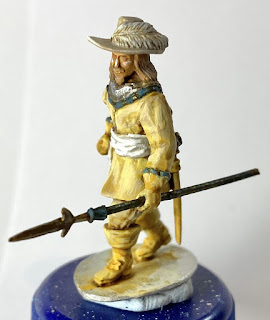
Finally, the snappily dressed lieutenant. I undercoated again in GW Wraithbone for this very light coloured figure, and followed up with a wash of GW Seraphim Sepia. I haven’t managed to give the impression of the rich and detailed fabric of the original, but I am happy with the overall impression. The final figure certainly stands out from the crowd, just like he does in the original picture.
So these are the first eight. I need to work on basing them next and I'm still considering the best way to do this as I want to represent a paved area. There are then probably another 20 or so figures more to be painted.
Here are links to the websites of the manufacturers used for the miniature figures (so far!):
* Warlord Games - https://store.warlordgames.com/collections/pike-shotte
* The Assault Group (TAG) - https://theassaultgroup.co.uk/renaissance/
* Empress Miniatures - https://www.empressminiatures.com/english-civil-war-3-c.asp
* Avanpost Miniatures - https://www.mezzersminis.co.uk/avanpost-1
* 1898 Miniatures - https://www.1898miniaturas.com/shop/en/48-spanish-tercios-28mm-miniatures
* Colonel Bills - Depot Battalions - http://shop.colonelbills-store.co.uk/epages/4f27da57-42ee-48c0-9cb8-22c9dd921a68.sf/en_GB/?ObjectPath=/Shops/4f27da57-42ee-48c0-9cb8-22c9dd921a68/Categories/86/44
Until next time!
Andy @ FOGH
***