Sunday 26 September 2021

Auldearn 1645 - The Game

Mac Colla, with his vanguard, trying to hold off the Covenanter’s surprise attack.

This blog post is a battle report for the Auldearn 1645 game that the Friends of General Haig played at the Warlord Games Open Day on the 25th September.  

You can see the previous Auldearn blog posts on:

Despite a cloudy start to the day the weather brightened up as we arrived at Warlord Games new HQ in Nottingham.  The Warlorders were as busy as bees getting everything ready for the start of the Open Day, and we were soon directed to our pitch.  We were allocated a space for the Auldearn game in a marquee in front of the building.  For this game we would be playing on a set of terrain boards that belongs to Warlord supremo, John Stallard.  John had it crafted by the talented Ernie Baker some years ago with the Auldearn battlefield in mind.

The board set up and ready to go!

On top of the board we added my terrain and two armies, as described in the previous blog posts (see links above), and before you could say “Irn Bru; brewed in Scotland from girders!” we were ready to go.

As a quick re-cap, the battle starts with Major General Hurry and his Covenanter force springing a surprise dawn attack on Montrose’s Royalists, who are camped in and around Auldearn; a small village less than 20 miles from Inverness in NE Scotland. 

The Covenanters form up ready to attack Auldearn, with only a scant few Royalists to hold them off.

Our game started with the Covenant force shaking itself out from column of march in to battalia formation for the attack.   To oppose them there is just a small Royalist vanguard, led by Montrose’s right-hand man, Alasdair MacDonald, better known as Mac Colla ‘The Devastator’.

The Covenanters had a brisk start and they made good progress over Garlic hill towards Auldearn.  The Covenanters knew that time was a critical factor, and that if they could break in to Auldearn, then they could hinder the rest of the Royalists from forming up to fight them. The Covenanters therefore threw themselves forward, with speed being of the essence.

Mac Colla knew that he had to hold up the Covenanters for as long as possible, to give Montrose enough time to rally the rest of the army, and reinforce him. Not wanting to engage in a firefight with the Covenanters superior numbers, Mac Colla decided that attack was the best form of defence, and led an immediate charge with his lifeguard in to the leading Covenanter regiment. The lead Covenant regiment reeled back from this onslaught, and Mac Colla also pulled back to rally his men for another charge.  

Mac Colla leads in his lifeguard again, while behind him, Gordon clansmen try to fend off Covenant horsemen

There was some confusion while the Covenanters tried to bring up supporting troops.  Hurry managed to bring up Drummond’s Horse on the Covenant right to threaten Mac Colla’s beleaguered troops.  Mac Colla then took a gamble; he charged again in to the Covenant foot with his lifeguard, and trusted to luck that his Gordon clansmen would hold off Drummond’s horse.

Some well timed shots from the Gordons slowed the attacking horsemen enough that their charge was held, and then, despite the fear with which the newly raised Gordons faced their first mounted attack, the horsemen were thrown back. 

To the rescue! The Irish Brigade marching out of Auldearn to join the battle.

Mac Colla’s charge was even more successful and some of the Covenanters were scattered by the impact of his lifeguard. However Mac Colla’s forces were tiring fast, and had to continue to fall back against the overwhelming numbers of the Covenanters.  It was with much relief that Mac Colla saw the first of the Royalist reinforcements marching out of the village, the doughty Irish Brigade.  

Covenant pikemen trying to develop another attack while Hurry tries to rally the Covenant horse.

The next Covenant regiment finally managed to push forward towards Mac Colla.  Their fresh musket fire tore in to the rallying Royalist vanguard. This was too much for the Gordon clansmen who ran for the shelter of the village. Despite Hurry’s pleas, Drummond’s horse would not rally to charge again, and finish off the remainder of Mac Colla’s force. 

The arrival of the Irish brigade, and the Covenanter’s continuing difficulty in bringing forward more troops, stabilised the position for the Royalists.  If only their own Royalist horse could arrive.  Suddenly the urgent sound of trumpets sounded from the Royalist left flank.  Could this be the Gordon Horse arriving in the nick of time?    

Well maybe it should have been, but something had gone awry.  Maybe it was patch of unexpected boggy ground, or may be some confusion in orders, but the Gordon Horse were delayed.  

The Earl of Seaforth’s levies moving forward against the Irish Brigade.

This gave the Covenanters a chance to recover their lines and prepare for the Royalists who were trying to flank their position. It also seems to have encouraged the Earl of Seaforth, on the Covenanter’s left wing, to push forward with his levies.  The Irish Brigade now had their hands full facing off a horde of Clansmen from the far North Western parts of Scotland, including the dread Lewis bowmen. Seaforth’s levies were supported by Halkett’s regular horsemen. 

Finally, the Royalist cavalry arrive.

The Gordon Horse finally galloped on to the field and found that the Covenanters had started to pull back from their approach.  Despite having lost some of the element of surprise, the Gordon Horse still put in a well timed charge and put Drummond’s Horse to flight.  Lord Gordon managed to rally his horsemen, and regrouped as the Strahbogie regiment, arrived from the village, marching up in support of their kinsmen. 

The wall of firepower waiting for Mac Colla’s last, desperate charge. 

Mac Colla’s lifeguard were worn out from their earlier heroics and so Mac Colla instead lead forward his remaining Gordon foot to try and keep up the pressure on the Covenanters.  This proved to be one charge too many.  The Gordon foot faltered in front of well timed volleys from the Covenant musketeers, and were finally routed. A wounded Mac Colla was last seen being dragged back to the village by the Gordons while he protested that “Just one more charge will see them off!”. 

Hurry, seeing Montrose in the front line, tries to lead his cavalry in a charge. 

On the Covenant left a fierce firefight now developed between the Irish Brigade and Seaforth’s troops. Montrose had to intervene personally to rally some of the Irish.  Hurry thought he saw an opportunity to catch the Marquis while he was rallying these troops in the frontline, but Halket’s horsemen refused to follow him in a charge on the Irishmen around Montrose. 

Covenant pikemen lead a charge into the Royalist line.

A lull in the fighting along the whole front line allowed the Covenanter to regroup and bring forward the last of their regular troops for another attack. Some well time volleys from the Covenant musketeers unsteadied the Royalists, and Hurry threw in his men at charge of pike to try and break the Royalist line. 

Lord Gordon leads his regiment of horse in to the flank of the Covenanters, supported by the Strathbogie foot.

The Covenant pike went in hard.  The Royalist foot bent, but didn’t break.  A fierce melee ensued and the Covenant officers urged on their pikemen sensing they were near to breaking through.  At this moment Lord Gordon put himself at the head of his regiment of horse, and bellowing “A Gordon! A Gordon!”, charged past the Strathbogie foot, and into the flank of the Covenanter’s attacking troops.  Some of the Strathbogie foot, perhaps being carried forward holding on to the stirrups of the Gordon horse, followed suit.

The Gordon Horse sweep though the Covenent flank.

The Covenant foot had no reply to this, and beset to their front, and now charged to their flank, started to fall back.  This last setback proved too much, and the Covenant army finally turned on their heals, broke, and ran for Inverness.

A Royalist victory; in the final turn of the game, just as we timed out at the end of the day!  It had been a hard fought, and exciting game all of the way through, with many twists and turns of fate.   Mac Colla’s early aggression was effective in holding up the Covenanters, but his troops were worn down very quickly and only the early arrival of the Irish Brigade saved them.  With the Irish Brigade and the Gordon Horse in the battle line for the Royalists, the Covenanters had a much harder battle on their hands. The Covenanters did manage to organise a final attack which was very close to being successful, but the final charge by the Gordon Horse, neatly recreating events in the real battle, finally broke the Covenant army.

The Pike & Shotte rules worked very well for us. The only issue we had was that we were reminded to not have too many special rules for your troops, as they are very easy to forget in the middle of a game!  One of the things that we really liked about rules was that they provided lulls in the battle, as well as reversals of fortunes, which are often found in actual battle accounts, but can be rare under some other rules.  

Many thanks to the Warlord crew for inviting us to the Open Day, and for looking after us during the day.  Also many thanks to John Stallard for lending us his beautiful terrain boards for the game, they set the game off very nicely.

Our pitch for the day.

A big thank you as well to all of those that came and talked to us during the day and said very nice things about how the game looked.  We had some help from a few people during the day who helped us play the game, but James gets the prize for having the worst dice throws; almost as bad as mine ;-) .


I hope that we were able to show people a little bit about how a game of Pike & Shotte works, and perhaps also inspired a few to try this period for their own games. 

Finally a big “cheers” to ‘Friends of General Haig’ Paul for playing the part of Montrose so well.


Alba gu bràth!

Andy @ Friends of General Haig


Monday 20 September 2021

Auldearn 1645 - The Armies

The Strathbogie Regiment ready for battle.

… they being confident both of their men and their number fell hotly on, but being beaten back, seimd to cole of their fury, and only intended to blocke us up (as it wer) till more number should come which perceiving I divided myselfe in to two wings (which was all the ground would suffer) marched upon them most unexpectedly.” Extract from Montrose’s account of the battle in his letter to King Charles.

In this blog post I’m looking at the two armies for Auldearn 1645, ready for the Friends of General Haig running a game recreating this battle at the Warlord Games Open Day on 25th September (https://store.warlordgames.com/products/warlord-open-day-ticket-2021).  

You can see the previous Auldearn blog post 
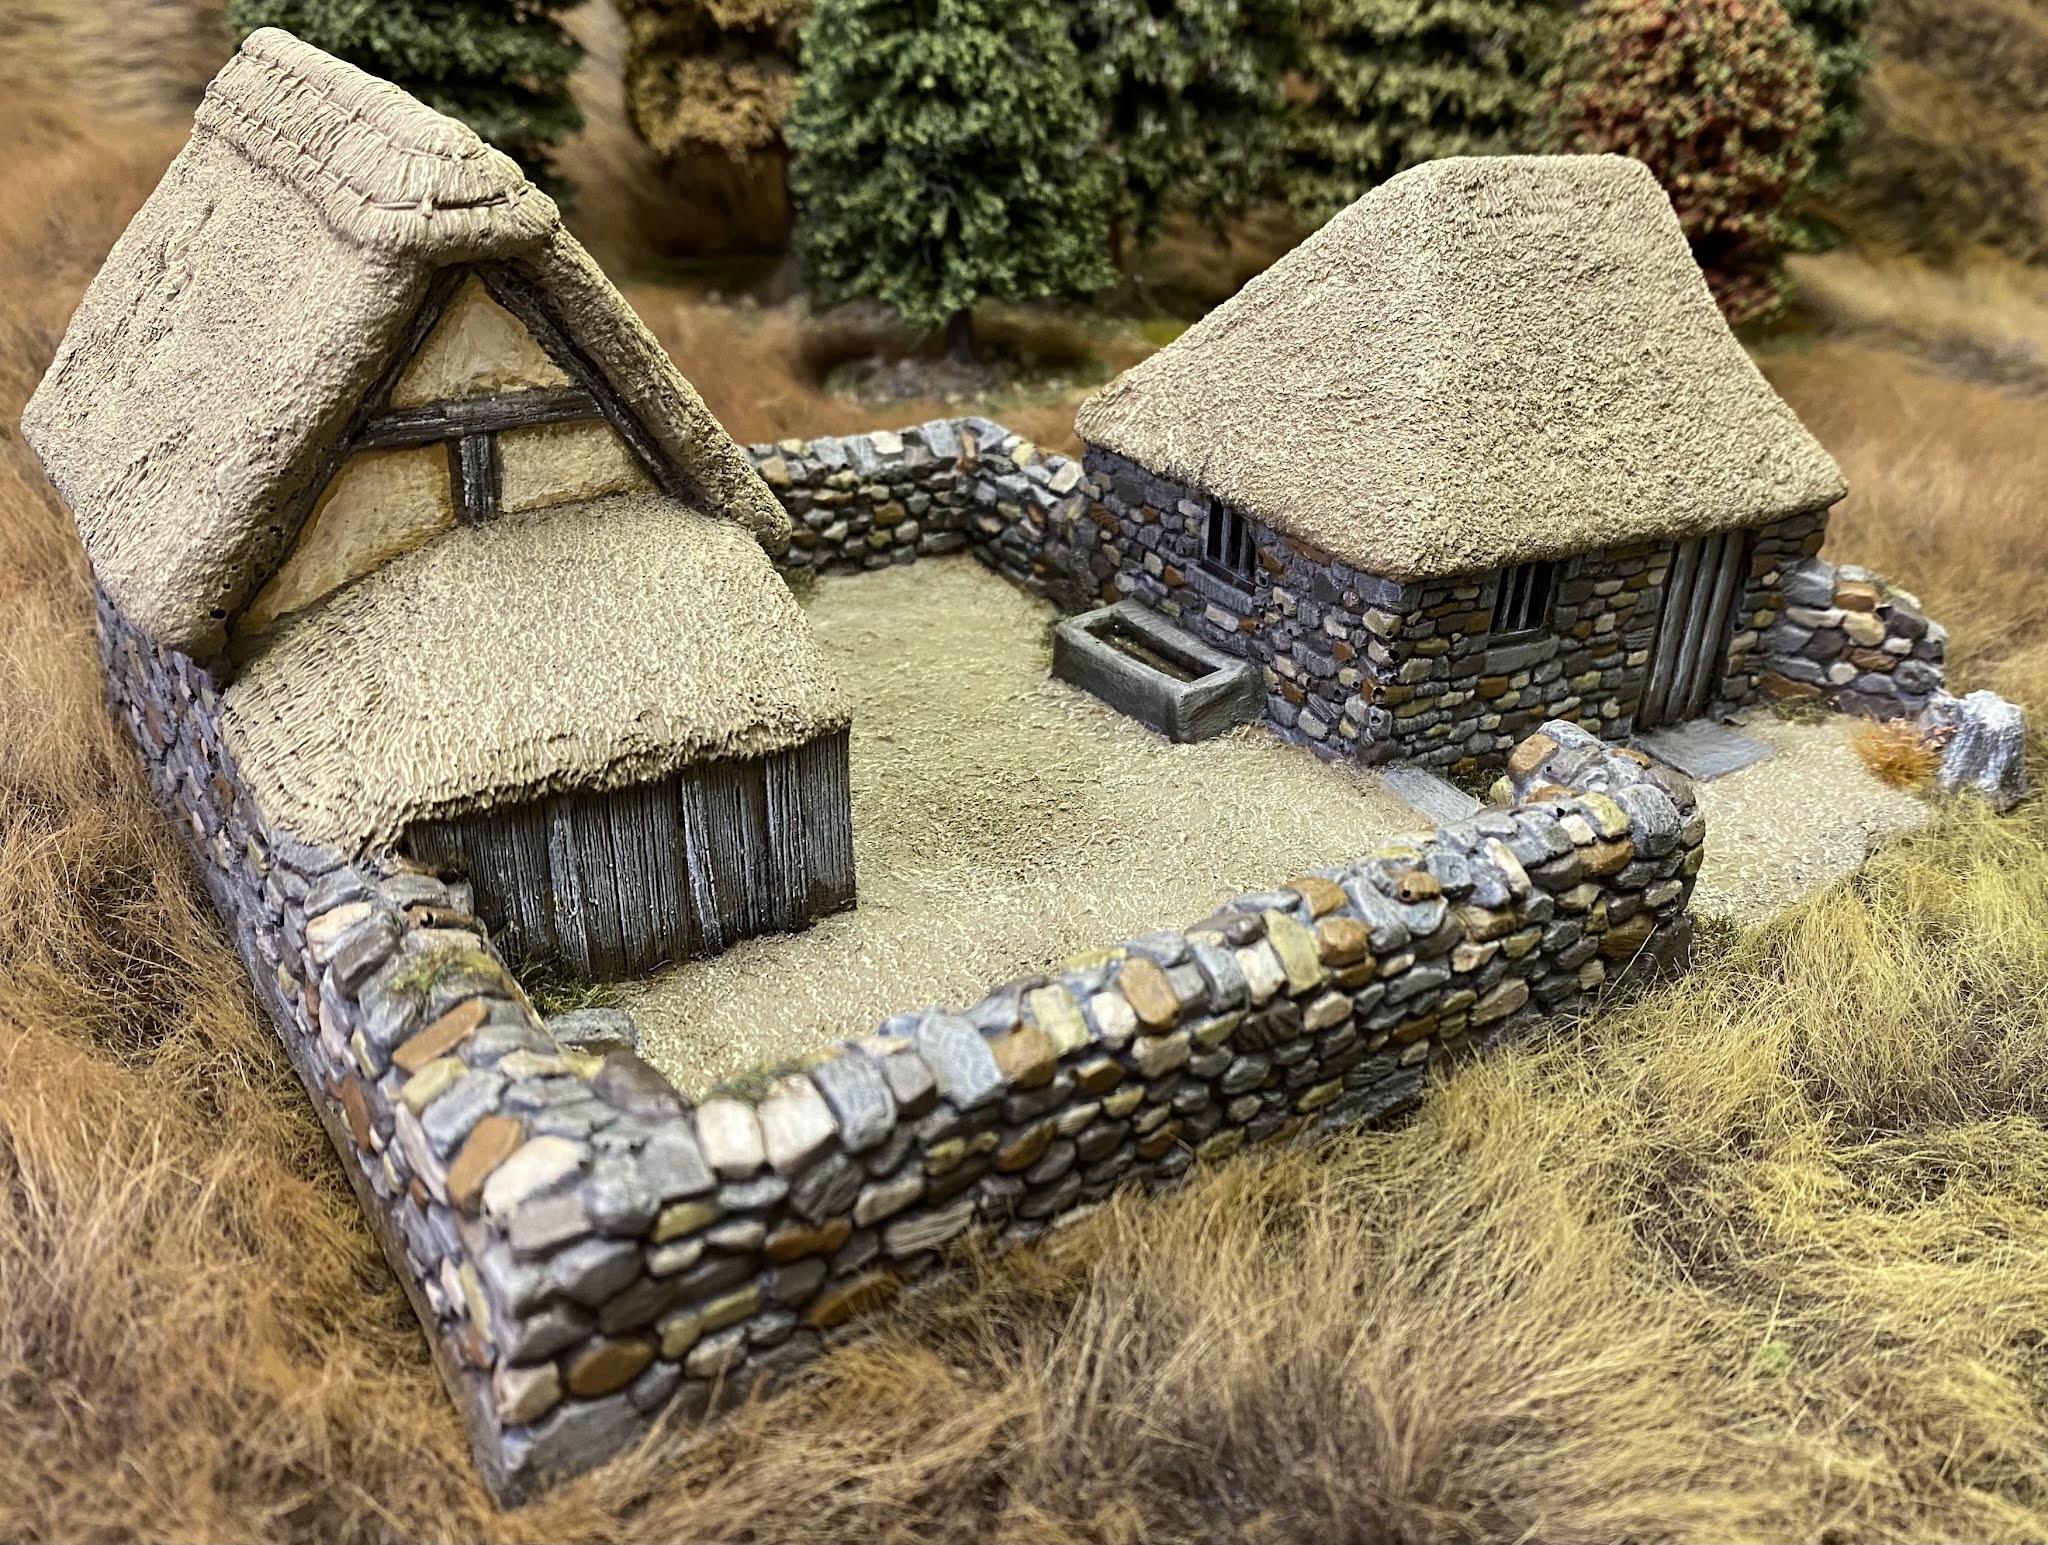
on terrain here: https://theviaregia.blogspot.com/2021/09/auldearn-1645-battlefield.html

… and the first blog entry on Auldearn looking at Boath Doocot here: https://theviaregia.blogspot.com/2021/09/auldearn-1645-boath-doocot.html

Scots Royalists

For the two orders of battle I have leaned heavily on Stuart Reid’s ‘Auldearn 1645’ in the Osprey Campaign series (https://ospreypublishing.com/auldearn-1645).  This actually covers all of the battles in Montrose’s “Year of Miracles”, with added emphasis on Auldearn.  As part of this it also includes a handy breakdown of the likely regiments and numbers of men taking part in the battle.  It is a small battle when compared with some of the major engagements, such as Edgehill and Marston Moor,  in England.  Mr. Reid’s estimate, based on the primary sources, is around 2,000 Royalists and 3,300 Covenanters. This makes a fabulous size for a wargame as it is possible to represent every unit, and have a figure to man ratio of less than 1:20.

My starting point to organise the two wargames armies was to first try and figure out a rough ratio of wargames units to numbers of men in the actual battle. The Pike & Shotte rules work on the basis of armies being divided into standard size ‘units’.  (This works quite well for this period when the common practice of commanders was to organise the available companies (foot) or troops (horse) into appropriate size battlefield formations for their standard drill and battle plans.)  Looking over Mr. Reid’s order of battle I could see that Mac Colla’s Lifeguard was attributed 140 men. This unit played a pivotal role in the Royalist early defence when it was hard pressed trying to hold off the Covenant army while the rest of the Royalists were being woken from their beds and formed up.  It would be a good start if this 140 man unit was a ‘regular’ sized unit under the rules. 

The Earl of Seaforth’s regiment awaits a ‘highland’ charge.

Using 140 as the template for a unit, I then broke down the rest of the order of battle, and it came out with a number of units that I had enough figures to represent, as well as looking like it would make a nice table-filling spectacle.  This is the breakdown in units 

Scots Royalists

  • Mac Colla’s Lifeguard - 1 unit
  • Irish Regiments - 4 units
  • Strathbogie Regiment - 3 units
  • Gordon of Monymore’s Regiment - 2 units
  • Dismounted dragoons - 1 unit
  • Gordon Horse - 2 units
  • Other Horse - 1 unit

Total of 14 units

Scots Covenanters

  • Campbell of Lawers’ Regiment - 3 units
  • Lord Chancellor’s Regiment - 3 units
  • Earl of Findlatter’s Regiment  - 3 units
  • Earl of Lothian’s Regiment - 3 units
  • Earl of Seaforth’s Regiment - 4 units
  • Earl of Sutherland’s Regiment - 3 units
  • Northern Levies - 2 units
  • Halkett’s Horse - 1 unit
  • Drummond’s Horse - 1 unit

Total of 23 units

(Note.  In this scale of battle particularly, the Pike & Shotte rules represent Pike and Shot formations with their pike and musket armed troops in separate units. So a typical pike and shot formation translates in to 3 units; one pike unit and two shot units. )

Using this breakdown of units I created two army rosters using the the Army Lists in the Pike & Shotte supplement, To Kill A King, as a guide.  (There may be one or two small tweaks to the units stats. based on my own preference, and figure availability!) I have set out each army’s roster in a PDF on Google Drive; links below.

Covenanter Roster (PDF in Google Drive): 

https://drive.google.com/file/d/1EE0Sjf9O2OqKPOUtMtpfFZ9T8OG1J5OX

Royalist Roster (PDF in Google Drive): 

https://drive.google.com/file/d/17Er-cZo-Mq_bICdBg5Z9PamVf8tH4w9n

Major General Sir John Hurry - the Covenant army commander.

You will see that, although very much outnumbered, the Royalists have a definite edge in troop quality and commanders’ ratings.  With the troops sorted out the next step is to consider the tactical situation and how deployment will work. 

I decided to start the battle with Mac Colla’s vanguard deployed on Garlic Hill. These were those troops that were to hand when the Covenanter’s surprise dawn attack was discovered. The Covenanters start the game with their first few units deployed from their forced march, and the rest trailing on to the table behind them.  The remaining Royalists, who at this point in the battle were hurrying to arm themselves and form up in their respective formations, are not deployed at the start of the game.

Preparing for a ‘cheeky’ highland charge! 

Sir John Hurry, the Covenanter’s commander in chief, had hoped to take the Royalist camp completely by surprise, and scatter or destroy Montrose’s army. The Royalists were lucky that some of their scouts heard the sound of the Covenanters firing off their muskets, so as to clear any problems with wet powder after heavy rain in the night, when they were a few miles from the Auldearn. The alarm was duly raised in the Royalist camp but Montrose’s army had spread itself around the surrounding countryside, probably in search of dry sleeping quarters, and it would take some time to gather the Royalist army together. While Hurry had not achieved the complete surprise he wanted, he could still deal a heavy blow to Montrose if he could storm in to the heart of the Royalist camp in the village, and prevent the Royalists troops having a central point on which to rally. 

Lieutenant General James Graham, The Marquis of Montrose - the Royalist army commander

Although surprised, Montrose was not going to simply dance to Hurry’s tune. If Mac Colla’s small force could hold up the Covenanters for long enough, Montrose may be able to turn the tables on the Covenanters, and outflank their attack. 

To represent this situation the following special game rules were defined for each army. 

Royalist Special Rules


Deployment

 At the start of the game the Vanguard (MacColla’s) command can be deployed anywhere East of the centre of Garlic Hill.   The artillery must be deployed on Castle Hill.  Montrose’s command stand is deployed in Auldearn village between the chapel and the dovecote on Castle Hill.   Montrose must remain here until all the Royalist army is deployed on table.   This represents the frantic organisation of the troops following the dawn surprise by the Covenanters. 

The remaining troops can be deployed as follows:

  • The Irish Regiment units are rallying in the village.  To represent this, even before the troops are deployed, 1 dice of shooting can be made each turn from each village building. Roll one dice each turn.  If the number rolled is less than the turn number, then the Irish Regiment units can be deployed in the village.
  • On the turn after the Irish Regiments arrive the Horse units can be deployed behind the village.  Montrose may to choose to wait for an additional turn and then the Horse regiments can arrive on both or either flanks up to half way along the board edge instead.  Montrose may choose to delay the flank marching Horse until a turn of his choice.   If flank marching, then each unit must pass a normal command roll to move on to the board.
  • In the turn after all the Horse units are deployed on the board the Strathbogie regiment can be deployed in the Royalist camp to the South of the village.

Special Rule - Fall Back!

MacColla’s Battalia have orders to delay the enemy and then fall back to the village.  Therefore, these units can always move back toward the village, even if disordered, and even if they fail a command roll.  If they fail a command roll, and they chose to use this option, then they must move a whole move back directly toward the village.  

Objectives

If Montrose’s command position is taken by the Covenanters, then the Horse regiments cannot use the flank marching option and instead must deploy behind the village.

The Royalist army is broken when 8 (eight) units are destroyed or shaken.  If the Royalist army survives the battle, then this is a draw.  If the Covenanter army is broken, then this is a Royalist victory.

Generals in Hand-to-Hand

If a general joins a unit that is in hand-to-hand combat, then Montrose and Gordon add 1 dice to a unit’s Hand-to-hand factor.  MacColla adds 2!

Alasdair Mac Colla ‘ The Devastator’ with his bodyguards. 


For the Covenanters:


Deployment

At the start of the game the Campbell’s battalia may be deployed anywhere up to the Western edge of Garlic Hill.  The rest of the army starts in column and will arrive by the road from the West end of the board.   All of the Covenant commanders start the game on the board.

Objectives

The Royalist army has been surprised by the Covenanter’s dawn attack and only a few Royalist units are able to be deployed at the start of the battle.   To take the greatest advantage of the Royalist army’s disorder it will be necessary disperse the troops as they are being assembled.   Montrose and the Royal Standard represents the centre of Royalist camp.   Capture this position to reduce the Royalist options for their troops deployment.  

Break the Royalist army for a victory.   If the Covenant army is unbroken at the end of the day, then the battle is drawn.  The Covenant army breaks when 11 (eleven) units are broken or shaken.

Generals in Hand-to-Hand

If a general joins a unit that is in hand-to-hand combat they add 1 dice to a unit’s Hand-to-hand factor.

The Earl of Sutherland’s pike advance on Irish shot.

You can see from these extra games rules that the battle starts as a race for the Covenanters to overpower the Royalist vanguard so as to disrupt the Royalist forces rallying and being able to react to the attack. The Royalists have to hang on to give their troops time to rally, but also have the opportunity to turn the tables on their attackers. 

So, how will the game play out? I’m looking forward to Saturday 25th to see what happens. I hope some of you will be coming to the open day and so able to come and see the game in full swing.  If you are coming along, and you can spare some time from the great set of events set up over the day, perhaps you’ll come and play a turn or two as your favourite character from the battle? Newbies welcome!

Alba gu bráth!

Andy @ The Friends of General Haig

Friday 17 September 2021

Auldearn 1645 - The Battlefield


Mac Colla’s lifeguard charging out from a village building.

… Let it never be thought that they have triumphed over our currage, nor the loyaltie we ow to our soveraigne lord, and let ws hope the best. God is stronge enough!” Mac Colla urging his men for one last desperate charge to hold off the Covenanters.

This blog post continues to look at Mac Colla and Montrose’s victory at the battle of Auldearn in 1645 as part of the War of the Three Kingdoms (the ECW if you will).  The Friends of General Haig are running a game recreating this battle at the Warlord Games Open Day on 25th September (https://store.warlordgames.com/products/warlord-open-day-ticket-2021).  

You can see my first blog entry on Auldearn here: https://theviaregia.blogspot.com/2021/09/auldearn-1645-boath-doocot.html

Hurry’s Covenanters surge on to the battlefield, taking the sleeping Royalists by surprise!

This time I’m looking at the terrain needed to populate the battlefield.  The key features of the battlefield are the village of Auldearn, two pieces of high ground, and some boggy ground.  These will give each of the two armies different challenges to consider in their battle plans. The battle is also a surprise, dawn attack by the Covenanters, rather than a more classic encounter battle where both armies have the opportunity to deploy before the fighting starts. (See the brief background to the battle that I wrote on the Warlord site here: https://www.warlordgames.com/warlord-games-open-day-auldearn-1645/)

The battle starts in the early morning with the Covenanters hurrying to deploy from the march columns in which they approached, and then rushing to scatter the Royalist forces around Auldearn before the Royalists can be gathered together from their sleeping quarters, and formed up into units. 

Between the road where the Covenanters march on to the West end of the battlefield, and the village, is the long, low Garlic Hill.  The North East and East sides of this hill descend in to some boggy, marshy ground, in front of the village itself.  The buildings and associated enclosures on the west side of the village provide some cover to troops defending them. At the North West end of the village is the smaller hill, called Castle Mound (topped with the Boath Doocot). These are the key features of the battlefield. 

This map shows how the miniature battlefield is laid out, and the initial troops deployed.  This is how the key features of the terrain will effect the game: 

  • Garlic hill is gently slopped giving no great advantage to troops uphill.
  • The marshy ground at the bottom of the North-East, and East sides of Garlic hill should be inconvenient to troops passing through it, slowing them down to a degree.
  • Castle Mound is more steeply slopped and troops uphill should receive some advantage in melee over troops coming up the hill.
  • Finally, the yards and buildings of Auldearn should confer some benefit to defenders.

The Gordon Horse ready to sally forth from the Chapel yard.

These effects are translated for the rules, Pike & Shotte, as follows:

Marshy and other Broken Ground

  • Maximum of one move per turn.
  • Pike and Horse disordered on a roll of 5 or 6.
  • All others disordered on a roll of 6.

Village Buildings

  • -1 to hit Defenders (Not Clear Target)
  • +2 Morale (Save) for Defenders
  • +3 Combat Resolution for Defenders
  • Other rules as per main rule book

Castle Hill (Steep Slopes)

  • +1 Combat Resolution for Defenders
  • Attackers get no Charge bonus

For this game the fighting is taking place down the length of the wargames table so that we can recreate Hurry’s Covenanters arriving in a column and trying to rush the enemy defences, while Mac Colla’s advanced guard try to hold off the Covenanters until the Royalist army forms up. A table in the region of 8’ x 5’ works well for 28mm armies using the Pike & Shotte rules. 

For the game at Warlord’s Open Day we will be using terrain boards specifically modelled to allow refighting Auldearn with the main hills, Garlic Hill and Castle Mound, included.  It is fairly straightforward to create something similar by adding to a flat table a fairly large, long hill to represent Garlic hill, and a smaller hill, perhaps with steeper slopes to represent Castle Mound.   

For the village of Auldearn a collection of small rural type buildings, suitable for the 17th century are needed. (It’s not essential to include Boath Doocot, covered in the previous blog post, as it can be left out by assuming it hadn’t been built at the time of the battle, which is quite possible!) I have used a selection of buildings, including a small chapel to represent the original village church.  These should fit with the illustrations and details provided in the Osprey Campaign book on Auldearn.  

The buildings I have used are from a variety of sources:


Supplied by Warlord Games, produced by Tabletop Workshop, a Cottage and Medieval Chapel. These are incredibly sturdy, easy to build and really nicely detailed. 

From Perry Miniatures, a Medieval Cottage.  A lovely detailed model which comes with some handy wattle fencing and an outbuilding. 


A smithy and a grain store, both really nice resin buildings.  (I received these as gifts and I’m not sure who made them!) These both have great interior details and removable roofs. 


Produced by Hudson and Allen, from their Medieval village set. These are made from some sort of extruded foam. They are as detailed as resin, but much lighter and more robust.  No interiors, but lovely details on the outside.

As the fighting will probably spill into the village, just as it did in the real battle, it is necessary to allow for this in modelling the village buildings. I have built a number of yards, or small enclosures, that allows the built up area to be easily split in to defined sections.  It is then possible to nominate how many units can defend each section, and therefore also how many can attack a section.  Model buildings are placed in the enclosures, and can be moved to facilitate placing troops as required.  Having a village broken down in to easy sections likes this makes fighting around buildings much easier in Pike & Shotte.

To make the enclosures I used a mix of fencing and walls, added to Warbases’ Terrain Bases in a variety of sizes.


Supplied by Warlord Games, made in plastic by Italeri, Stone Walls set. This is a really useful set with gates and gate posts included. 

Produced by Ferris games, these are probably the most detailed and realistic dry stone walls I have seen. Gate posts here made with pieces of balsa. 


From the Perry cottage set, the included plastic wattle fencing. 

The last part of the key terrain features is the marshy, boggy ground just outside of the village.  Some scatter terrain pieces, representing marshy and rough going is used to represent this area.  These are easy to place on the table where needed and can be moved to allow troops to be placed if necessary.  

Some of the Irish Brigade charging through the bog.

The scatter pieces are made from scraps of card.  These have had sand with PVA added, and then painted in the same way as when I base my figures. Some areas have been left clear of sand and painted to represent pools of water.  The pools were gloss varnished for a simple ‘wet’ effect.  Finally, when the varnish was completely dry, tufts, clump foliage and scenic grass were added.

The wargames table would look a bit bare with just these key features modelled and so, as can be seen from map above, the table also had woods and farmsteads to add some interest and colour.  Although not absolutely necessary for the game, the Royalist camp is also represented around the village with suitable tents, wagons, pack animals, baggage, and camp followers.  A final touch is to add some of the locals with their flocks and herds.


The civilians and scatter terrain are from a myriad of places but I will detail a few of my favourites.  Warlord do 17th century civilians, club men, as well as wagons, livestock and vignettes, like the surgeon.  Warbases have carts and other bits of baggage. Ainsty Castings have useful collections of barrels and sacks.  Renedra do the plastic soldiers’ tents.

I hope this description of how the battlefield has been represented will provide some ideas to others. Next time I will cover the orders of battle for the two armies.

Alba gu bràth!

Andy @ Friends of General Haig.

Sunday 12 September 2021

Auldearn 1645 & Boath Doocot


“Health and joy to the valiant Alasdair who won the battle of Auldearn with his army,

With his fine soldiers, who at the outset of their march loved to sing his marching song.”

From ‘A Song To Alasdair Mac Cholla, after the battle of Auldearn’ by Iain Lom, translated from Gaelic by Annie M. Mackenzie

The Battle of Auldearn, 1645, starting with the Covenanter dawn attack

In this blog post I am taking a short break from the Polish-Swedish war and switching to Scotland in the War of the Three Kingdoms (or ECW in old money!).  The lovely folks at Warlord have asked The Friends of General Haig to come to the Warlord Games Open Day on 25th September (https://store.warlordgames.com/products/warlord-open-day-ticket-2021) to put on a game of Pike & Shotte.

Warlord’s Open Day has become a bit of a tradition for us and we’re always happy to make the pilgrimage to the Nottingham ‘Lead Belt’, the heart of wargaming in the UK!


Grab your tickets, while available, here - https://store.warlordgames.com/products/warlord-open-day-ticket-2021

Intro to the Open Day 2021 on YouTube here https://youtu.be/n1-tHvMQ1z4

We’ve decided to put on the Battle of Auldearn 1645, in a replay of the game we did in 2018. (You can read about it, including my brief historical introduction to the battle, on the Warlord site here https://www.warlordgames.com/warlord-games-open-day-auldearn-1645/.)  This is a nice compact game, with lots of nice scenery, and two tartan-tastic armies.  In the next couple of weeks I’ll share on the blog some of the things built or painted for Auldearn, as well as the orders of battle etc.

To start things off, here is how I re-created one of the iconic parts of the Auldearn battlefield; Boath Doocot.  This still stands today on Castle Hill, itself the remains of a 12th century motte and bailey castle. This hill was probably Montrose’s command position during the battle and also where the Royal Standard was flown. Archeology has also suggested that the Royalists may have had some artillery firing from this position.  

Boath Doocot - Auldearn

The Doocot, a Scottish version of Dovecot, was a traditional building to breed doves for their eggs, meat and droppings!  The current building held over 500 nest boxes. Recent archeology suggests that the current building was built later in the 17th century, after the battle, but it may have been built on a previous structure in the same position. Taking this information as the inspiration for the terrain piece I set about to model a similar round building.


I suppose that I could have just scratch built a round tower but I decided to use a plastic round tower as a base. This used to be available from Warlord, but is now sold by North Star https://www.northstarfigures.com/prod.php?prod=14747 .

I used just two levels to get the height I wanted for the Doocot.  The kit goes together fairly easily and is very solid.  It is definitely worth dry fitting pieces as a test when building as, although logical, there were no instructions in my copy.  

This most tricky bit was making the conical roof.  Now, I’d love to say that I fell back on my school geometry to work out the size of the circle required to cut to make the size of conical roof, but I have to admit that I ended up using trial and error and some card from packaging to get the right result. 16cm with a quarter of the circle cut out seemed to work.  The conical roof was bent in to shape and then held together with sellotape. The cone was then glued on a floor section, and the floor section attached to the tower. 

One distinct feature of the tower was a line of running around the building, about half way up the walls. A bit of research suggested this was a feature designed to discourage rodents etc. from scaling the walls to get inside.  Apparently this course of projecting brick work makes it difficult for rats etc. to scale the sheer walls, and then gain entry, to raid the nests inside. This line was replicated on the model with a thin strip of mounting board, glued around the tower.


The roof was tiled with strips of tiling available from Warbases in handy A4 sheets. This was a bit fiddly and I’m sure it would be possible to get a better finish if more care / time was taken.  The result here is ok, if you don’t look too closely!  The roof was finished off with a small cap of card. 


Next a doorway and windows were added using small pieces of card, balsa and a laser cut door, again from warbases. These were modelled on those of the current building there being nothing better to go on regarding the possible original building.

The building was also rendered over the plastic stonework using a mix of PVA and filler, coated in builders’ sharp sand.  The whole building was spayed in Humbrol Dark Earth before being painted. 


Some weathering with inks, and a dry brush finished off the model.  All that remained was to add some doves, found on eBay.

The finished model on top of Castle Hill

The final model makes a useful accent to Castle Hill, and for me really marks out the miniature battlefield as Auldearn, even if it is perhaps anachronistic! 

The village of Auldearn, with the Doocot on top of Castle Hill behind.

Next time I will cover the battlefield and orders of battle.

Alba gu bràth!

Andy @ The Friends of General Haig.