Showing posts with label Century. Show all posts

Saturday, 27 March 2021

Avanpost - a mini review

This blog post covers my experience with the Thirty Years Wars (TYW) figures from Avanpost Historical Miniatures.

28mm figures from Avanpost Miniatures - more details below.

I first became aware of this company a couple of years ago from posts on the Lead Adventure Forum (link), and I was instantly blown away by the quality of their figures. They are superbly detailed and lifelike.  I immediately ordered a few figures to see what they were like in the hand, and I wasn’t disappointed.

Avanpost are a Russian manufacturer and don’t have a traditional website/shop. They use a Facebook group to advertise their ranges (link).  You can also buy them through Mezzer’s Miniatures (link), a UK distributor. They have two main 28mm ranges; Napoleonic (French & Russian) and Thirty Years War (TYW). They also produce a range of really lovely 75mm models for collectors and painters. Their full ranges are available in cast resin, and most of the 28mm ranges are also available in metal. They are on the small side of 28mm and fit perfectly with Perry Miniatures ECW range. I have mixed them in happily with TAG and Warlord as well. However they might seem a bit incongruous in the same unit with Bicorne or Renegade which are at the bigger end of 28mm.

Most of the figures require some assembly, such as adding arms and sword scabbards.  I assume they are designed like this to make the casting process easier. The figures I received have needed little cleanup and fitted together very easily, whether metal or resin, with small dabs of super-glue. 

I have only purchased figures from their TYW range so far.  Unusually nowadays, the figures are sold individually which is a real boon when you are trying to find that extra drummer figure, or officer, for example. They cover pike and musket armed troops in a wide variety of classic poses. They also cover artillery (guns and crew), dragoons, harquebusiers, and cuirassiers, with command figures for all types.  The TYW range is pitched at the first half of the 17th century and would work equally well for the Wars of the Three Kingdoms (ECW). 

Avanpost figures straight form the packet - resin on the left and metal on the right.

Here are a couple of figures as they arrived from Mezzer’s Minis.  On the left is a resin wounded horse and dismounted cavalryman (an unusual and perhaps unique to Avanpost set!), and on the right a metal sergeant with halberd.  The separate pieces were easy to snip from the sprues, and to tidy up with craft knife and file before assembling with superglue. 

Avanpost wounded horse on a Charlie Foxtrot - dial / counter base

Here is the wounded horse after construction.  This is on a Charlie Foxtrot ‘dial counter’ base and will be used. as stamina / wound counter in Pike & Shotte games.

Avanpost sergeant in metal

Here is the sergeant after construction.  I intend to swap his halberd for a standard and he’ll join some of his colleagues on a foot command base.

Avanpost resin and metal figures - front view

rear view

Here are a group of resin and metal foot figures after construction. Hopefully the picture shows the fabulous level of detail in these figures, both resin and metal.


Here is a completed command base using figures from the previous picture. The figures were a joy to paint.  (One caution would be that the figures, both metal and resin, could do with a quick wash in warm soapy water before priming. )

The flags are from another supplier new to me, Adolfo Ramos (link), who is based in Spain. These are really nice flags, and there is a lot of flexibility available when ordering to choose the size of flag you want, and also to have them mounted with cords etc. I chose this ‘full service’ option for these two and was very pleased with the result.
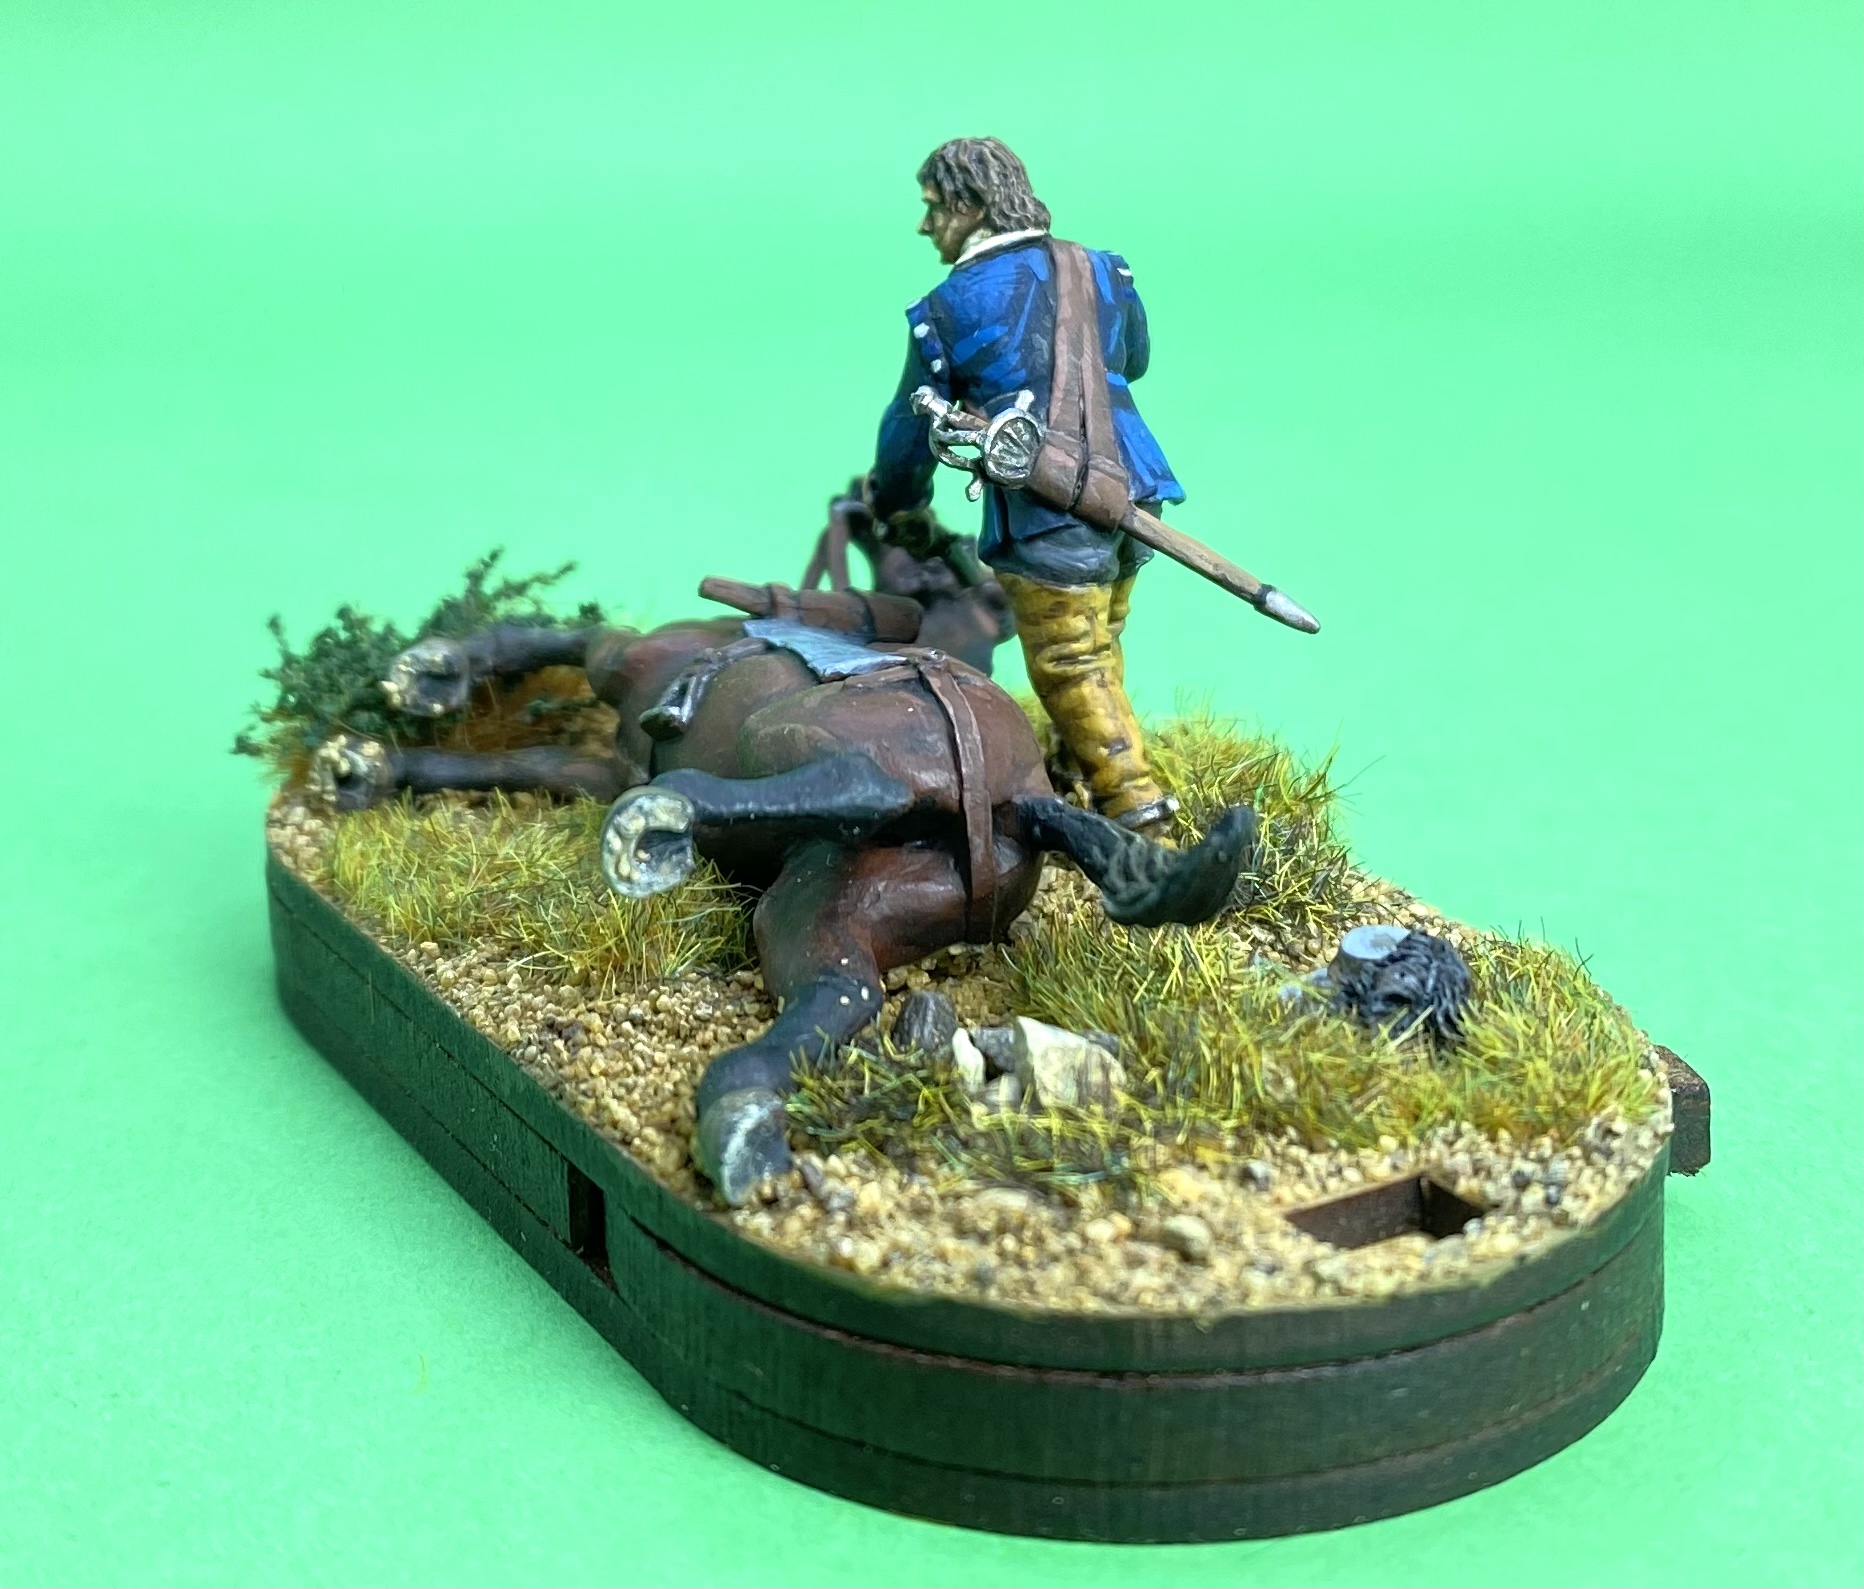


Above is the completed mini diorama for the stamina counter base.  I realise this is perhaps a rather morbid scene, but it’s a good reminder of how horses suffered in this period of warfare. I’m glad that Avanpost chose to include this in their collection so we don’t forget this point.

I have also purchased an artillery piece from Avanpost.  The gun carriage is in resin and you can choose to have the gun barrel in either resin, or beautifully turned brass! These brass gun barrels are little works of art.  I will probably paint over this, but it does provide the option of just weathering the bare metal for you finished model.
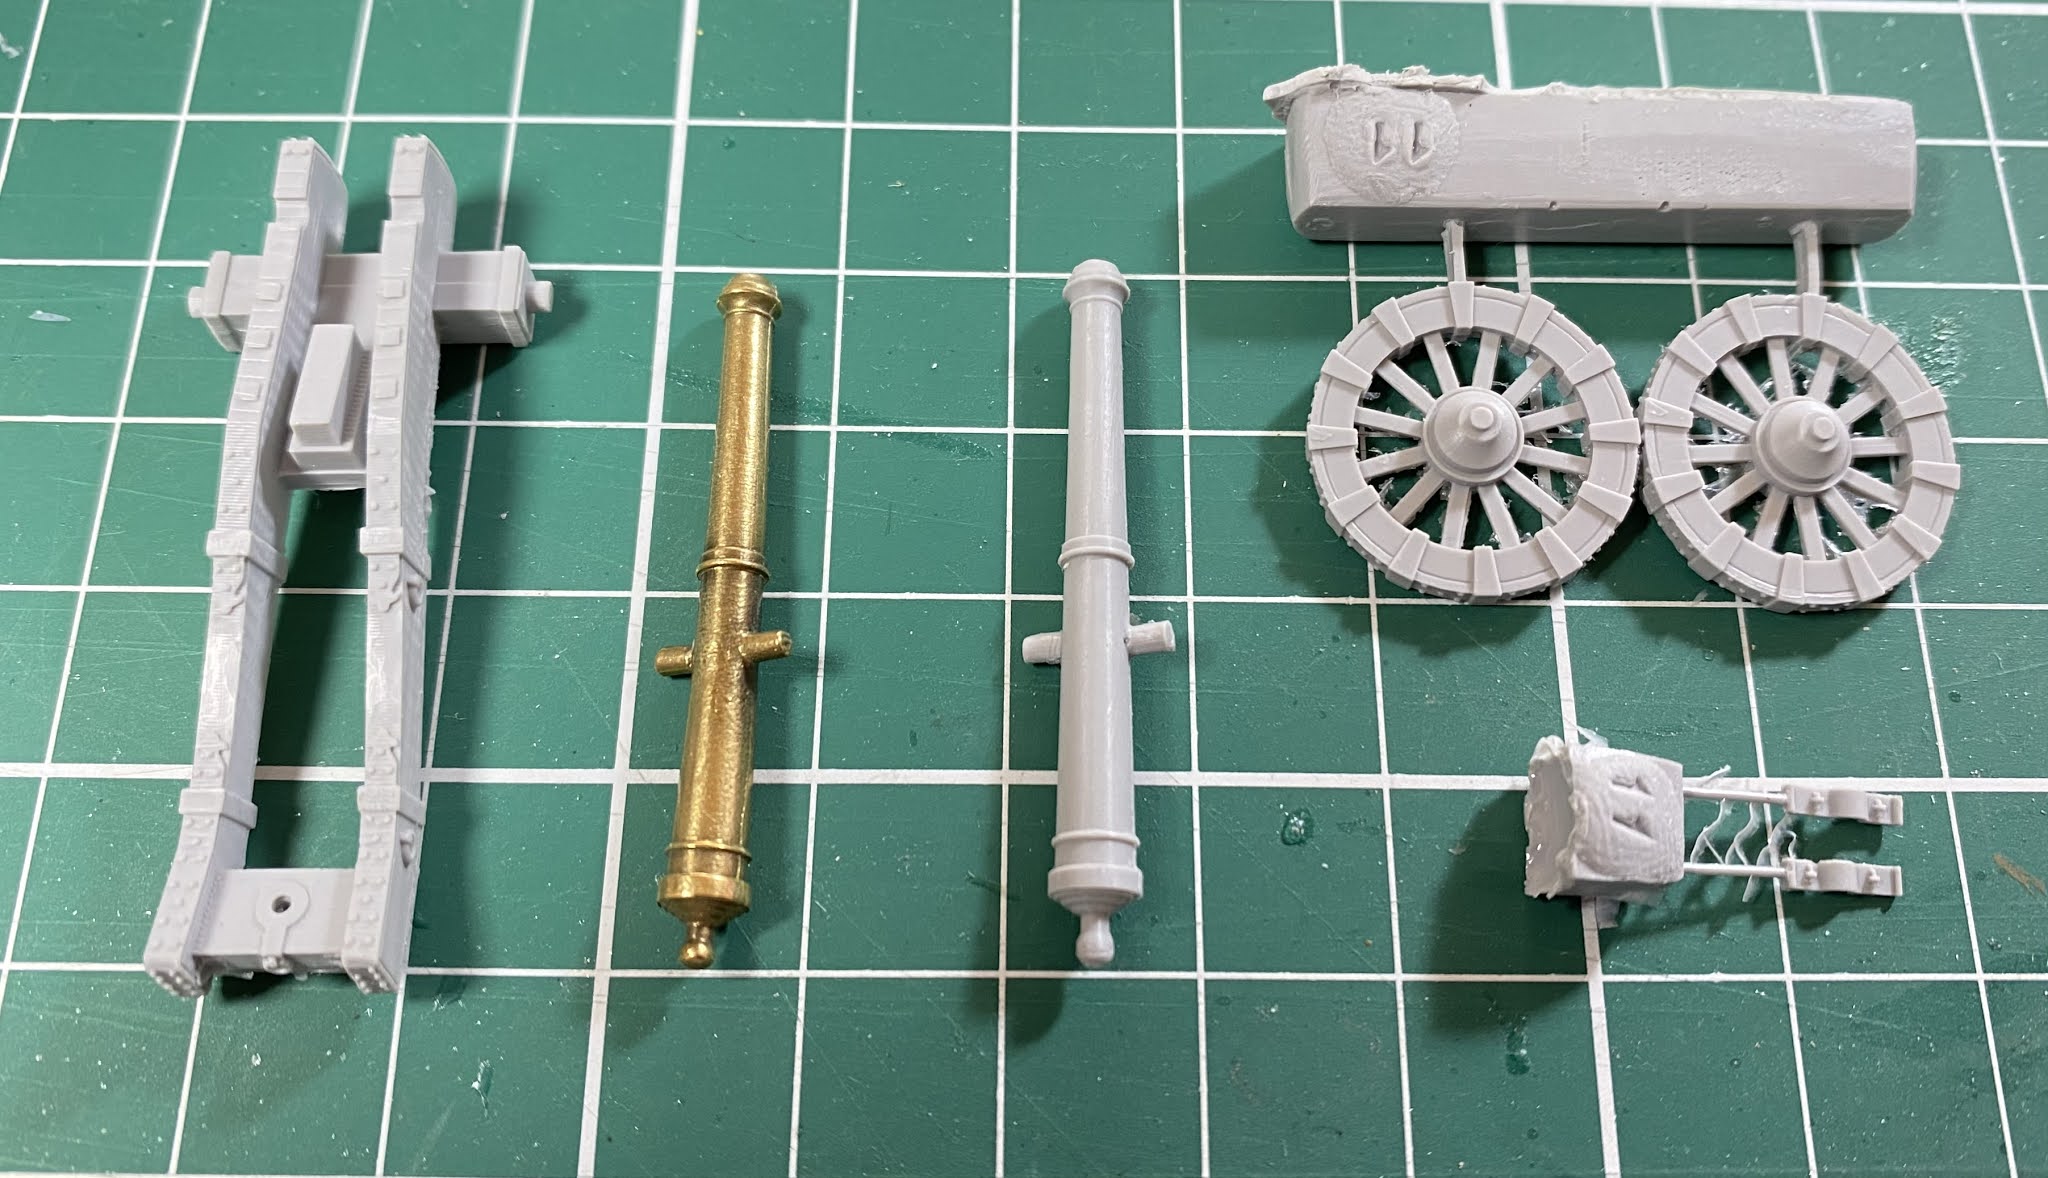
Avanpost artillery piece, with optional brass barrel included. I will use this as a light, regimental gun.

I have just two cautions that you should consider with the Avanpost figures. Firstly is that the resin is reasonably delicate and so when there are small parts that stick out on the resin figures I have found them prone to breaking when not carefully handled.  For example, the scabbards are very fine items, and a couple of times, when I have carelessly picked up a resin figure, I have broken their scabbards.  These are fairly easy to repair, but if you expect to be rough with your figures you should beware of this.  

The second item is, I suppose, both a plus and a minus.  Wargames figures from other manufacturers have traditionally been sculpted with parts of the figure slightly exaggerated; for example heads, hands and weapons.  This has been partly to do with what we think looks good, and partly to do with traditional sculpting and casting methods.   The Avanpost figures, on the other hand, seem to be very accurately sculpted from a scale model point of view, and this is apart of their appeal.  This scale accuracy includes their equipment and this means that when you compare an Avanpost figure to say, a Perry or Warlord figure, the Avanpost figures’ muskets appear to be much finer and smaller than those on other manufacturers’ figures.  Variety in figure height is ok by me (real people are different heights) but differences in equipment scale can be incongruous. For example, I would be nervous of fielding Avanpost musketeers with musketeers from other manufacturers in the same unit because of the different musket sizes.  I know that actual 17th century muskets did vary in size, but there is only so much difference my eye will accept. I would suggest you get a sample of two to compare with other figures to check for yourself. 

In summary, Avanpost offer a range of beautifully sculpted miniatures, some of which are unique to this period.  If you are interesting in playing games in the first half of the 17th century then I’m sure there is a space in your forces for some of these miniatures!  The range is still expanding with the recent release (in resin) of sword and buckler armed infantry. 

The final pictures show the command base with an also newly completed 1898 unit of musketeers.

An Avanpost command group leading a unit of 1898 Miniatures musketeers.

A “wargamer’s” eye view!

Until next time! 

Andy @ The Friends of General Haig (FoGH)

Sunday, 7 February 2021

More Husaria!

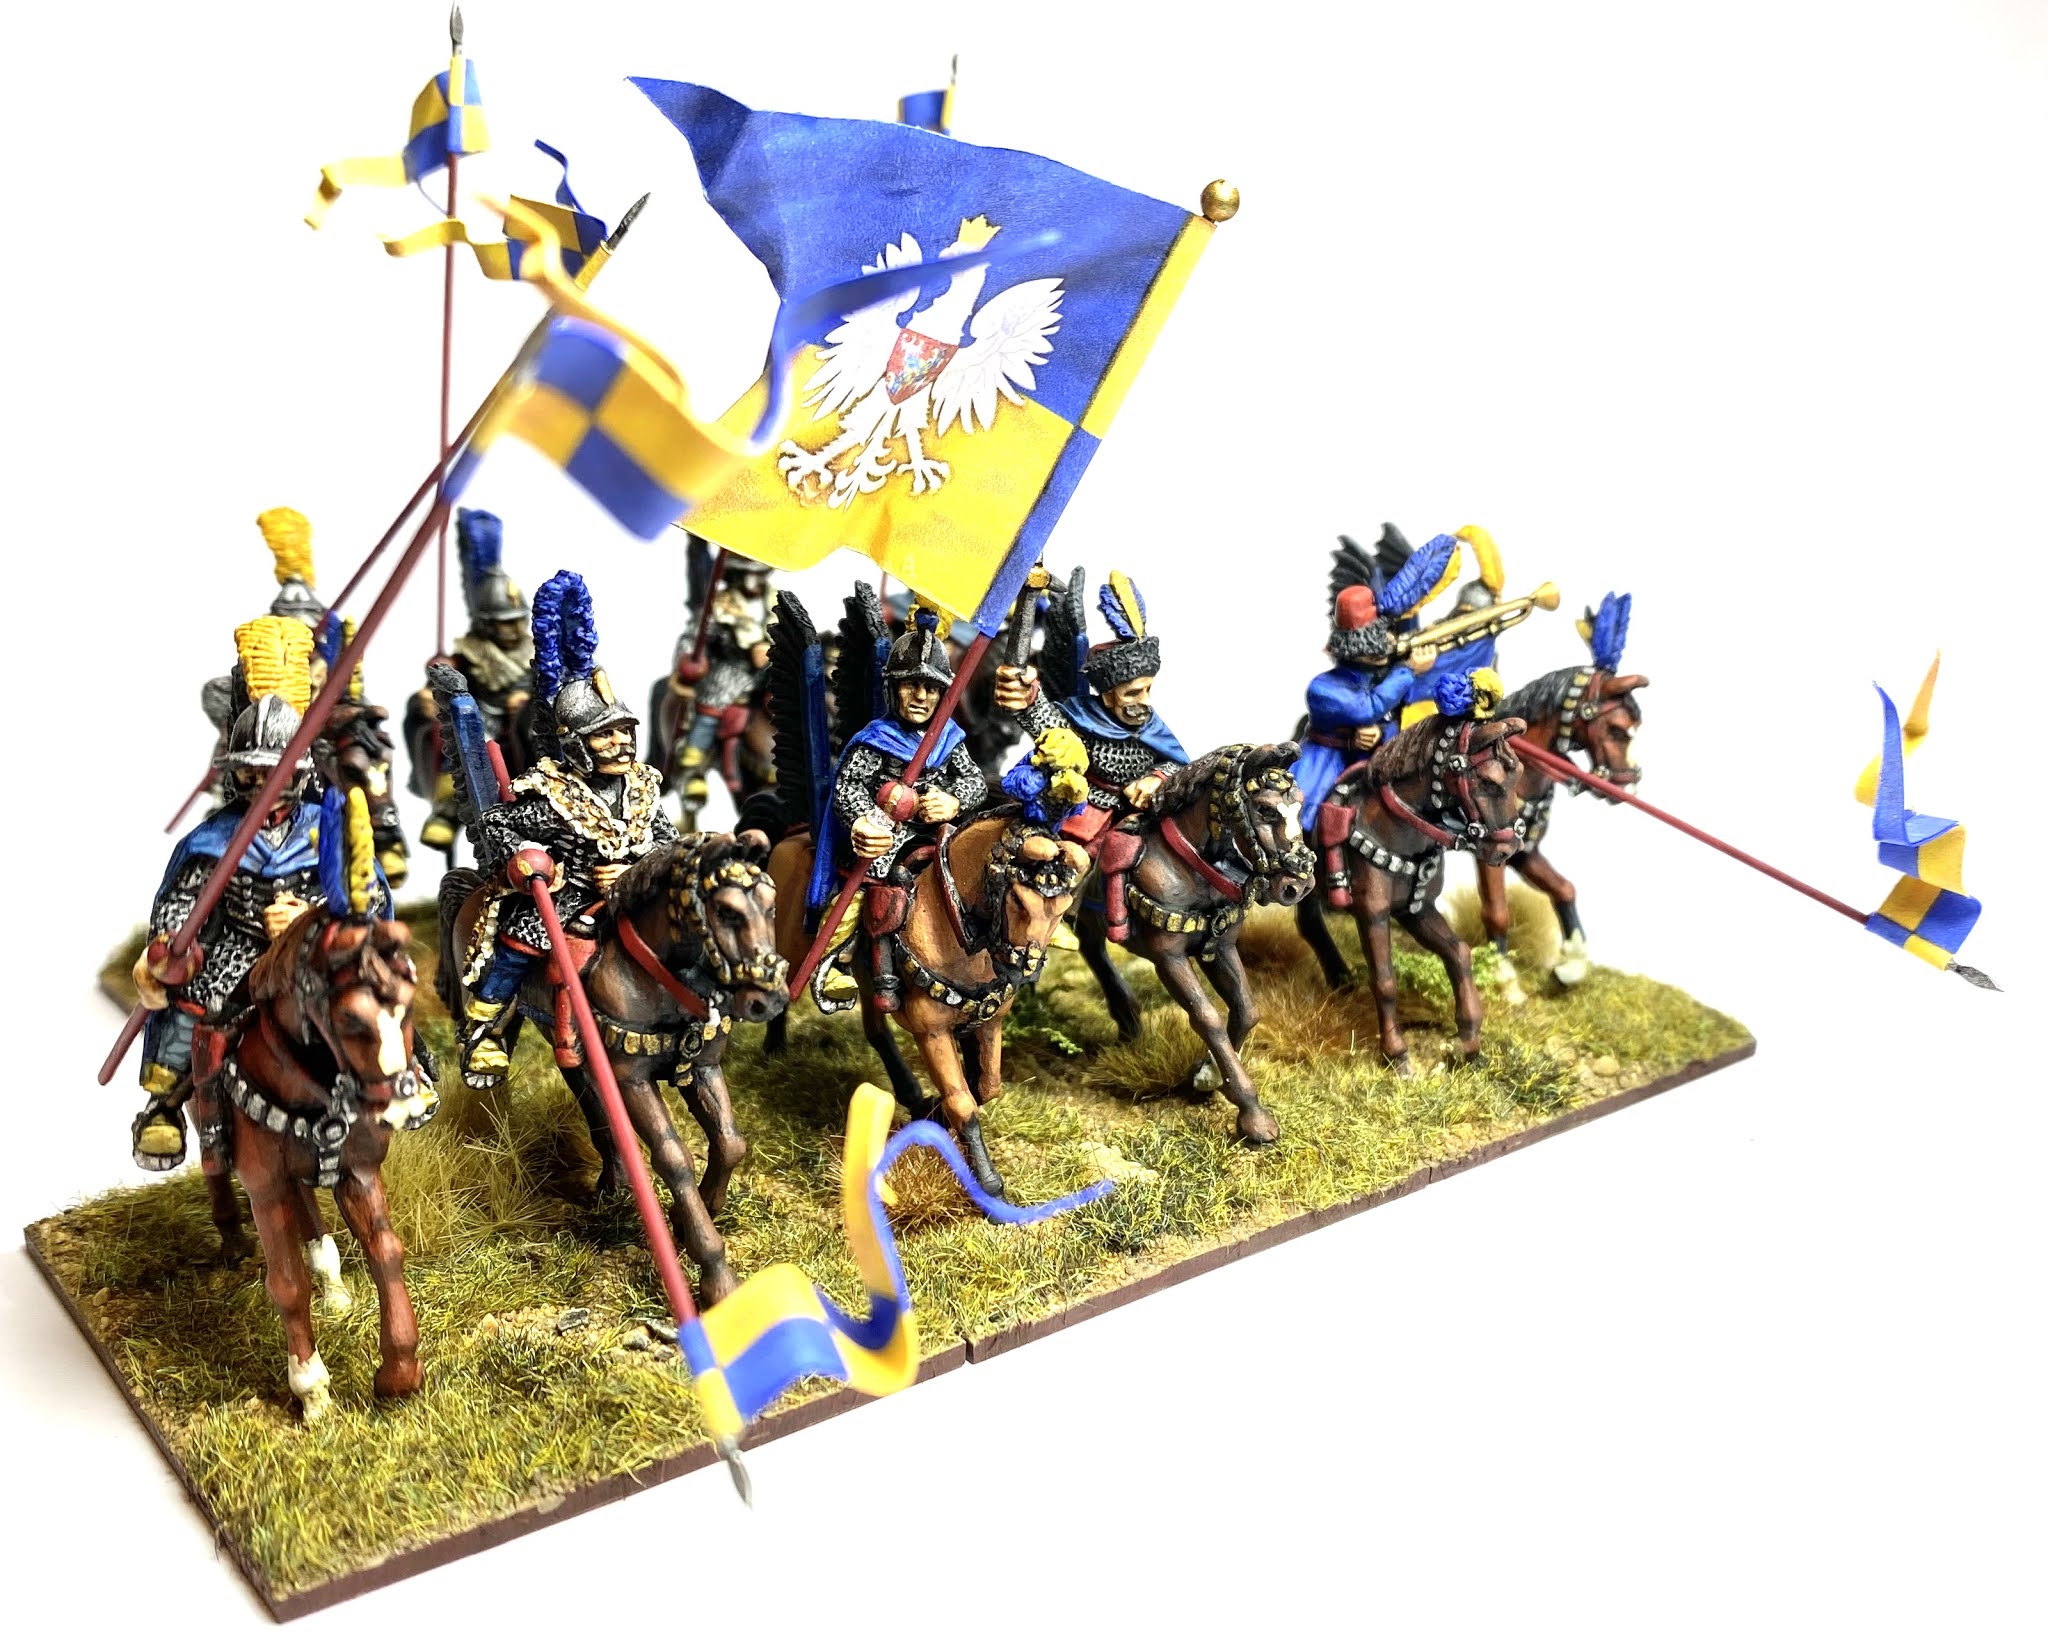
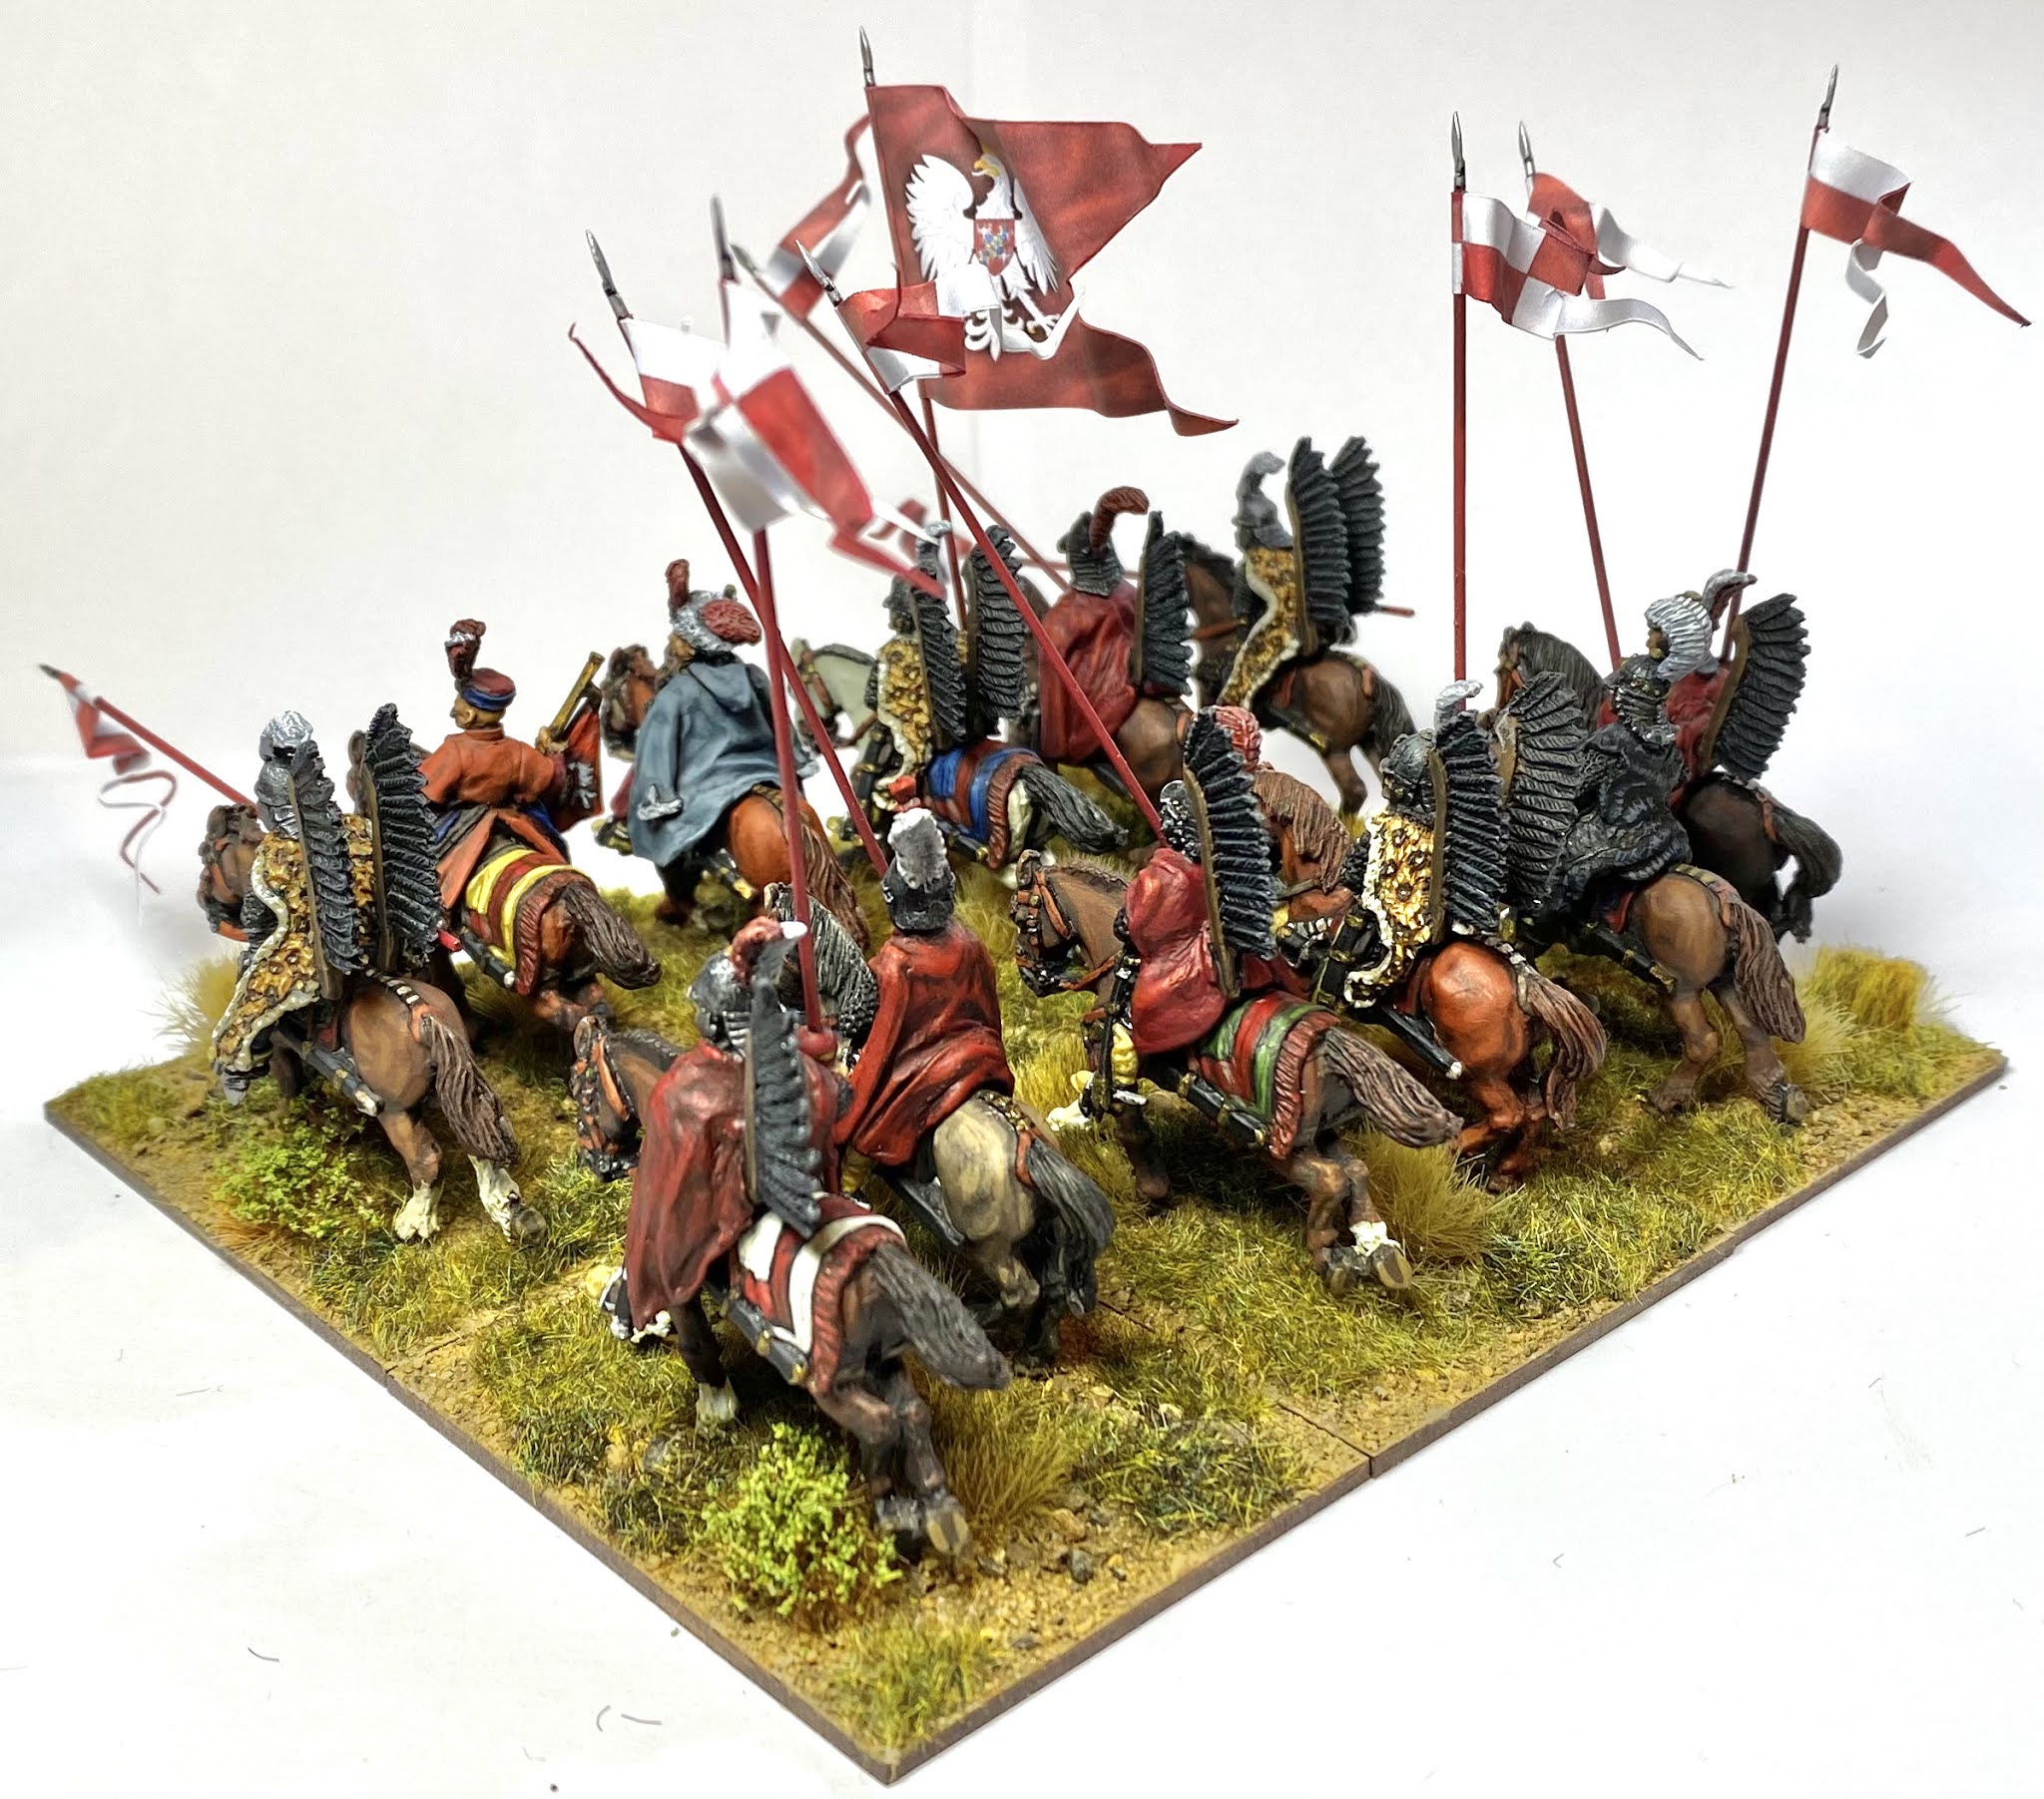
This blog post covers the second unit of Hussars for my 1620s Polish-Lithuanian Commonwealth army.

The second unit of hussars charges in to action!

In two previous posts I went through the research and building of the first unit of hussars - you can see them here and here.

This latest unit is made up of a mixture of The Assault Group (TAG) and Foundry riders, as before, but this time on TAG horses.  The TAG horses are nice clean sculpts and most have some fancy feathers etc. which are very suitable for the noble Hussars, who liked an ostentatious display. They also have a single pistol holstered on the right side of the saddle.  This is a nice touch as firearms were becoming popular with the Hussars in this period.  I’m not so sure about carrying only one pistol, but I expect someone out there knows if this is right?

Riderless horses ready for varnishing

I’ve added wings in twos, or singles, to most of the figures, but left some without.  In this unit the wings are attached directly to the horse, rather to the equivalent position on the rider figure.  As covered in the previous posts, I have decided to have wings ‘saddle mounted’ (rather than fixed on the rider’ backs) in ones or twos as limited to the richer / more showy individuals in the unit. The wings are a mixture of the TAG wings and the Foundry wings modified to be the straighter, earlier type.  The TAG horses have a slot modelled at the back of the saddle to take wings.  The Foundry riders needed some chipping and filing to make them fit in the TAG saddles and I had to keep riders and horses matched during the painting process so I could be sure of them fitting together at the end.

Although not always strictly historical, I like to have a colour theme for my units.  For this unit I had chosen a blue and yellow flag, with matched pennons, from Battle Flag.  I therefore decided to carry on this blue and yellow theme to the horse trappings, and also the Hussars’ cloaks and helmet feathers.  I chose to use a few different hues of blue to add some variety while keeping within the overall theme.  I used Vallejo’s Prussian Blue, Ultramarine, and Pale Dark Blue, and then shaded / highlighted each of these.  I also wanted to include red on the hussars as this was a popular colour with wealthy Polish nobles in this period.  

Riders ready for varnishing

I’ve not really found a yellow, to use over a black undercoat, that I’m super happy with in the Vallejo or Army Painter ranges.  I’ve tried using Vallejo Ochre Brown, as a base for yellow, and built up from that. This is ok, but I wondered if I should look at some other ranges.  I have been slowly getting more into the GW Citadel range of paints.  I already really like the various shades such as Agrax Earthshade, and have been really pleased with some of the red base + layer combinations.  They is a handy app called ‘Citadel Colour’ which helps translate from actual colours to sets of base, layers and shades from the (strangely named!) Citadel range.  From the app I found Averland Sunset as a base, with Cassandra Yellow as a shade, and then Yriel Yellow as a layer.  I bought this set of paints and I have found they work really well.  I also tried some of the Citadel metallics.  I must say that, despite the bottle’s pot design (rather than being in dropper bottles), the paints that I’ve tried so far have been really nice to use and I’ve become a bit of a convert!

Flags and lance pennons for the unit from Battle Flag

After painting the figures I brushed on a gloss varnish as a protective layer for the riders, horses, and the lances.  As mentioned the lances were getting a set of Battle Flag pennons.  The main unit standard is blue and yellow, split horizontally, with a white eagle in the centre.  I decided to repeat this on the trumpeter’s trumpet banner, that is cast on the figure.  The two colours was fairly straightforward, but the white eagle would be tricky.  A Google search threw up some potential transfers that looked like they could work from Vene Vidi Veci.  VVV do sets of 15mm and 28mm ‘medieval’ heraldry symbols that can be ordered in a variety of colours. I ordered sets of 15mm and 28mm from Magister Militum (link) in white, black and red. I ordered both sizes as I wasn’t sure how big they would be and wanted to make sure that they would fit on the trumpet banner.

Trumpeter varnished and ready for transfers.

Once I had the transfers I decided that the 15mm size transfer would work best on the trumpet banner. I haven’t used transfers for a long time and decided to give this fancy Micro SEL and Micro SOL stuff, made by Microscale, a try.  The figure was already gloss varnished, which is apparently the best base to start transfers from.  I cut out a small, white, single-headed eagle transfer from the VVV set and, using a pair of tweezers, dipped it in water for a few seconds. While the water was soaking in to the transfer, I painted a small amount of Micro SEL (from the blue bottle) on to the trumpet flag where I wanted the transfer.  The transfer was now loose after its short soaking and so I slid the transfer off its backing and positioned it on the banner with the same brush I used for the Micro SEL. The Micro SEL allowed me to move adjust the position of the transfer with the brush tip. When it was in the right spot I smoothed it down with a small amount more of Micro SEL.  After repeating this for the back of the trumpet banner, I set the the figure aside to dry.

Equipment for applying the transfers to the trumpet banner.

Once the transfer was dry I painted a small amount of Micro SOL on top.  As the banner was a fairly flat surface this last stage, meant to mould the transfer on to curved / uneven surfaces, was perhaps not necessary, but I wanted to try out the full process.  I left the figure to dry once again.  The flag design that I was copying for the trumpet banner has a small red shield over the eagle’s breast, and a yellow crown on the eagle.  At this scale, two blobs of colour, were good enough approximation of this design for me!  I‘m sure many people would have managed with some white paint to approximate the eagle, but the transfer was a neat way of getting a consistent result on both sides.

Trumpet transfer applied and dots of paint added.

With this last little job done, it was then time to glue riders on to the horses and finish the basing.  Once again, I used 50mm wide by 60mm deep and 2mm thick MDF bases from Warbases.  (Each base takes two horses.)  The basing technique was the same as on the previous unit here. So, here is the second unit finished.  (The eagle eyed will have spotted that there is a base of two figures missing due to a miscalculation in figure purchases. This has been rectified!)


With two units done I have had to restock my lead mountain with more hussars.  Next on the painting bench will be some command bases (and the missing base of two for this unit).  

Until next time!
Andy @ FoGH


Friday, 1 January 2021

Husaria - the Polish Hussars of the 17th Century (part 2)

In this blog post I continue the description of building my Polish army for the 1620s, starting with the famous ‘Winged’ Hussars.  In this part I get on to painting. (See Part 1 - here.)

Polish Winged Hussars looking awesome!

I am by no means an expert painter and so will not go in to too much detail, but will instead talk through some of the processes I used, and any tips I picked up along the way.

The horses were black undercoated, as already described in Part 1, and painted separately from the riders. Not much to report. I used triads of browns for most of the horses, with a grey added in for good measure.  I went for bright saddle cloths but resisted the temptation to try and spruce these up with any free hand detail. I reckoned on neat stripes looking better than poorly executed detailing.  After the paint was throughly dried I brushed on gloss varnish as a protective layer. 

Foundry Hussar horses ready for their varnish.

I also like to use a black undercoat on 17th century cavalrymen as I find it a good base for armour, and it also helps hide mistakes / missed bits! In my previous TYW armies I kept armour very dark as it was typical in the West to blacken armour to protect it from rust.  I made the Hussars armour brighter as this seems to have been more typical for them to not blacken armour (I guess they had more people available to shine their armour!).  For my first unit I chose several different shades of red for the Hussars’ clothing and cloaks, to make them look part of the same unit, without giving them a uniform.  Red was considered a higher status colour, and so popular with the noble Hussar companions. Yellow boots or shoes were also a must-have fashion accessory and so I used a Yellow Ochre for these on the figures which was a good match for the pictures in the Osprey books. 

Foundry and TAG riders with armour and flesh colours done. Numbering is to match riders to mounts.

One item on the figures that was a ‘first’ for me was the animal pelts.  These were very popular for the wealthier Hussars, and leopard skins seem to have been most popular.  It was not unusual to make fake leopard skins by adding spots to pelts from other animals.  I had never painted leopard skins before and so I resorted to searching YouTube for a suitable tutorial.  I found one (link) which was nice and straight forward, and I was quite pleased with the result.  Here are the steps I used. (All colours are from Vallejo Model Color range.)

First 131 Orange Brown as a base, leaving a gap at the edge.

Random ‘splodges’ added in 169 Black.

Base coat highlighted with 121 Yellow Ochre.

Splodges highlighted with 140 Flat Brown.

Splodges further highlighted with 121 Yellow Ochre

Edges painted with 124 Iraqi Sand.

Edges highlighted with 5 Ivory and 4 Off White.

I was quite pleased with the result.  At a wargaming, arm’s length, distance it looks like a good approximation of a leopard skin, although I don’t think it would fool a real leopard.  On the basis that many of the cloaks worn by the Hussars were ‘fake’, this might actually be a point in my favour! 

One other discovery perhaps worth pointing out was painting reds.  Although I have been a fan of black undercoating for a long time I have always struggled with reds (and yellows!) on top of black. As I wanted to use quite a lot of reds here I decided to investigate the Games Workshop (GW) paint ranges.  Those 40k Spaces Marines come in some very bright colours and so perhaps they have a trick or two up their sleeve?  I often catch the GW painting tutorials on YouTube, and one of their presenters, has recently gone solo (Duncan Rhodes, link) with his own tutorials.  These are all super easy to follow with all of the steps layed out very clearly.  After watching a few vids about some very red Space Marines I invested in a few of the GW red paints.  GW have a paint system which includes ‘Base’ colours, to give a nice opaque covering (even over black!) and ‘Layer’ colours, to highlight the Base colours.  The two red Base colours I have used give really good base coverage, even over black.  (You’ll have to excuse the strange names which I understand are used for the sake of creating a unique IP.) Khorne Red (Base) with Wazdakka Red (Layer) gives a nice carmine red odour.  Mephiston Red (Base) with Evil Sunz (Layer) gives a nice bright red.  I am pleasantly impressed and will be using these a lot, I suspect, in my Polish army.  

Lances made using 80mm brass spears (from Warlord) and with a small bead added to each. Undercoated with black spray primer. 

These reds certainly came in handy when it came to the lances.  These are typically shown as painted red, often with patterns.  I decided to keep the lances red, but fairly plain, with just a small detail on the hand guard.  (I will try to work up to stripes etc. for future units.) I painted and varnished the lances separately before attaching them to the figures.  One of the striking features of the hussars are the brightly coloured, swallow tailed lance pennons.  I bought some sets of these from Battle Flag (link).  I cut these out with a modelling blade and then glued them on to the lances. 


Once dry, I painted the edges of the flags (very important!).

Lance pennons and flag attached, with edges to be touched up.

Final steps were to glue the riders on to the mounts, matt varnish over the complete model, and then gluing the lances on to the riders. It was great to finally add the lances; the figures seemed to come to life with the lances in their hands!

A finished Hussar with his lance added.

To complete the unit I followed my normal basing approach.  The figures were glued, two figures to each 50mm wide and 60mm deep MDF base, from Warbases (link). The bases were then covered in an earth coloured paint and PVA glue mix, and sharp sand sprinkled on to the mixture while it was still wet.  Once the PVA mix was dry it was dry brushed with a beige colour, and then static grass and tufts were glued on with more PVA.

Hussars glued to MDF bases from Warbases.

With a final fanfare of trumpets my first unit of Hussars was completed!

The finished unit charging in to action!
I really like the impression of the swirling lance pennons.

There they go.

Drone shot!


It feels pretty good to have the first unit done.  I realise that I have made a bit of a ‘song and dance’ over one unit of cavalry, but I really enjoyed putting it together, and trying out some new techniques.  I’m also pleased that the unit looks like I’d hoped it would, and should give a good impression of a 1620s Hussar formation.

Next in the painting queue is another unit of Hussars.  I look forward to pushing through a bit faster on this one, using all of the lessons learnt on this first unit. 

Until next time!

Andy @ FoGH.