Showing posts with label command base. Show all posts

Wednesday, 23 February 2022

Haiduk Command

 In this latest blog post I tackle some command bases for my Polish early 17th century Haiduks.
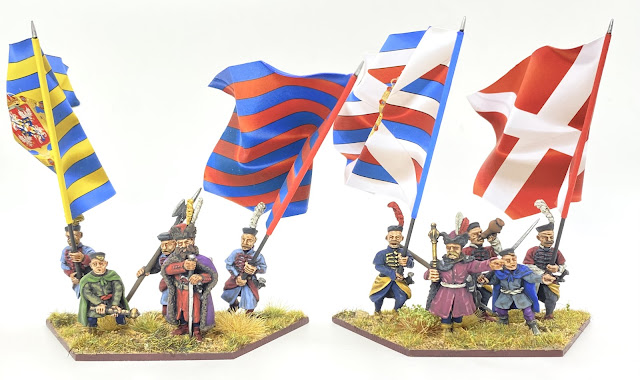
Haiduk Command Bases with Foundry and TAG 28mm figures

Units of Haiduks, known as ‘Banners’ were led by a Rotmistrz and included ensigns, musicians and NCOs known as tenth men. I thought that representing these on a base would add some colour to my Polish infantry. 
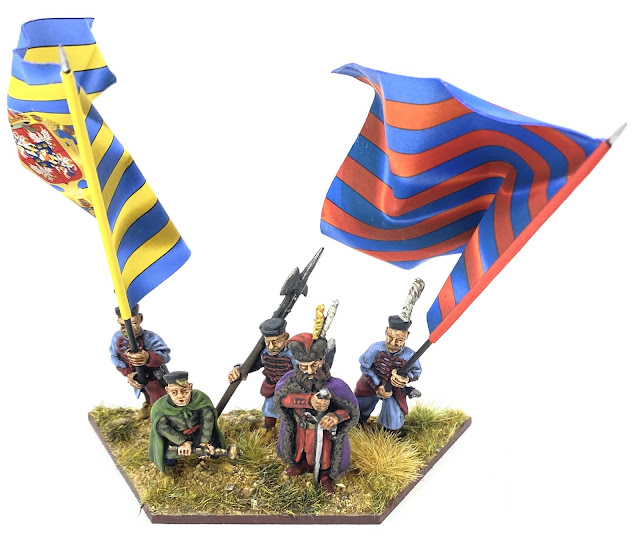
Both Foundry and The Assault Group (TAG) have Haiduk command figures and I’ve mixed these two manufacturers to form two bases. 
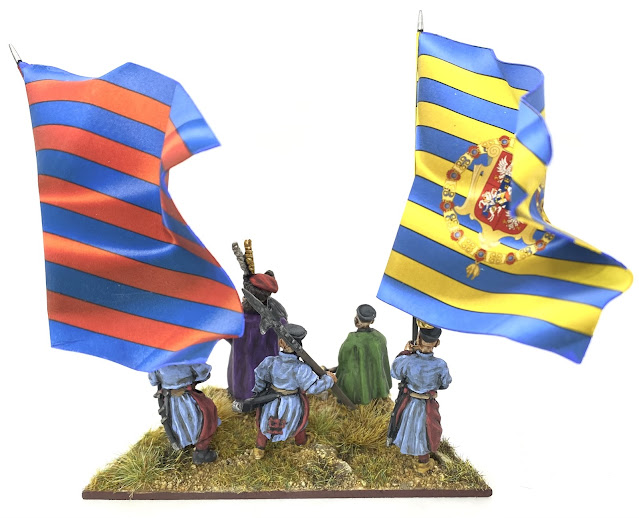
The Rotmistrz was allowed a servant ‘boy’ on the Banner payroll as an assistant, and servants are frequently shown carrying weapons for officers. Both Foundry and TAG have a boy carrying weapons in their command packs, following the illustration in the Osprey Men-at-Arms on the Poles. The Rotmistrz and his boy were dressed and equipped at the Rotmistrz’s whim and expensive. As a noble we can expect rich clothing, featuring furs for the Rotmistrz himself.  The ceremonial mace or Bulwa was a symbol of rank, and a large two handed sword seems to have also been a popular weapon. In one of my command groups the Rotmistrz has the sword and his boy is carrying the his Bulwa. This is reversed in the other group. 
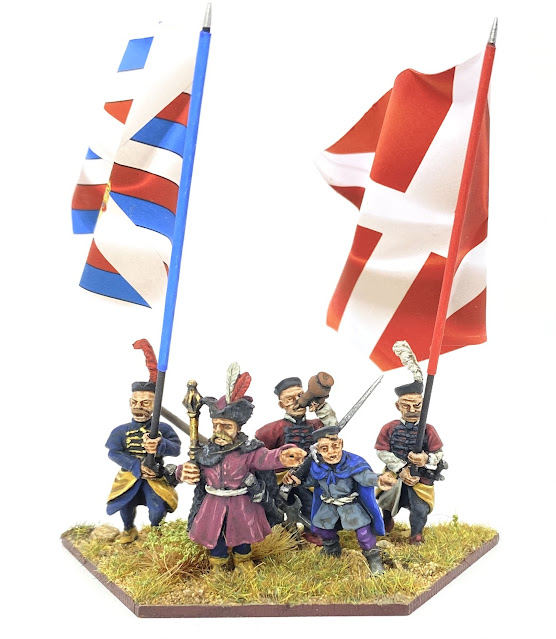
As discussed in my blog post on the rank and file Haiduks they were, unusually for the time, uniformed. The ensigns and tenth-men may have had a fancier version of the uniform but I’ve decided to keep with the same colours as the rank and file. 
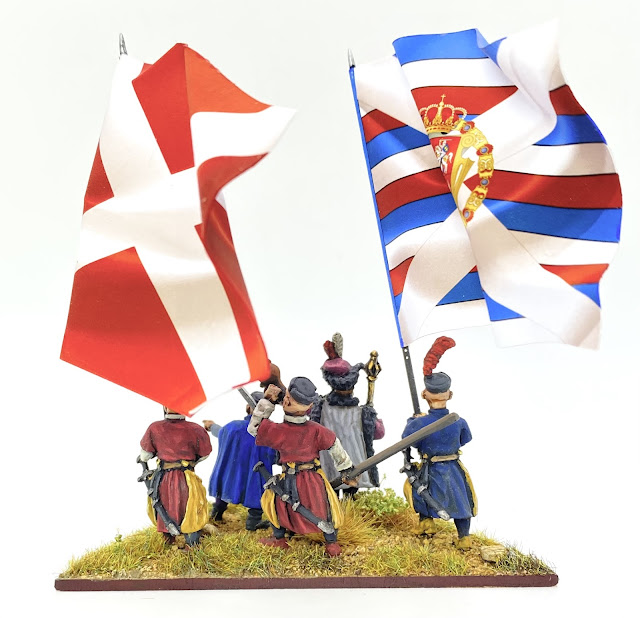
For the flags I have used those distributed for free on a blog here: https://www.anotherminiaturespainter.com/wargames/28mm-polish-renaissance-cossack-flags/ . The blog includes a set that work well for Haiduk units and are inspired by the Stockholm Roll (https://commons.wikimedia.org/wiki/Category:Stockholm_Roll).  These are large flags, but match the size of those shown on the Stockholm Roll. The Poles did use flags larger than used in Western Europe, but even if these may be oversized, they will certainly look spectacular on the table!
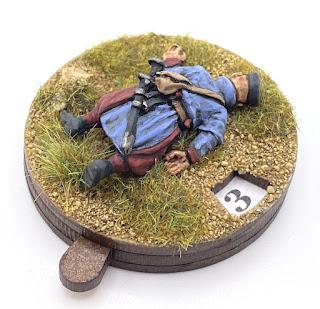
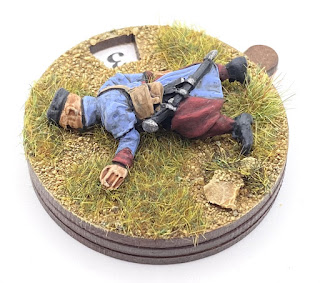
TAG Haiduk Casualty on a Warbases Counter Base


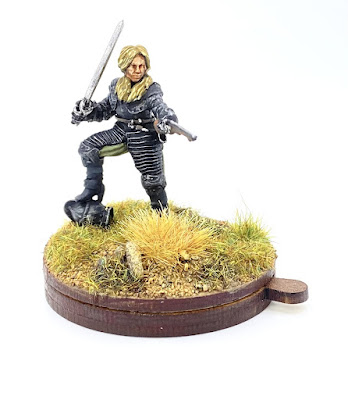
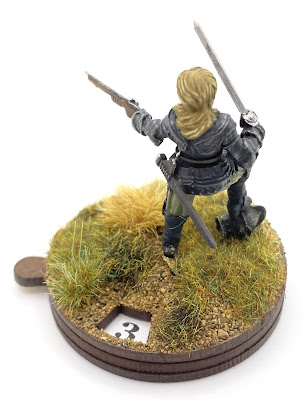
Wargamer 1666 Character ‘Octavia’ on a Warbases Counter Base

To go with the command bases I also painted a couple of figures to go on Warbases casualty counter bases. The first is an out of action Haiduk, and the second is a slight whim of fancy. I saw this figure for the 1666 game from Wargamer (https://www.wargameruk.com/shop/anno-domini-1666/2) and thought it would be fun to paint. I’m also short of casualty makers for my cavalry units and so an unhorsed cuirassier figure should be just the thing.
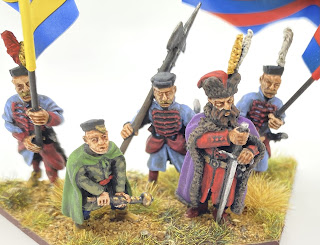
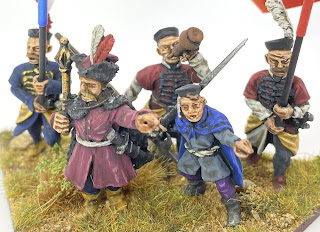
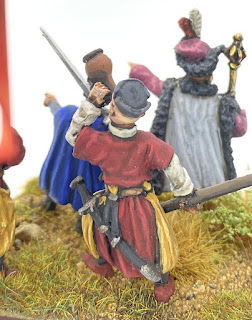
Some ‘Dutch Courage’ for this Tenth-Man.

The next unit on the painting bench is going to be from the new 1898 Thirty Years War cavalry range. I’m looking forward to it.

Until next time,

Andy @ The Friends of General Haig 


Wednesday, 17 March 2021

Foot Command Bases

This post covers a new approach I am taking in my 17th century armies to how I represent my infantry units, and in particular the command figures for these units.

28mm Figures from 1898 Miniatures (command stand), then a mixture of Warlord metal and plastic musketeers.

First of all, it is probably worth saying, that this has nothing to do with the requirements of one particular ruleset, nor is it about making anything ‘more historical looking’. It is about making the miniatures look good, to me, on the table top, and also about making units flexible to use in different formations.

Background 

Up to now my foot units have typically had one base within the unit that includes the ensigns or standard bearers. In a period with either no uniforms, or what uniforms there were being vaguely understood now, it is often the unit’s flags that gives the strongest indication of what the unit is trying to represent. Also, I think flags look really good and so try to have two of them in most units. Along with the two standard bearers I typically include an officer and musician (most often a drummer) on the base. The officer’s sash can also suggest a particular historical force (although not as often as we’d hope).  Therefore you can see that by changing this single command base you can swap the unit for use in a different army. 

A regular Pike and Shot unit. Note the command base in the middle.

My basing system for foot figures is to use four 28mm figures on a 40mm square base.  This system, with my approach to command bases, means that three bases makes a nice central pike block; two bases of pikemen either side of a central command base. The full regiment or battalion therefore looks like this.

New Requirements 

More recently I have been looking at representing formations that don’t fit this approach, such as the Swedish brigade formation that Gustav Adolph used for his Swedish infantry. I’ve also been looking to experiment with other rule systems, some of which use the whole unit frontage as a measure in the game, that means this 360mm (9 bases each of 40mm width) wide formation isn’t very convenient. If I was able to have the command base outside the regular rank and file bases then it would make it easier to change units about.

Half-hex, 2mm thick, MDF from Warbases.

A solution to this was suggested when I looked at some of Barry Hilton’s units on the League of Augsburg site (link). Barry sometimes uses a base that sits in front of the rank and file bases.  I have seen he has used half hex shaped bases in some cases, and I think this looks quite neat. So, a brief email exchange with the ever helpful Warbases resulted in me receiving some half-hex 2mm thick MDF bases. These are 80mm point to point.

Here is my first new style command base.  These figures are from 1898 Miniatures ‘Tercio’ range (see previous blog post here for more details on 1898). The flags are slightly modified from Flags of War.


Command base - 28mm from 1898 Miniatures, ‘Tercio’ range.

This base can be placed at the front of a unit.  The idea is that it doesn’t count as part of the actual unit for the purposes of the game - it is just there for show.  

New system command base leading the unit.

It can also be placed behind units such as when the unit is in combat. 

Command base at the back of the unit - smaller unit with 6 bases.
Here are some more pictures of formations showing how the new command base will fit in.  I think it provides a flexible way having different formations and still have the command base ‘look right’.

Command base with a 3 base unit.

Command base with a two base unit.

Leading column of march.

Interesting option for ‘Charge For Horse’.

I am pleased that this experiment seems to have worked out.  I will build my command bases like this going forward.  I want to try it in some games (when we can do those again!) and if it still seems like a good idea then I will consider going back and rebasing some of my old units.

As well as 1898, I have also been painting up some figures from another smaller TYW manufacturer. These will have to wait for the next blog post.

Until next time!

Andy @ Friends of General Haig.

Friday, 22 March 2019

Last Roar of the Lion

This post gives the background to my Gustav II Adolf command base for the Lutzen game.

Gustav II Adolf, the 'Lion of the North' is one of the iconic figures of the Thirty Years War, and is famous amongst wargamers for many military innovations.  Lutzen, 1632, was the second and last of Gustav's major battles in the Thirty Years War.  His death in the battle cemented Gustav's position as a hero of the Protestant cause at the time, and as a national icon for Sweden to this day.

In some ways you could say that Gustav was a risk taker.  He was not the sort of general who commanded from the rear.   He took decisions based on being in the thick of the action.  There appear to be numerous occasions in his earlier Polish campaigns where he narrowly missed serious injury, death or capture.  It was one such narrow escape which saw him wounded and this wound which continued to make it too painful for him to wear armour.  So, at Lutzen the scene was set.  Being at the front of the action led to Gustav receiving another wound.  While trying to retire to the rear, poor visibility seems to have led to Gustav and his entourage blundering in to the path of Imperial cavalry who recognised a senior enemy commander, even if they were not sure of who exactly it was.  His entourage were either killed or dispersed, and Gustav was killed trying to escape.
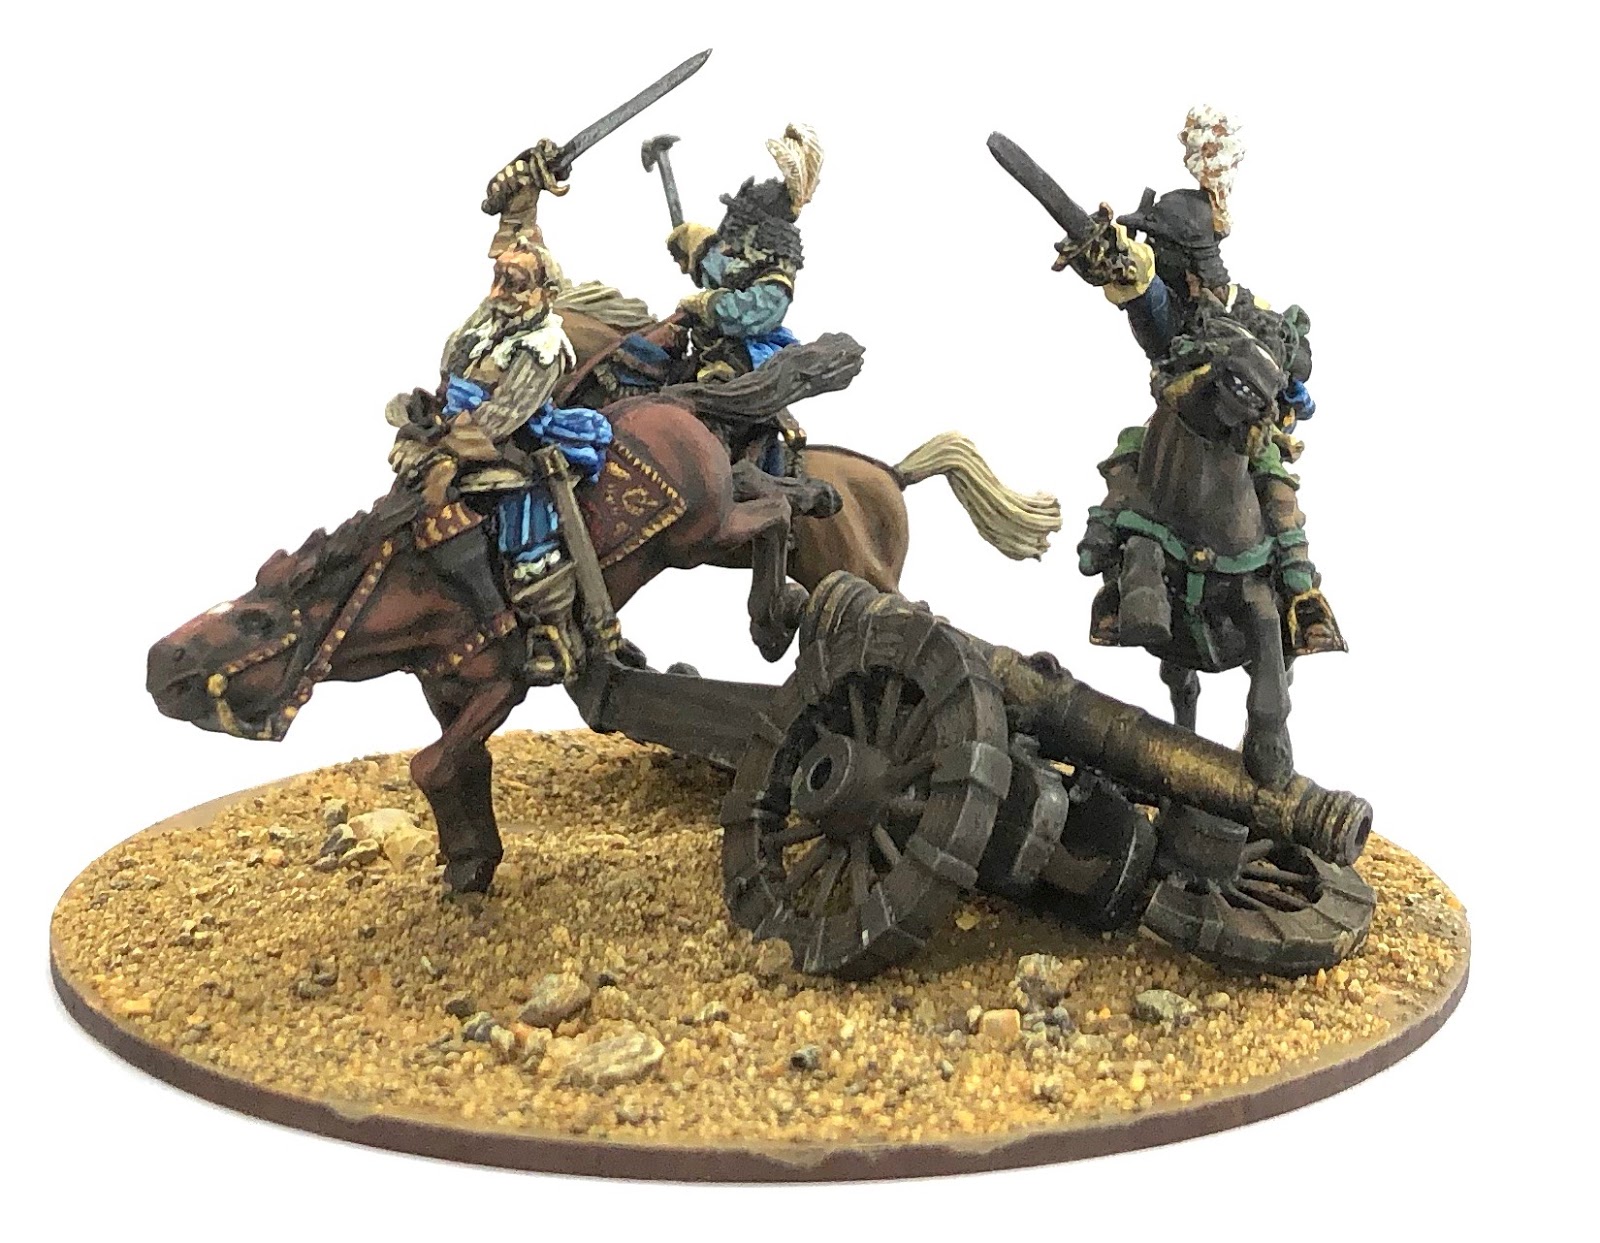
As I said in my previous post, I really like the Warlord Games Gustav figure (here).  He is in a really dynamic pose, charging in to the thick of the action.  Very in character for him, especially at the battle where this boldness probably led to his untimely demise.  His horse appears to be just landing after jumping some obstacle.  I used an old cannon model I had in my bits box to provide the obstacle that Streiff, Gustav's mount, had just leapt over.  Interestingly Streiff, who died after the battle, was stuffed and is still to be seen at the Royal Armoury museum in Stockholm (link).
The model was a joy to paint.  A nicely detailed metal casting that fitted together (man and horse) very easily.  I undercoated in Humbrol enamel matt black (seems to be a growing trend!) and then painted in Vallejo acrylics.  Finished off with a coat of Daler-Rowney matt acrylic varnish, which I find to be the mattest finish out there.  I have tried to give an impression of Gustav in the same clothing looted from his body in the battle, riding Streiff.
Gustav is accompanied by two equally excitable companions, also leaping their horses over the broken cannon debris.  These are two further Warlord figures, Fairfax and Rupert.  Rupert went together very nicely, while Fairfax needed a tiny smidge of green stuff to make the join between his body and legs work.  I also decided to change Fairfax's helmet.  He has a very nice three barred English pot helmet, with the three barred visor raised.  This type of helmet is more typical of the English Civil Wars rather than the conflicts on the continent.  I snipped off the raised visor, and then cut this down to be just a peak that I glued back on to his helmet.  I then added small pieces above and below the peak to represent the adjustable nasal bar of a Dutch pot helmet.  A bit fiddly but I think it looks ok.

I still need to add some flock and tufts, but I am pretty pleased with the command stand.  I hope Gustav will be luckier at the Lutzen refight on the 6th April and manage to survive!

Until next time.