This post looks at how the tabletop battlefield was recreated for the refight of Dirschau / Tczew 1627, taking place at Salute 50, 22nd April 2023.
 |
| The Swedish army arrayed before their camp, and the town of Dirschau / Tczew 1627, from a dress rehearsal of the battle. |
Introduction
One of the key reasons I chose to base my Polish-Swedish 1620s wargame project on the Battle of Dirschau/Tczew in 1627 was that the terrain for the battlefield looked varied and interesting.
 |
| A contemporary illustration of the battle from the point of view of the Polish camp. Perhaps not much help at the large scale, but lots of interesting details. |
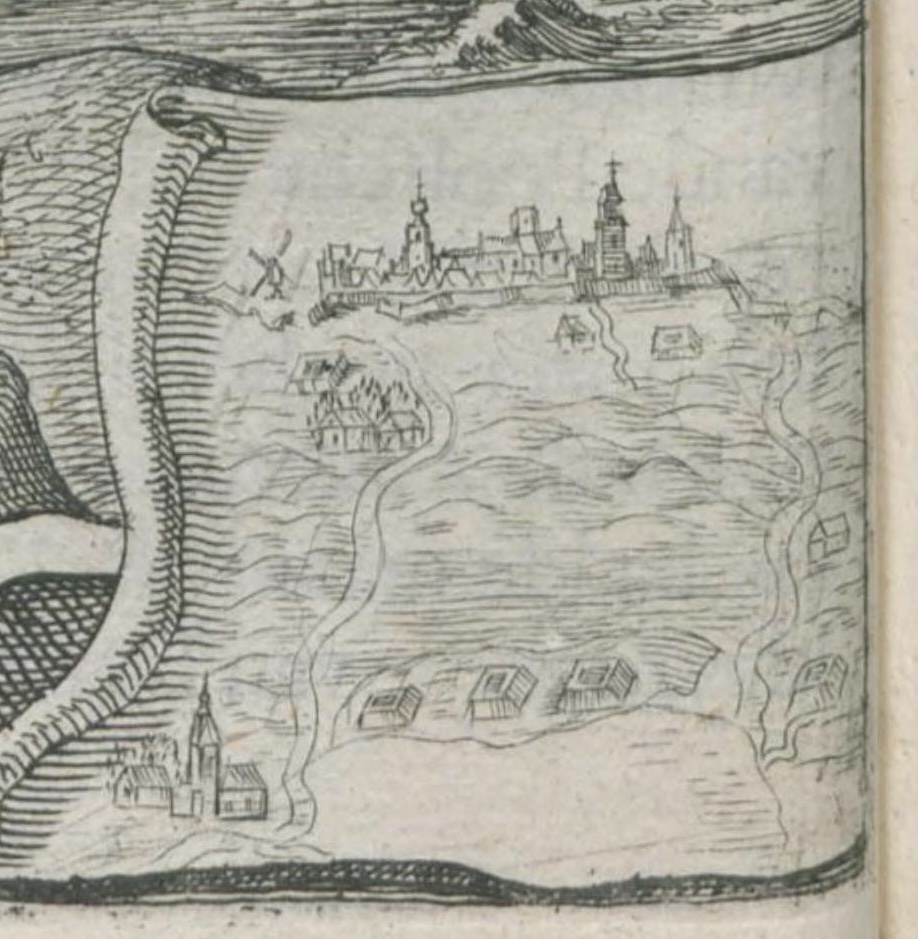
The battle takes place beneath the walls of the town that provides the battle’s name: ‘Dirschau’ to German speakers in Polish Prussia, or ‘Tczew’ to Polish speakers. The medieval walled town was further fortified with earthworks by the Swedes, who also built a large fortified camp next to the town. To the west of the town there was a series of marshes, streams and canals, beyond which was the Polish camp also protected with earthworks. The battle takes place in the area between the marshes and the town, constrained by canals to the north, and rising, rough ground to the south. Some small villages dot the edges of the battlefield, which is criss-crossed with local roads and tracks. This all seemed achievable while also providing plenty of interest.
 |
| Detail from the contemporary picture, showing the town - with windmill! |
 |
| Contemporary plan of the town, theSwedish fortifications and camp. |
 |
| A contemporary illustration of the town and fortifications. |
Dimensions
The first consideration was the dimensions for miniature battlefield. I normally start with the assumption that one axis of the table will be 6 feet (or 2 metres) as this seems to allow for the limit of the typical wargamers’ reach when standing on either side of the table. The ‘teddy-bear’ fur mat that I was hoping to use was roughly 10 x 6 feet so this made a starting point for planning the tabletop battlefield.
 |
| The battle as depicted in “Sveriges Krig”, created by the Swedish Army General Staff in the 1930s. |
I found an online map of the battle of Dirschau taken from a series of volumes published as part of an extensive work on the ‘Swedish Wars’ by the Swedish Army General Staff in the 1930s. While I was cautioned that this map had some in accuracies such as with the fortifications shown (some were constructed, or planned to be constructed, later than 1627) it did provide a useful starting point. The map also showed the deployment zones for the two forces. The strength and probable deployment of the Swedish cavalry on the first day of the battle is relatively well documented. By translating the historical Swedish deployment into tabletop units I was able to produce a rough ‘tabletop to map’ scale by comparing the space occupied by the Swedish cavalry as wargame units, and their equivalents on the map. The result was that the width of the battlefield needed to be between 5’ and 6’ on the tabletop.
 |
| The detailed view of the battlefield overlayed with a grid, roughly scaled to 10’ x 6’. |
I used PowerPoint (any drawing app that allows you to combine graphics and images would do) to overlay a 10 x 6 scale grid on the image of the Dirschau map. My rough ‘tabletop to map’ scale (the Swedish cavalry should be deployed around 5.5’ across) allowed me to size the grid, and then adjust its position over the map, showing where terrain features would fall on the grid representing the virtual table.
 |
| The final planning grid, scaled to represent 12’ x 6’. |
It became obvious that I needed a slightly longer playing area to include some of the town as well as the Polish camp. Also, after playing a few practice games with the growing armies it became clear that all of the terrain I wanted, and all of the figures would be a squeeze on 10’ x 6’. I therefore took the plunge, ordered more faux fur material, and extended the mat to allow a playable area of 12’ x 6’.
Base Layer
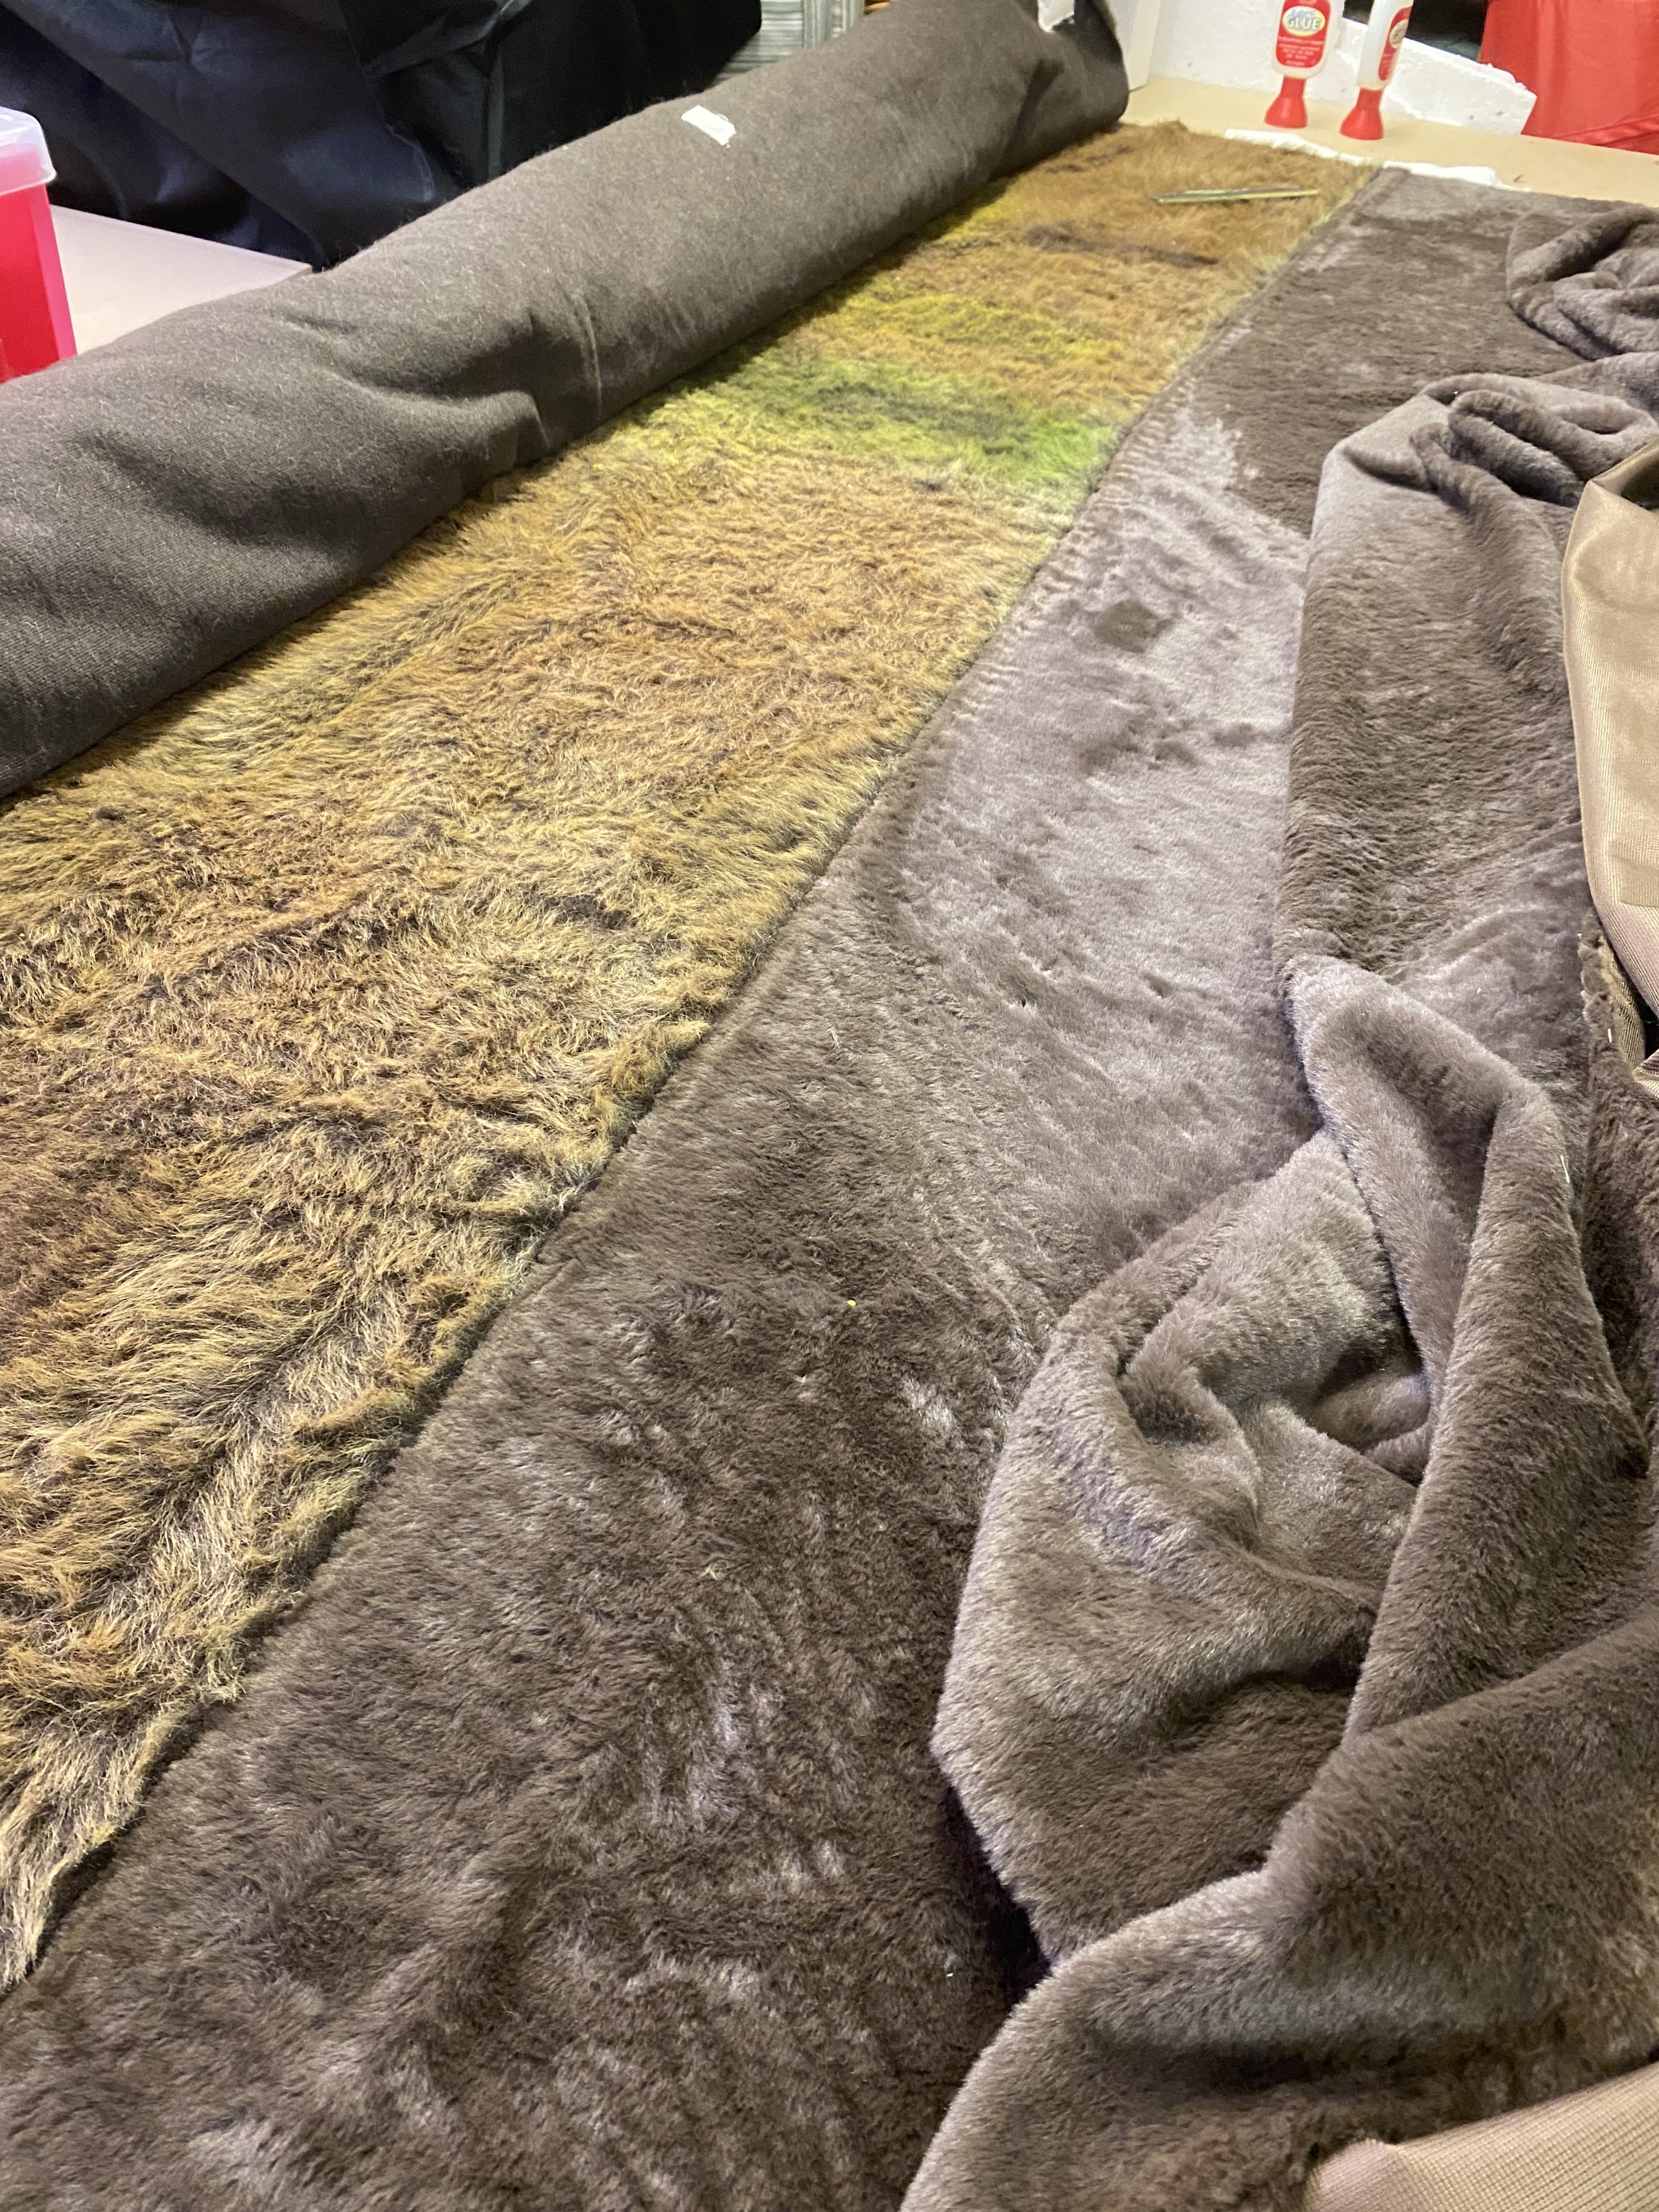
As mentioned above, the basis for the terrain was a ‘teddy-bear’, or faux fur, material matt. I had joined together two fur matt’s from Killing Fields (currently out of production, but suggesting they will be back at some point - see their page on FaceBook last updated Jan 2023). You can see details of the original process joining two separate cloths together, with a custom paint job, in a post from back on October 2021 (https://theviaregia.blogspot.com/2021/10/adventures-with-fur.html) . I needed to further extend this supersize mat, but as Killing Fields mats were not available I needed an alternative.
 |
| Extension to the fur mat to grow to 12’ length. (No teddy bears were harmed in the making of this mat!) |
The really nice thing about the Killing Fields fur is that it has a two tone effect. The base of the fur is dark brown and changes to a pale green at the fibre tips. I couldn’t find an equivalent fur to buy in the UK and so I decided to try some short plush fur in dark brown instead. My logic was that the extension to that matt would mainly fall under the town of Dirschau and the Swedish camp and so long fur was unnecessary. The colour choice turned out to be a mistake. Dark fur material is very difficult to colour / paint and so my normal fur painting process didn’t have much effect. Some googling and experimentation showed me that there is an acrylic paint designed for material and it comes in white. Several coats of the white fabric paint were required to cover a dark base fabric, but this allowed me to then use my normal painting technique, and to paint on greens and ochres to match the main part of the matt. Phew!
(Apparently this white fabric paint is much favoured by those trying to rescue their white trainers that have become marked - who knew?!)
Scale
There is a major issue with trying to recreate terrain for a typical figure based wargame and that is one of scale. A unit of twelve 28mm cavalry figures may be representing a unit of 300 actual men. The figures are therefore massively out of kilter with the ground scale they are meant to be taking up. This is most obvious with man made features such as buildings. For example even a small house that is to scale with the figures will be a giant cathedral size edifice in the ground scale.
 |
| Simplified terrain for the table top battle, with initial troop deployments. |
This means a certain level of abstraction is required. For example a single model building may represent a collection of buildings or a whole village in the actual terrain scale. It also means that even linear features, such as roads and streams, need to be paired back. So, although I had quite an accurate map of the roads, streams and canals around Dirschau I had to leave a lot of this detail off the board. I have therefore only selected those terrain features that are the key elements effecting the battle.
Tabletop Terrain
With the dimensions decided, and the basic table surface produced, I then moved on to the rest of the terrain.
Town and Swedish Camp
 |
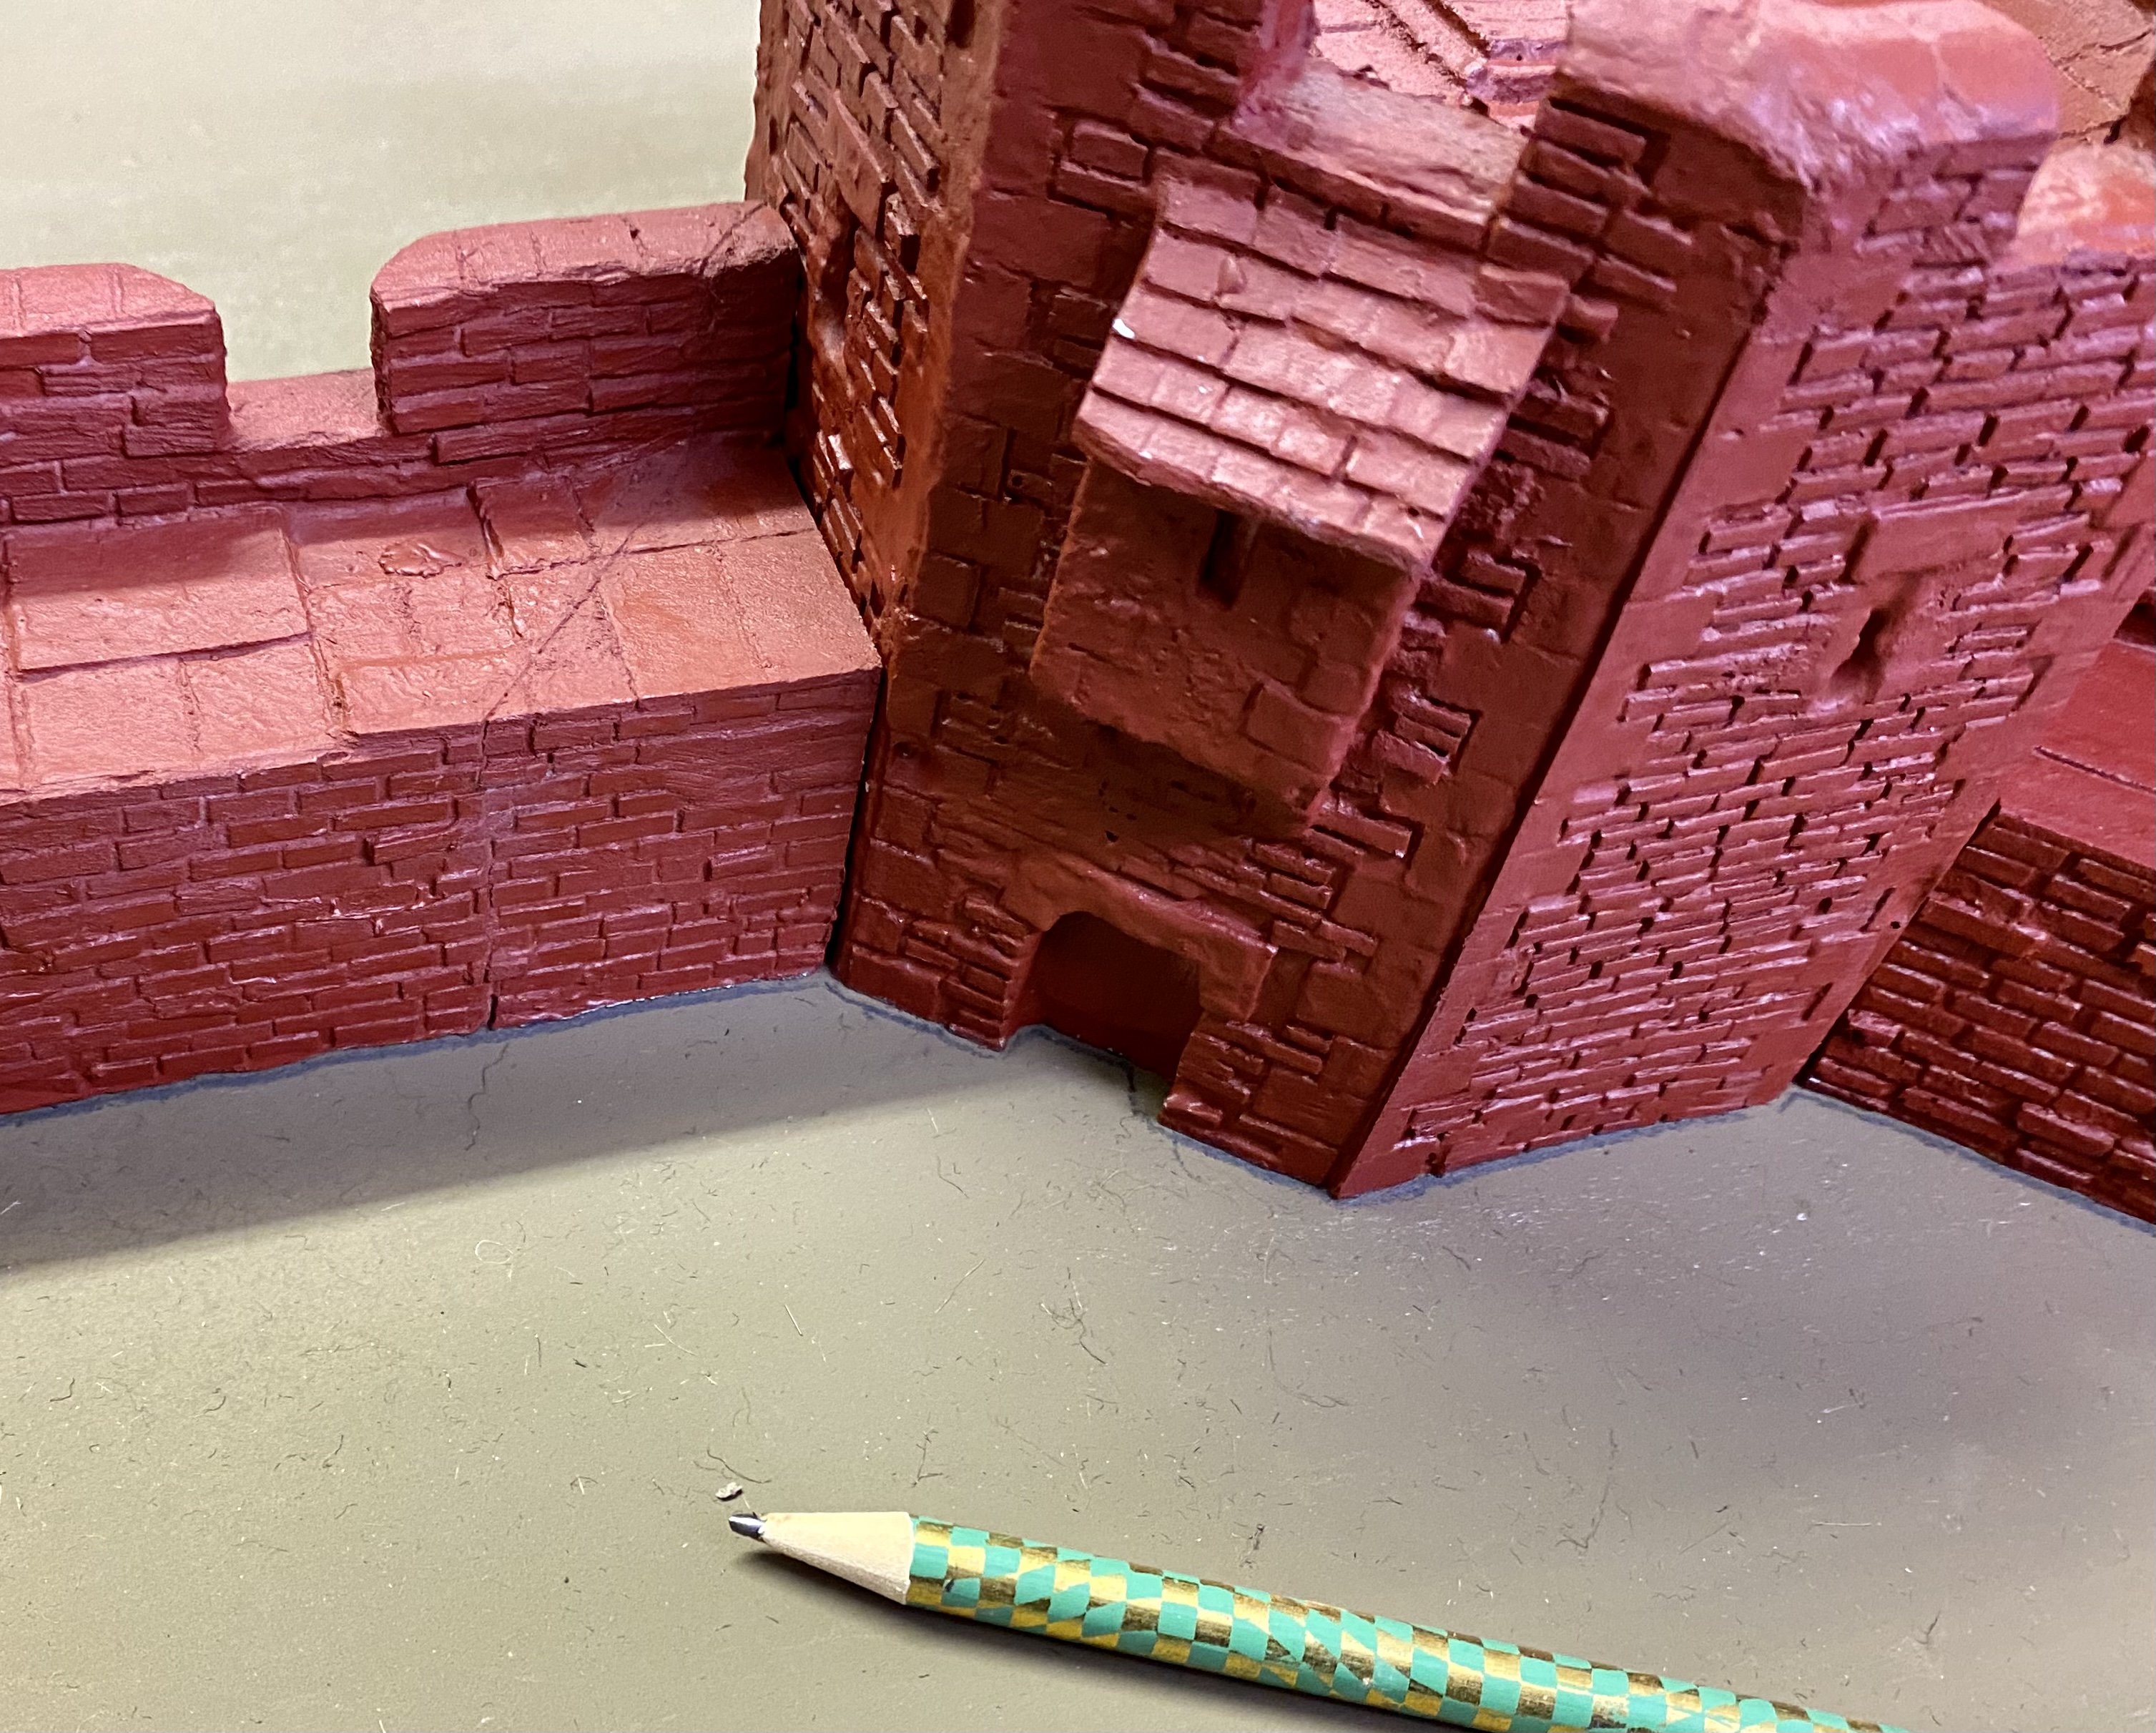
| The town walls (Magister Militum) surrounded by earthwork fortifications (Paul’s Modelling Workshop) |
 |
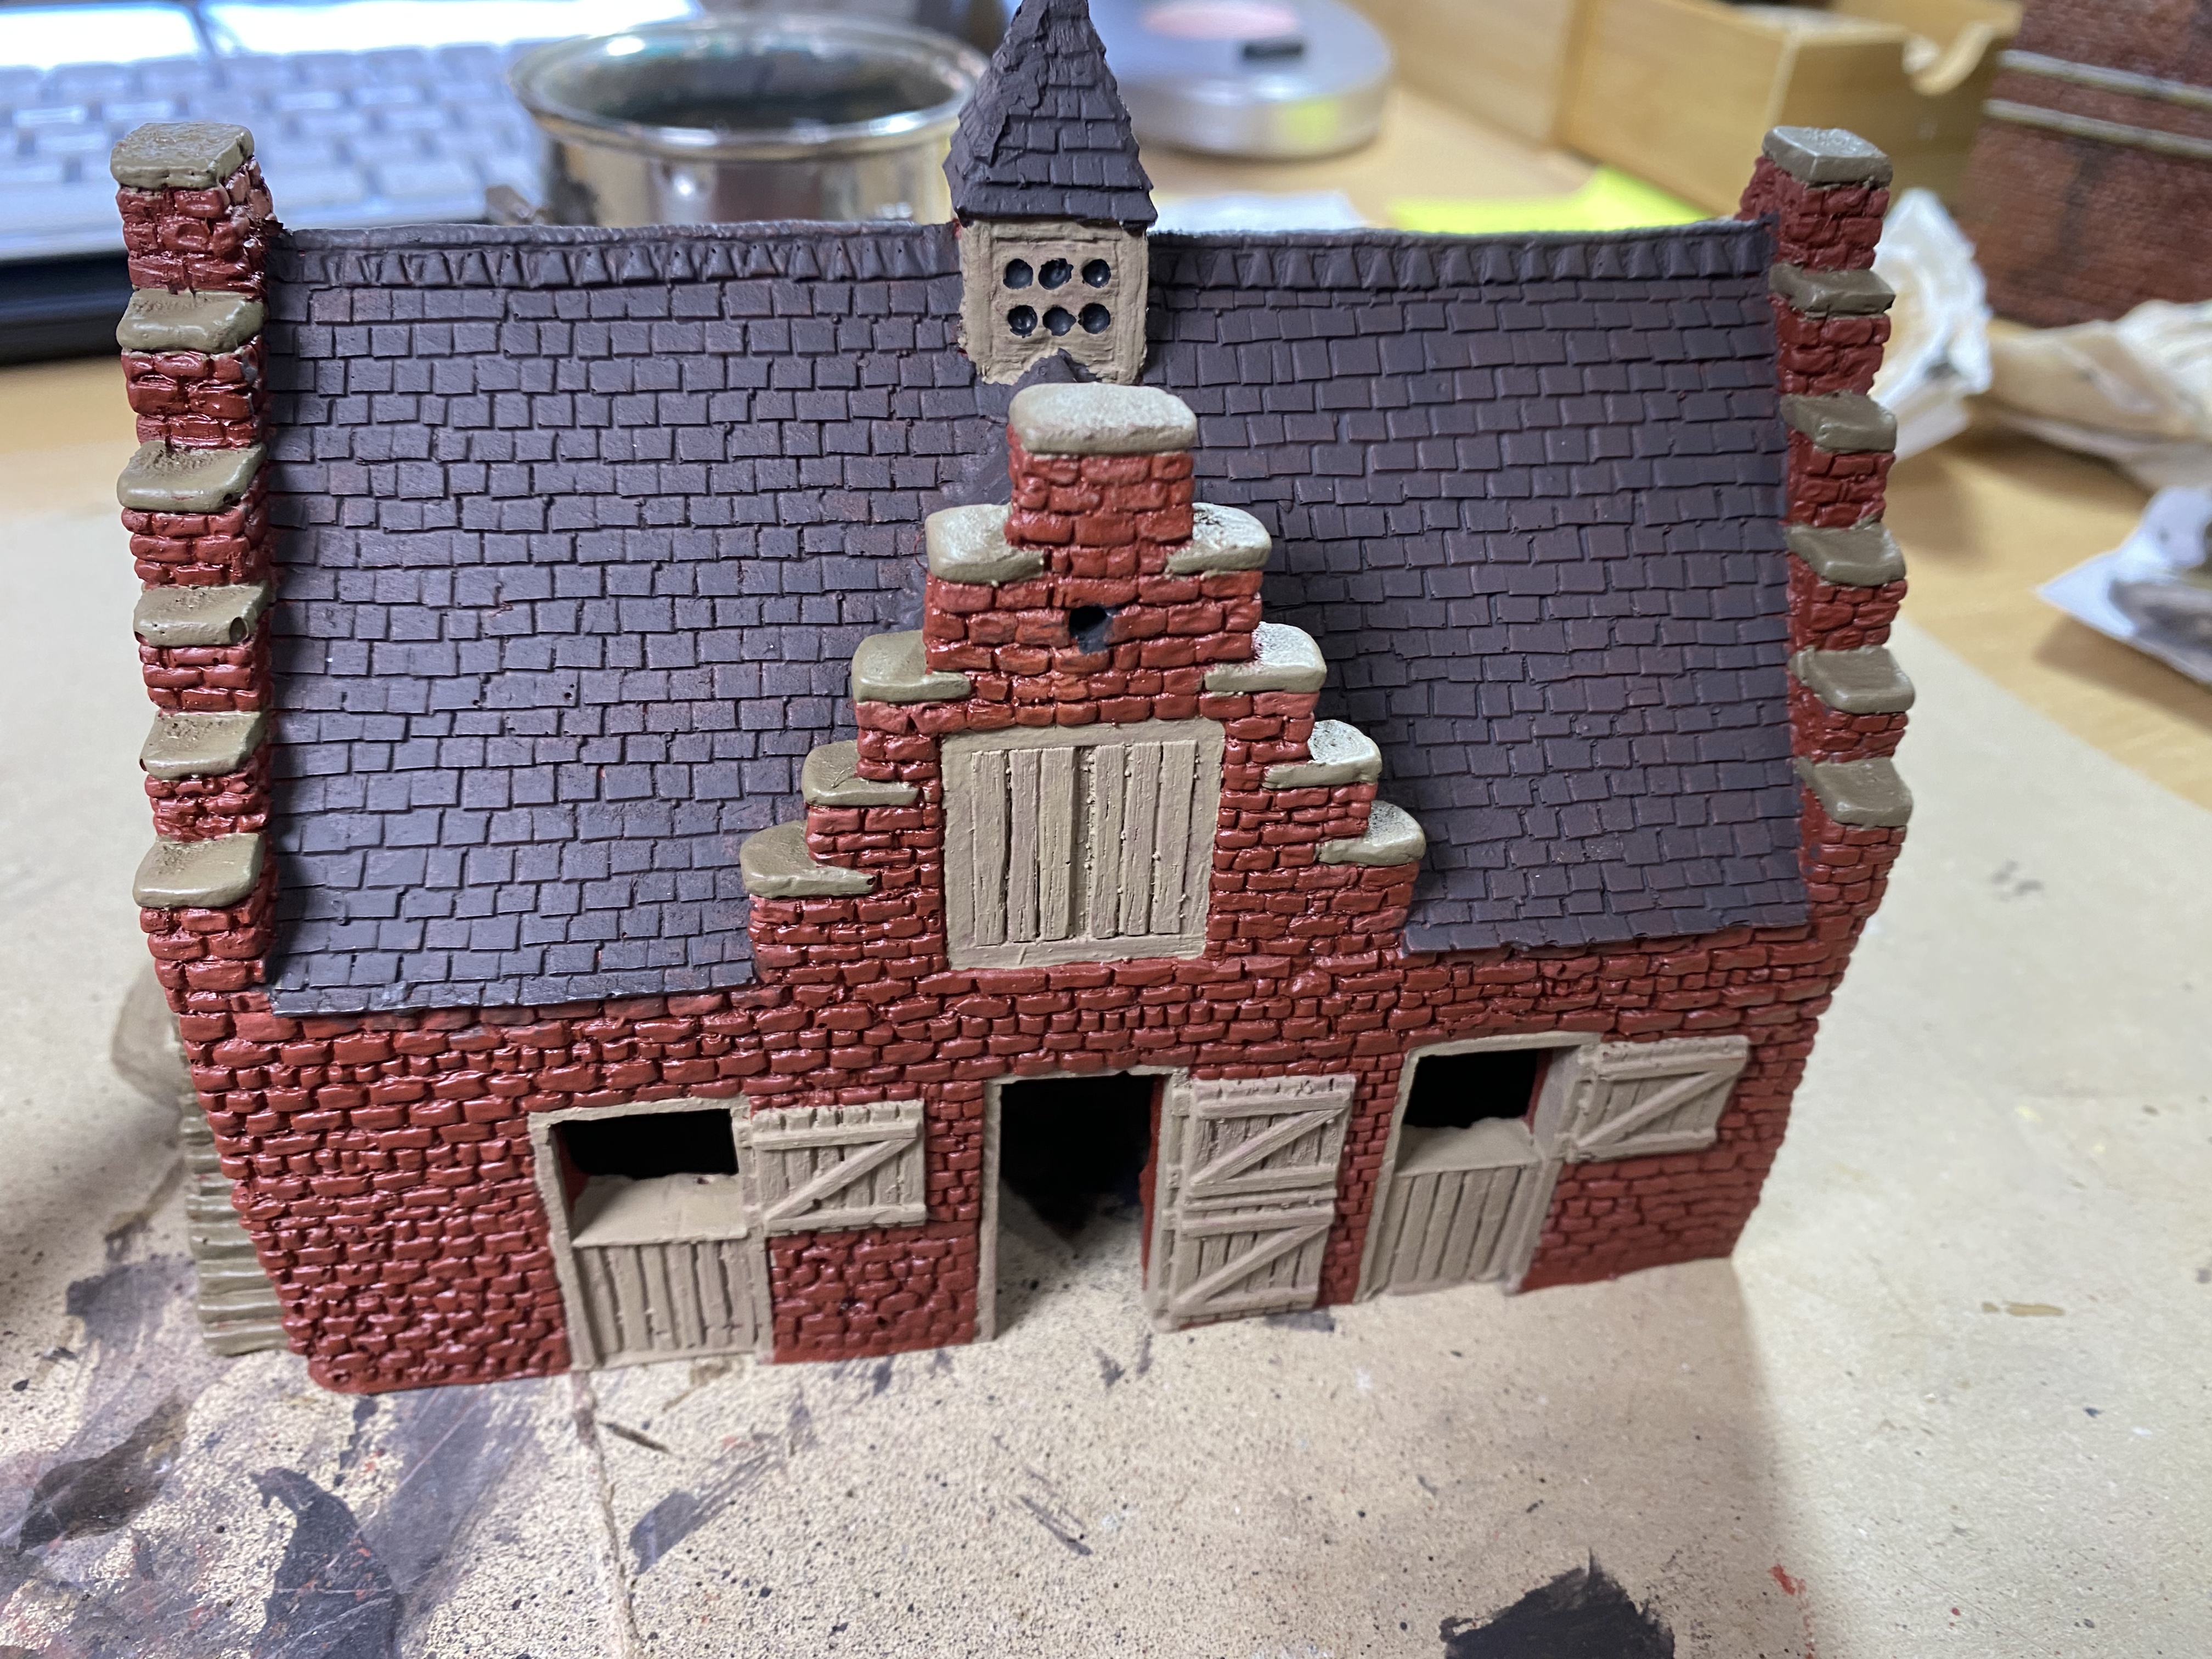
| Buildings (Hovels) inside the town walls, representing just the edge of the town. |
To represent the buildings in the town, the wall surrounding the town, and the recent fortifications around the Swedish camp I found some excellent resin terrain from Hovels, Magister Militum and Paul’s Modelling Workshop respectively. I placed the town and camp in the South East corner of the table so I didn’t need to represent the whole town / camp, but just provide an impression of a walled town and earthworks. Buildings work on the fur matt best when using some form of rigid base. In this situation I cut down some 9mm MDF board that would sit on top of the fur mat and provide the ground works for the buildings, walls and fortifications.
 |
| A 2’ x 2’ section of the 9mm MDF checked for size with the Swedish Camp pieces. |
 |
| The 3’ x 2’ board showing a corner of the town and the town walls. |
 |
| The position of the resin terrain pieces were drawn around on to the board in pencil for reference. |
To keep the MDF pieces in manageable sizes I went for two pieces to cover the roughly 2’ x 5’ area required. I chamfered the edges of the board to help blending in with the fur mat. The resin walls and fortifications were arranged on the bare board and drawn round to show where they should sit. For easy transposition, the resin pieces would not be permanently fixed to the board, but have set spaces so they can be set up amidst the ground textured on the base boards. I also test fitted the camp tents, a mixture of plastic tents from Renedra and resin tents from Grand Manner, to ensure they would fit.
 |
| The boards were shaped and had the edges chamfered with a jigsaw. |
 |
| Starting to add the ground work - card stock cobble stones for the town. Filler for the town ditch. |
 |
| Checking the walls and earthworks fit. |
 |
| PVA, sand and paint added as ground texture, with some clump foliage. |
 |
| The resin pieces were removed while working on the texture etc. |
I then sanded, painted and flocked the boards, adding a ‘wet’ ditch around the town walls. Some tracks were left through the camp areas and the town was paved with card based cobblestone sheeting.
 |
| Hovels buildings primedand base coats added, before a wash. Their 25mm size helps reduce the footprint of the buildings. |
 |
| Lovely character in these old resin models from Hovels. |
The town walls and buildings were undercoated with a reddy brown spray, based on the colours of the surviving patches of Dirschau’s medieval walls, and then painted with acrylics, mostly in a heavy dry-brush, with some thinned brown washes.
 |
| Undercoating in Humbrol Matt 29 Dark Earth (spray ‘rattle can’) |
The earthworks were undercoated in my favourite earth colour of Humbrol Matt 29 Dark Earth which comes in acrylic spray cans, and regular acrylic paint. This was washed in dark brown and then highlighted with various buff colours. Gabions and other wood effects were then painted in. I added some lolly-pop stick planking for the artillery emplacements.
 |
| Town boards before static grass was added. |
Finally tufts and static grass were added.
Polish Camp
 |
| Field fortifications from Ironclad Miniatures. Undercoated in Matt 29, and then dry brushed. |
The Polish Camp was developed in the same way as the Swedish Camp, with a smaller 2’ x 2’ piece of 9mm MDF as the base. I wanted to it to look similar but differently constructed, and so chose resin pieces from Ironclad Miniatures’ fieldworks range for the Polish camp defences. The ground texture was done in the same way as the Swedish camp (above). The Polish camp was placed in the North West corner of the board with just the corner of the camp was represented.
 |
| Polish camp detail from the contemporary picture of the battle. |
There are some contemporary illustrations of the Polish camp and battlefield, drawn from the Polish perspective, by one of a Dutch peace negotiation delegation that was visiting the Polish camp just before the battle. I bought various tall, circular tents that matched the sketches to use for the Polish camp, and I drilled holes in the top of the tents to allow the addition of suitable banners flying from the tent poles. These sketches also showed a post-windmill near the town itself, and so one of the Sarissa windmills, that I had built for the Lutzen game, was added to the terrain set up.
Villages
There are a number of small villages across the battlefield so these were simplified down to just two key settlements, that are mentioned in the accounts of the battle. To keep the footprint of these villages to a reasonable size just a single building was used for each.
 |
| East European rural MDF building by 4Ground representing Lunau. |
For Rotkittken a 4Ground MDF ‘Eastern European’ building was used. This represents a more rural type of building than the brick built town houses in of Dirschau.
The village of Lunau was set ablaze during the battle at some point and so a fire damaged ruined building was used to represent this village. This was from another 4Ground MDF kit that had been painted up to be a blackened ruin. Some smoke and flame effects are provided by a battery operated ‘flicker effect’ tea light with some suitable painted cotton wool.
Populating the landscape
 |
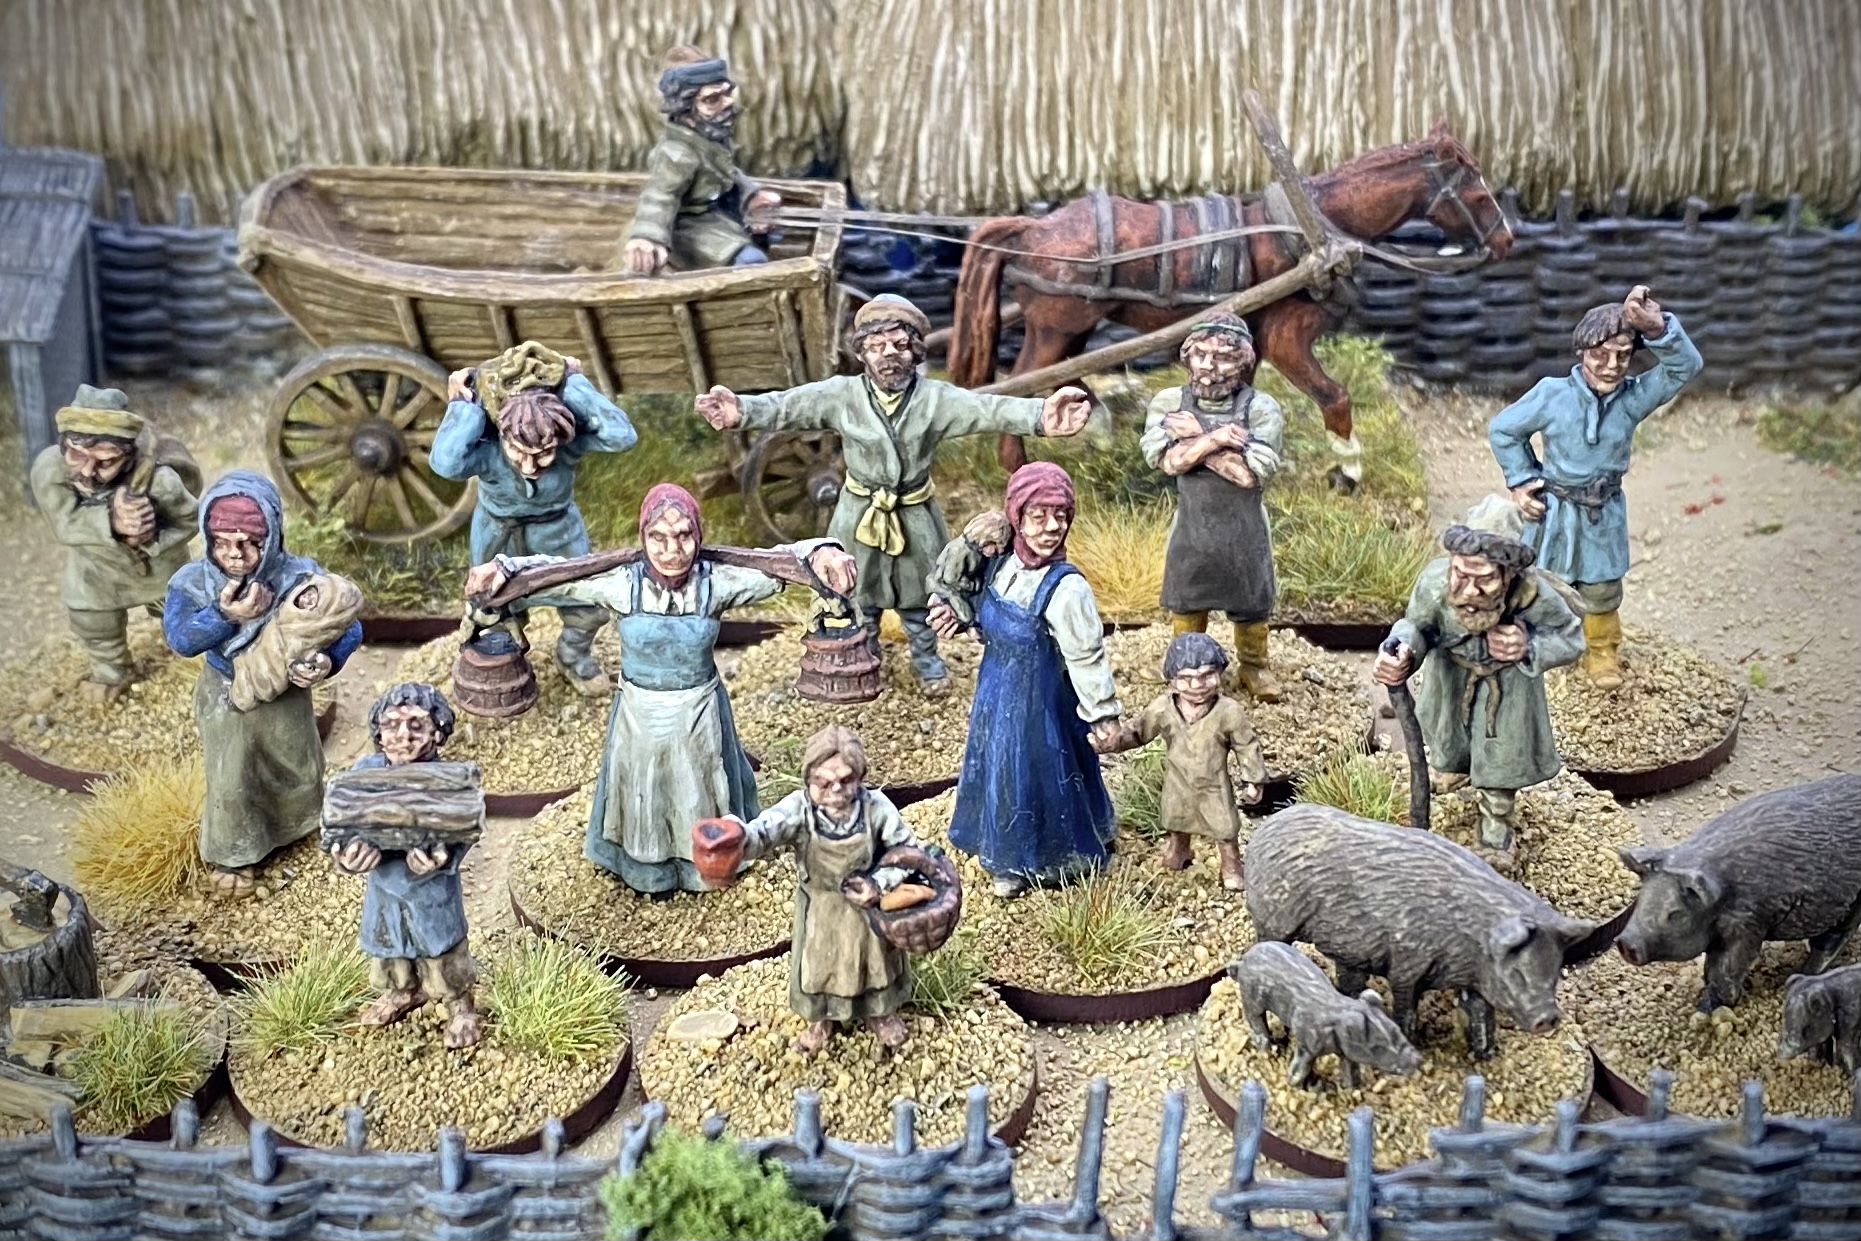
| Civilians from a host of different manufacturers, painted for me by the super talented Gareth Beamish. |
 |
| More civilians and some artillery crew, from the brush of Gareth Beamish, and my basing. |
One thing that I have always really liked as part of wargaming terrain is camp and civilian ‘clutter’. For me, it really adds to the immersion of the table, and I have always admired games including vignettes with those glimpses of civilian life peripheral to the battle. As my different 17th century collections have expanded I have continued to add to my collection of civilian figures and clutter. I pick up civilian figures, barrels, wagons, and other bits suitable for the 17th century when I see them and add them to the ‘pile of opportunity’. I therefore had a nice backlog of clutter to add to the collection for the Dirschau terrain.
 |
| Polish villagers painted by me. |
While my standard 17th century ‘clutter’ would work fine for Dirscahu, I also wanted to add some bits that were suitably Eastern European in feel. Fortunately I had found some East European looking civilians that would be great for the villages and the Polish camp
Roads
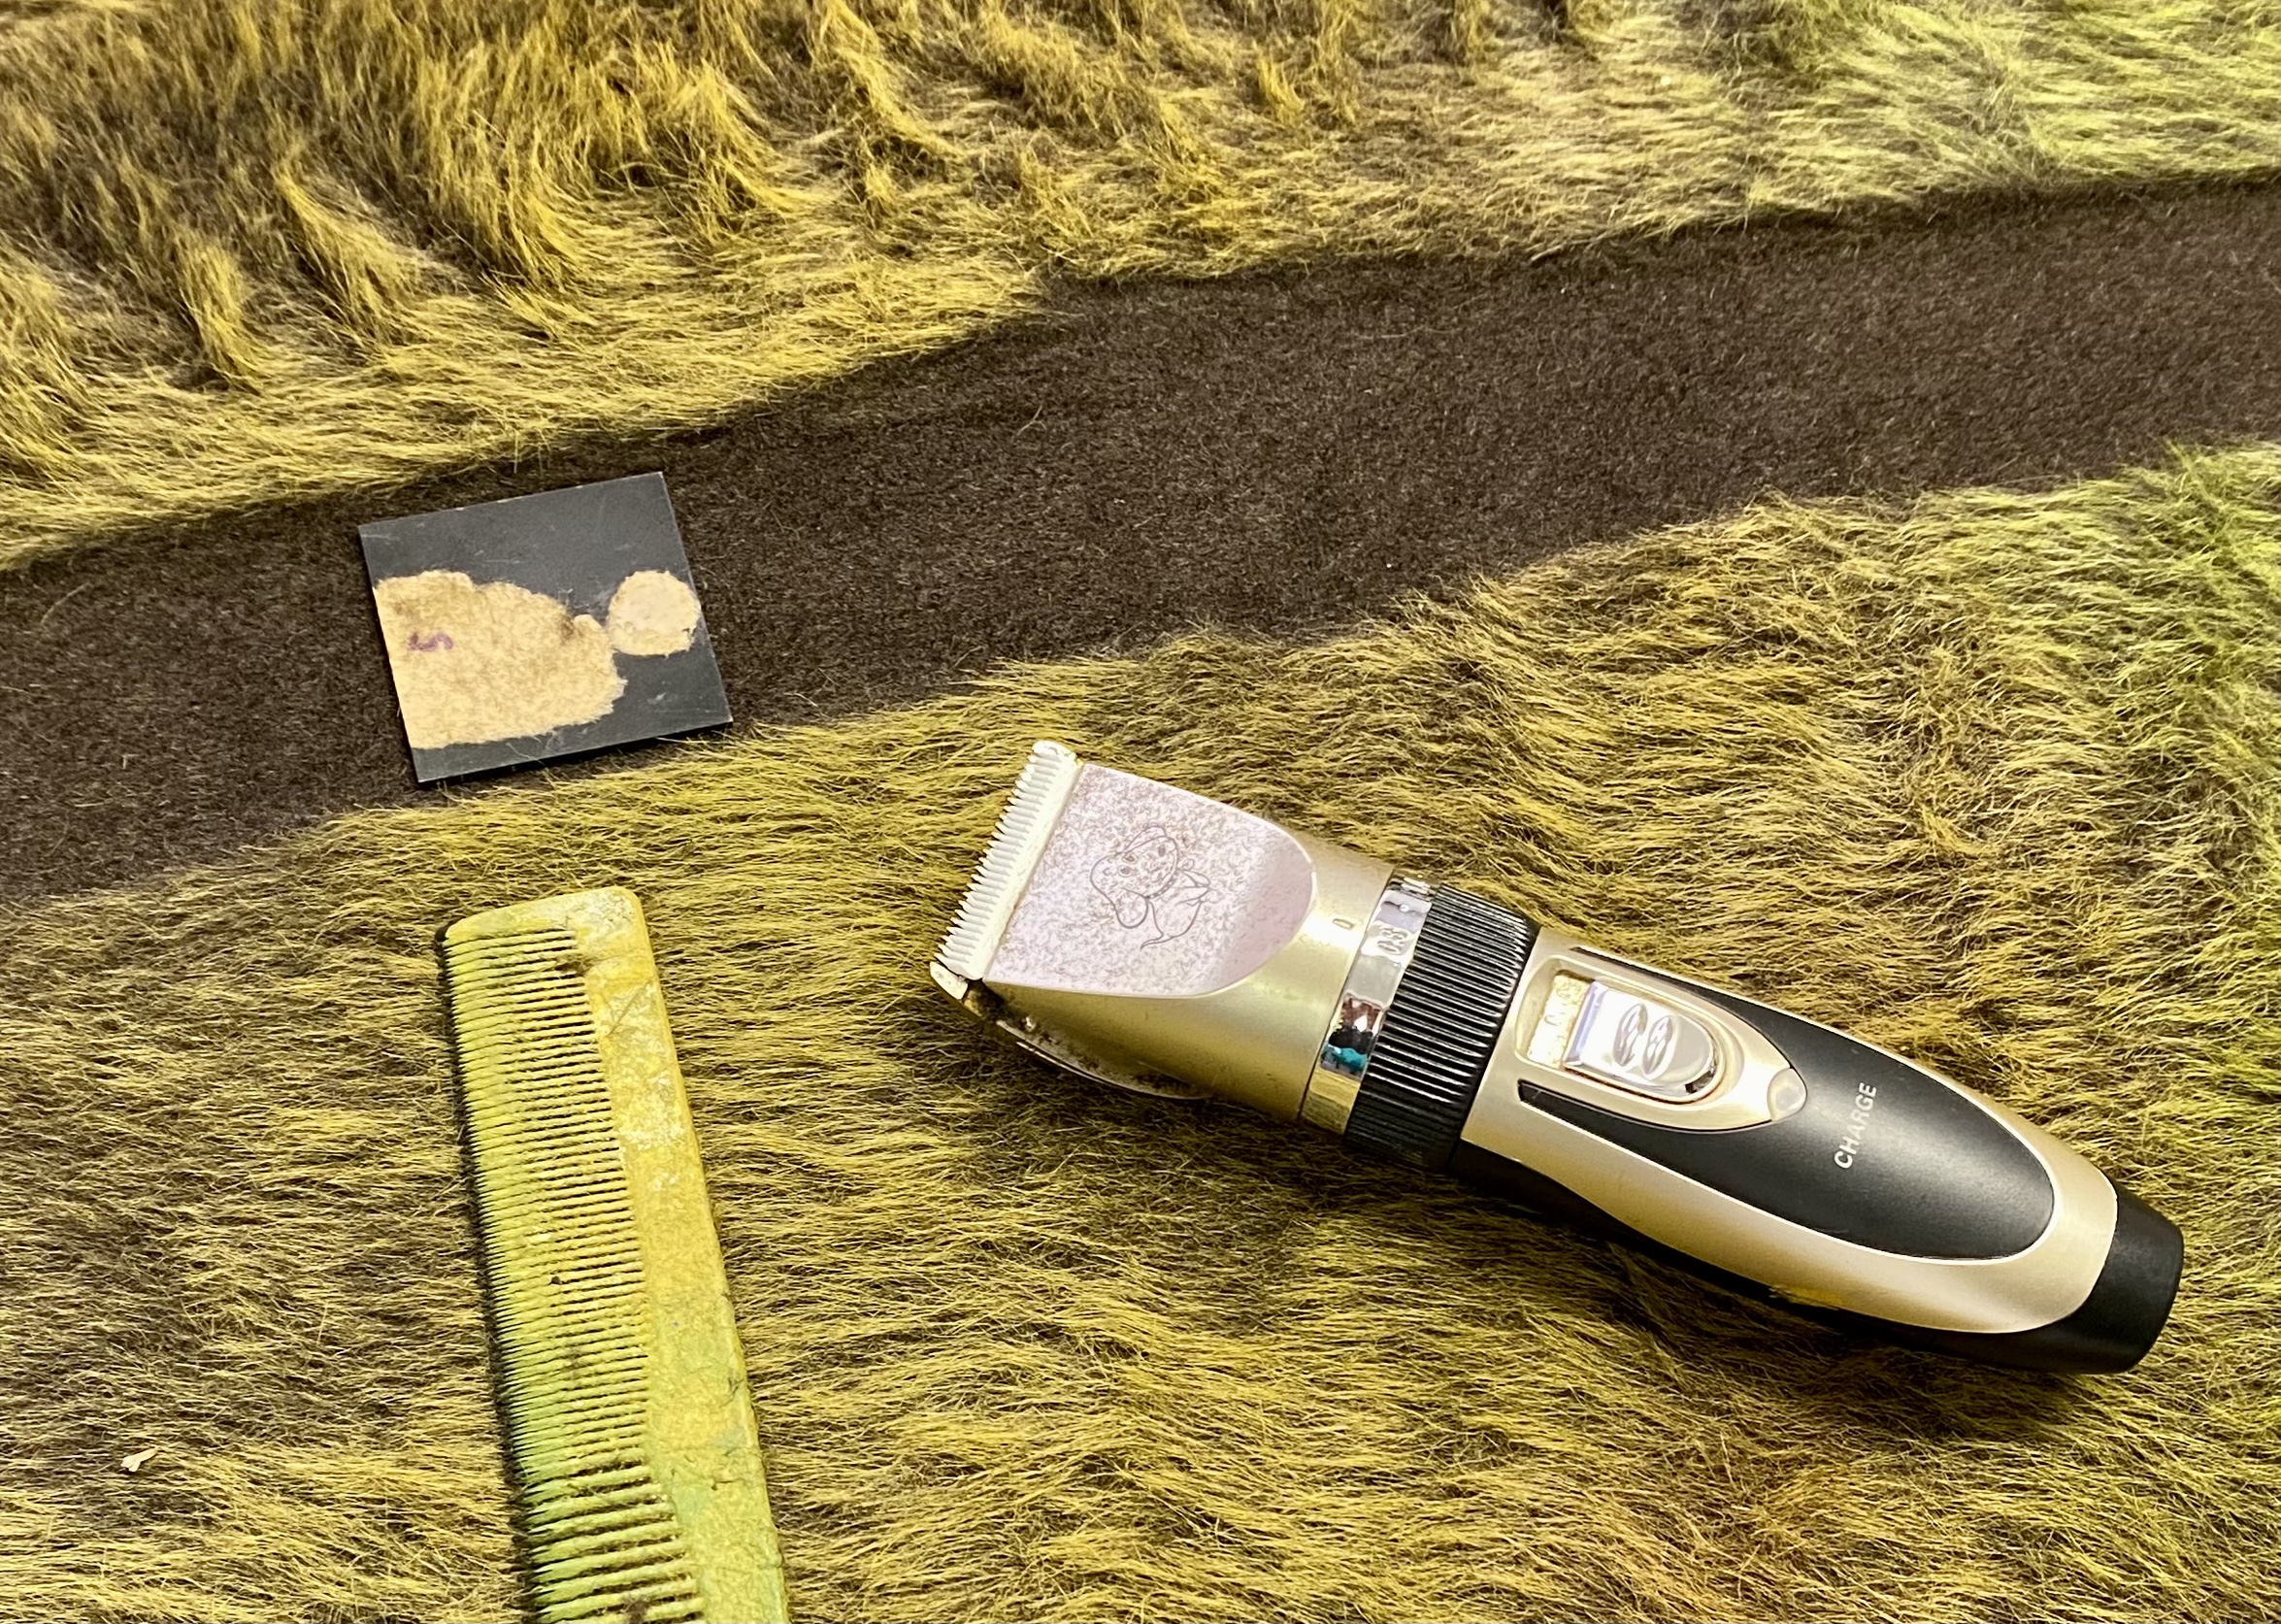
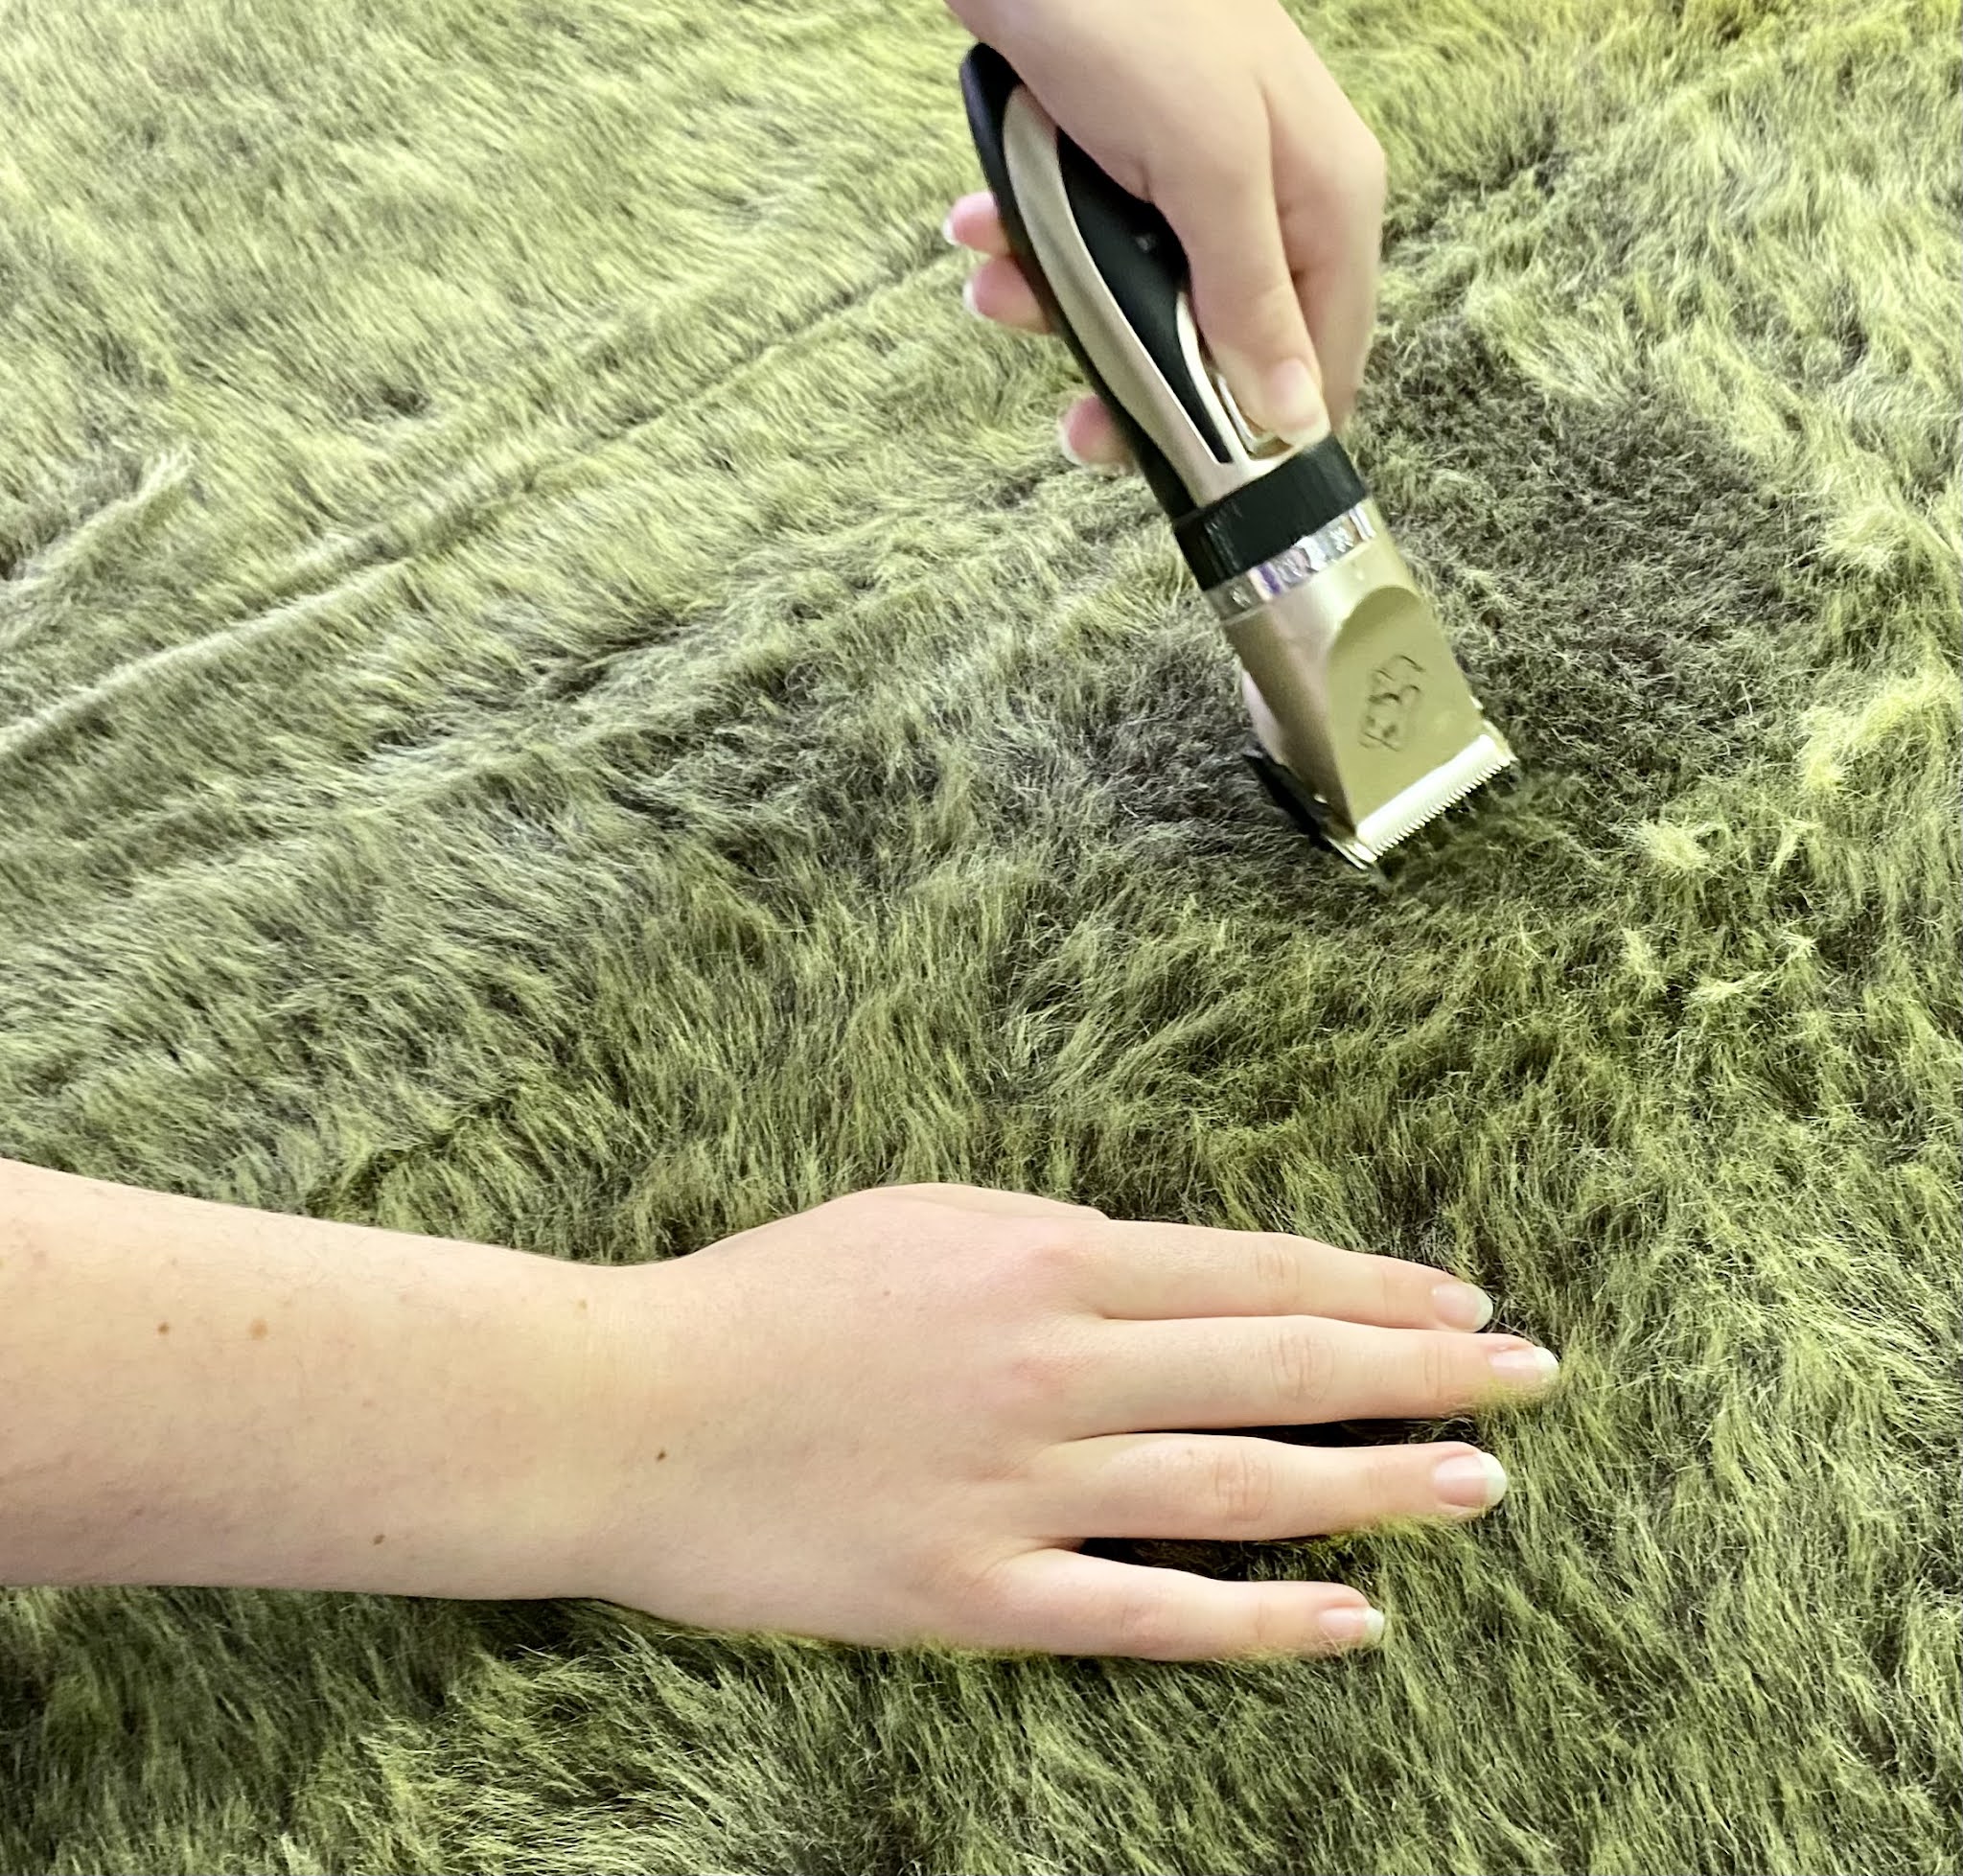
As mentioned previously, the road system across the battle field had to be simplified so that roads of a suitable width for the figures didn’t completely take over the surface of the table. I chose what seemed to be the key routes and marked these out on a battlefield ‘scale’ grid produced earlier. This grid allowed the road network to transferred to the fur matt using a Sharpie pen. The roads where then shaved in to the fur. The fur’s backing material, with the fur shaved right down, made an excellent road surface and this was dry brushed with Humbrol Matt 29.
 |
| Roads shaved in to the fur mat, before painting with trusty dog trimmer and comb. A spare MDF base (50mm wide) is used to check the roads will accommodate troops in column. |
This is a very easy method of producing roads in a fur matt, if lacking in flexibility for other layouts. I am happy to put up with the lack of flexibility rather than have to have sections of road placed on top of the fur mat.
Marsh
The Mottlau marshes, and the levees through them, are a key part of the battle. My original planning was to create areas of marsh directly in the fur matt itself. I have seen these done really nicely, but my attempts didn’t work at all well. I therefore decided that some suitable marsh terrain pieces would need to be sourced that could go on top of the fur matt. While I was considering how to do these I saw Debris of War’s marsh sections on Twitter and so I ordered some. (Tony at Debris of War was massively helpful and so many thanks to him for the marshy terrain.) These do the job really nicely and provide a flexible set of terrain for use in other games as well. Debris of War also make lovely trees and so I ordered some of their smaller trees to represent the small trees or bushes often found in swampy, marshy areas.
 |
| Ironclad Miniatures log bridge over Debris of War marsh sections. |
For the levees crossing the marshes I chose some log bridges from Ironclad Miniatures. These fitted over the roads and provided a suitable rural looking solution to crossing the streams that fed through the marshes.
There was also a canal that ran alongside the marshes but I couldn’t find a way of representing this without it becoming a massively dominating feature. The marsh provides the same effect for the miniature battlefield in being a barrier to movement and so I have left the canal off the table. The canal runs alongside, off table, the north of the battlefield and provides the logical constraint for the inability of either army to manoeuvre around the battlefield on that side.
Hills
The battlefield is fairly flat or undulating land with one main area of elevation on the south side of the battlefield where a ridge line ends. One of the benefits of fabric matts is the ease of producing areas of hills etc. by placing things under the matt. I have quite a lot of the TSS hills and modules and was able to sort out a set that created a nice stepped set of contours to represent the higher ground on the south side of the battlefield.
 |
| TSS polystyrene hill sections that will go under the fur mat to provide the elevated area of the battlefield. |
Some standard trees added over the matt, on top of the hill, provides areas of rough or difficult going to bound the south side of the board.
Bringing it all together
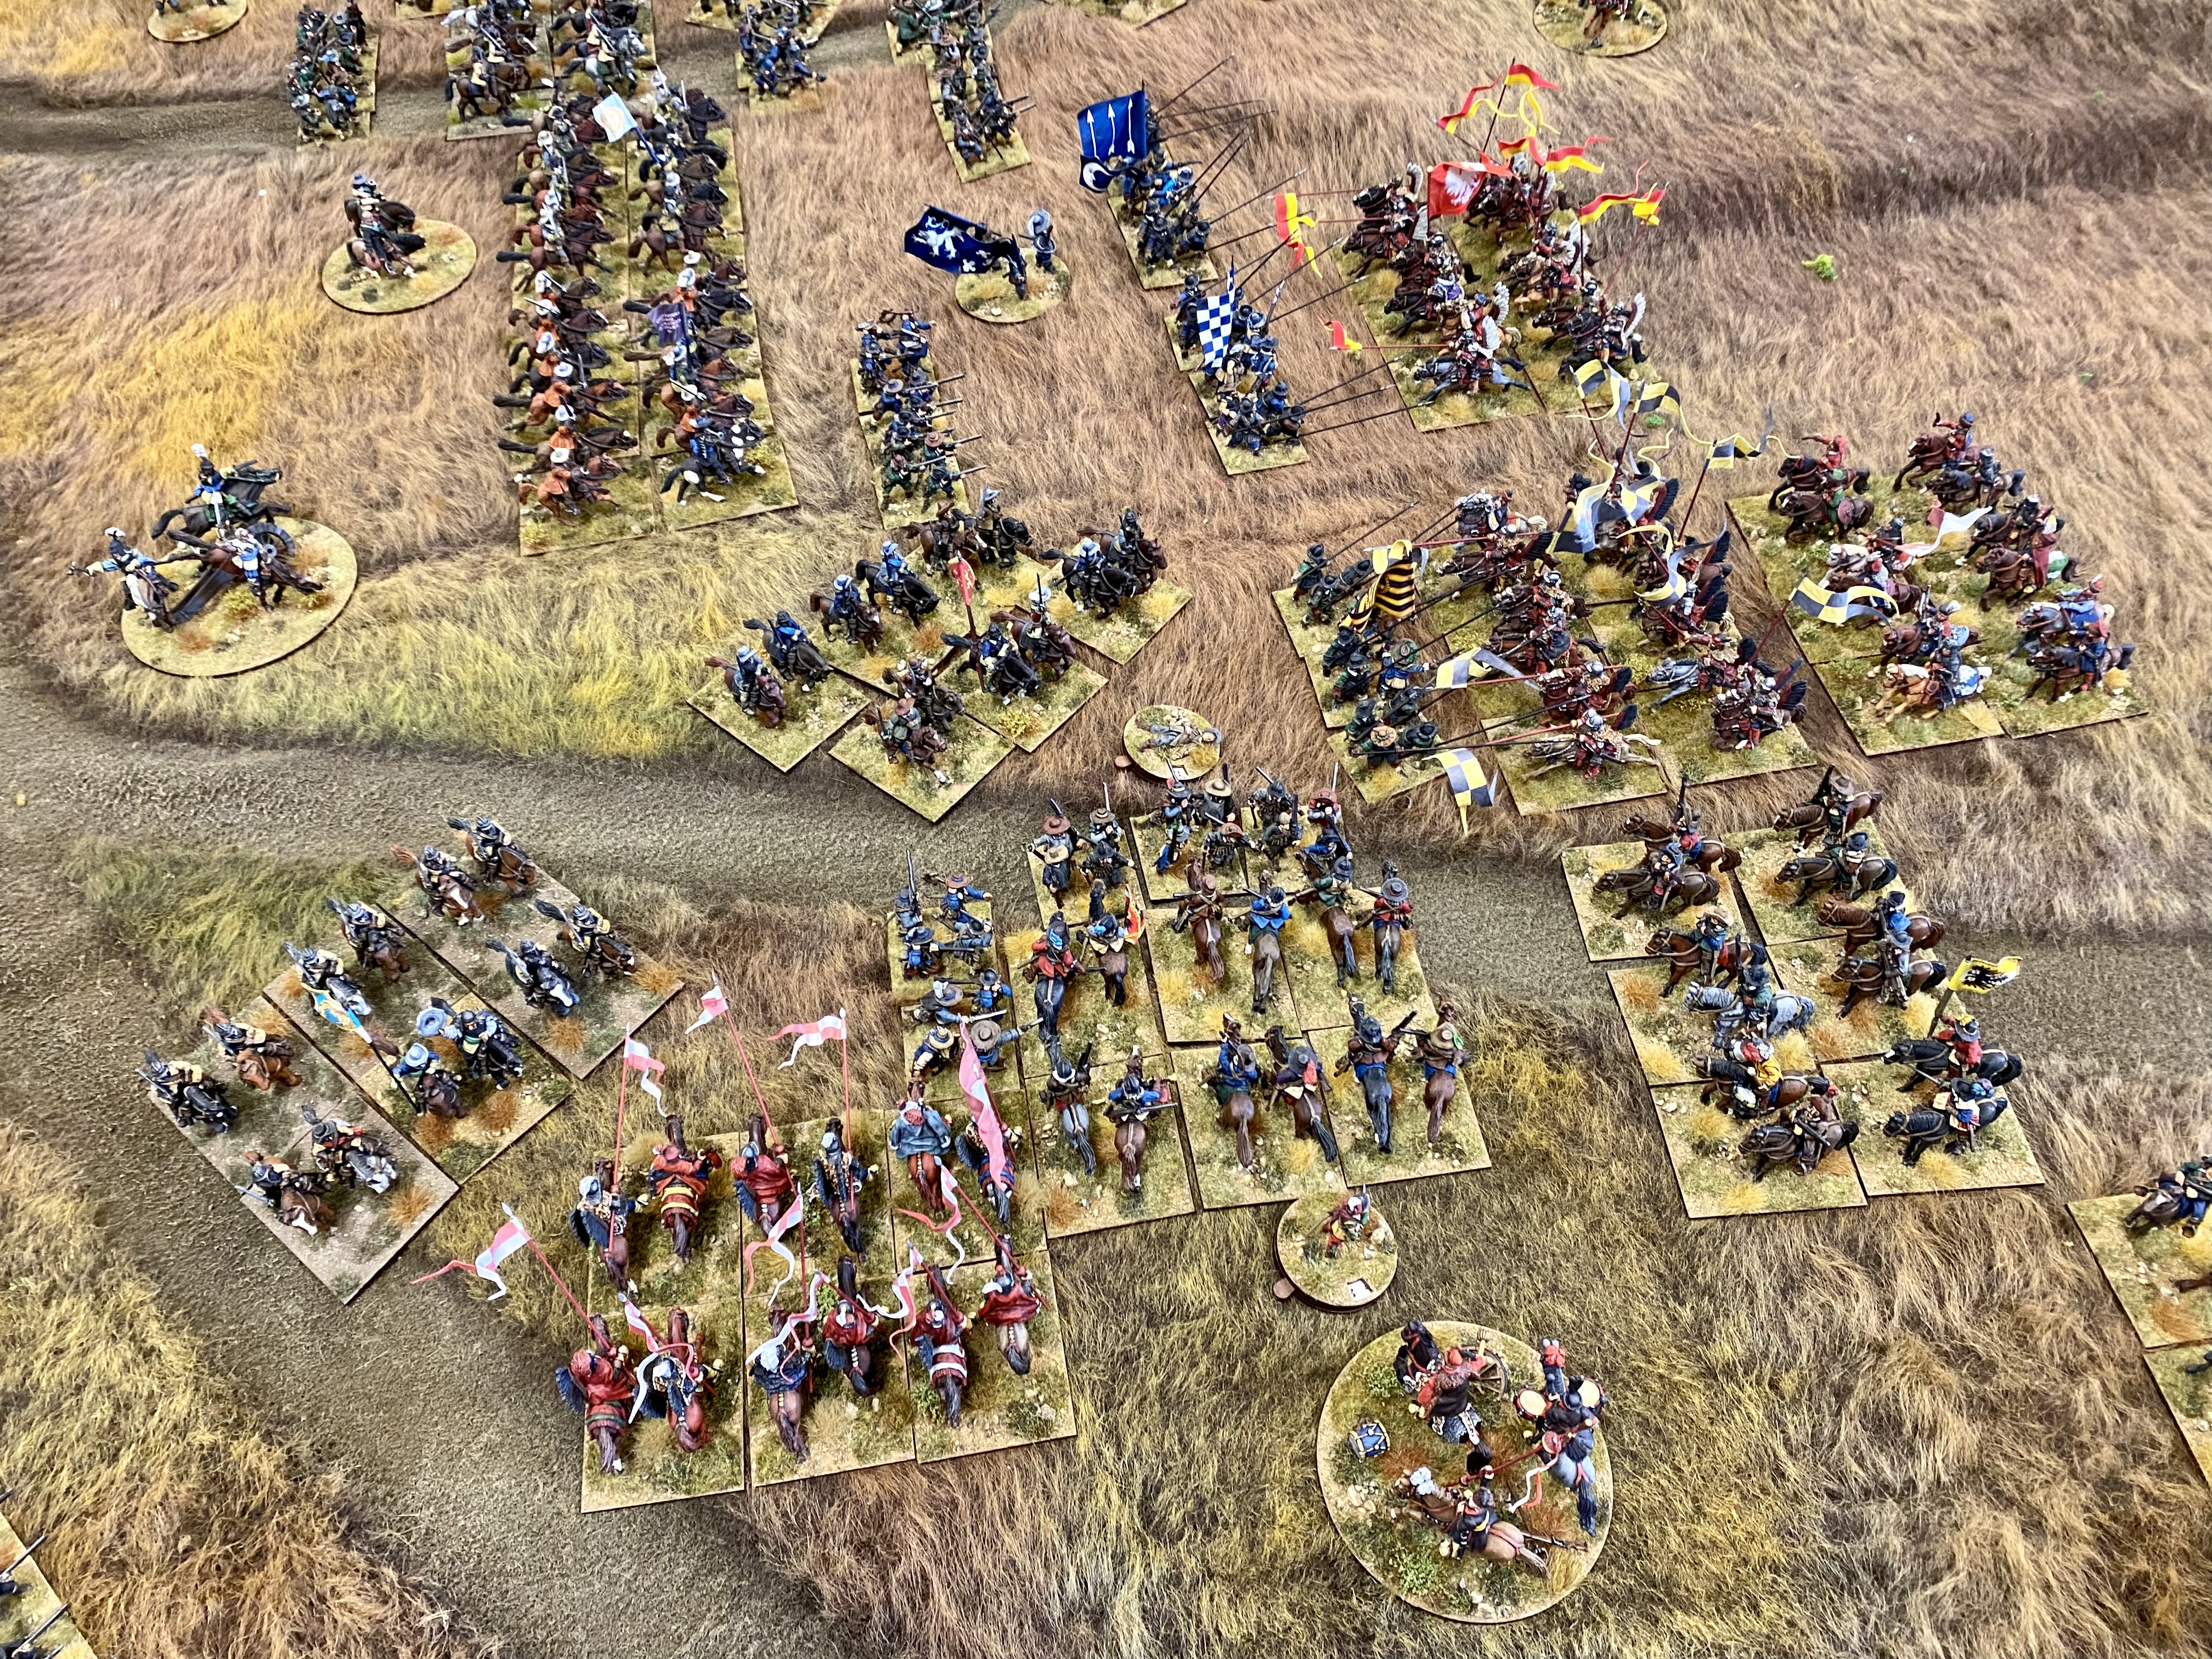
A few weeks ago I took everything that was finished, the two armies and terrain, to a regular Friends of General Haig (FOGH) club meeting and got to set everything out and play some turns of the game. This sort of ‘dress rehearsal’ is very useful as I don’t have room to set the full board up at home and it is always surprising to me what fits and what has gaps when you do set up terrain. Just a few bits identified for update and then all should be ready for Salute50.
 |
| The Swedish deployment seen from the town. |
 |
| A swirling cavalry melee as the two armies clash. |
 |
| The Polish cavalry reform on the Eastern side of the marshes. |
 |
| Husaria! |
 |
| Hard pressed Swedish horse and foot. |
 |
| Polish Hussars, sweeping recklessly through the Swedes, are caught in the flank. |
 |
| The Swedish army cautiously advances. |
 |
| Cavalry battle before the burning village of Lunau. |
As well as setting up the terrain, transporting it is also good practice. Will it all fit in the car, and what will fit in which boxes etc. One or two new Really Useful Boxes are inevitably required.
Conclusion
One of the good things about a project having a fixed milestone, such as a show, is that you have to call things ‘good enough’ at some point. Despite this I fully expect to be making minor tweaks right up to the last moment!
I very much hope that if you are able to make it to Salute 50, at Excel in London (22nd April 2023), that you will come and have a look at table GG06 and say “hello”!
 |
| Come and see the table at GG06, circled in red. |
Until next time,
Andy @ The Friends of General Haig.