
The type of terrain that was tempting us was teddy bear fur, or faux fur if you prefer. It seems to be the new terrain wonder material. After watching a few YouTube videos, and reading a few blogs I decided to have a crack at it. The first thing was the raw material. The battlefield was planned to be 10’ by 6’. If there was some faux fur material available 6’ wide, then we’d be laughing. It would just be a matter of ordering a suitable length. However, the widest I could find was 5’ wide. This meant that two pieces would need to be joined. I suppose it would have been possible to just place them on the table next to one another, but we wanted a permanent join.
I investigated a joining solution involving sewing; too complicated. It was my wife who suggested fabric glue. I didn’t realise such a substance existed. I bought a small amount of faux fur for experimental purposes and found a spare piece of calico. I glued one piece of faux fur on to the calico, and then fitted the second piece next to it. Following some combing the join was pretty well disguised. It was time to go full size!
Two 5’ wide pieces joined would make a 10’ wide cloth. Some advanced mathematics suggested 12’ of 5’ wide cloth, cut in to two and joined would provide the requisite battlefield. I also needed a piece of calico for the join around 6’ long, and a foot wide.

I pinned one length of fur over half of the calico strip. Once I was happy it was pinned straight I glued the fur on to the calico with liberal amounts of fabric glue. This was quite messy and fiddley. I let this dry overnight.

I then pinned the second piece of fur to the calico/fur piece, being careful to ensure the two pieces of fur butted up to one another. I then glued the second piece down. I used a comb (the faux fur tool of choice!) to keep the fur out of the way and tried to get glue only on the fur backing material and the calico. Once again quite fiddley.

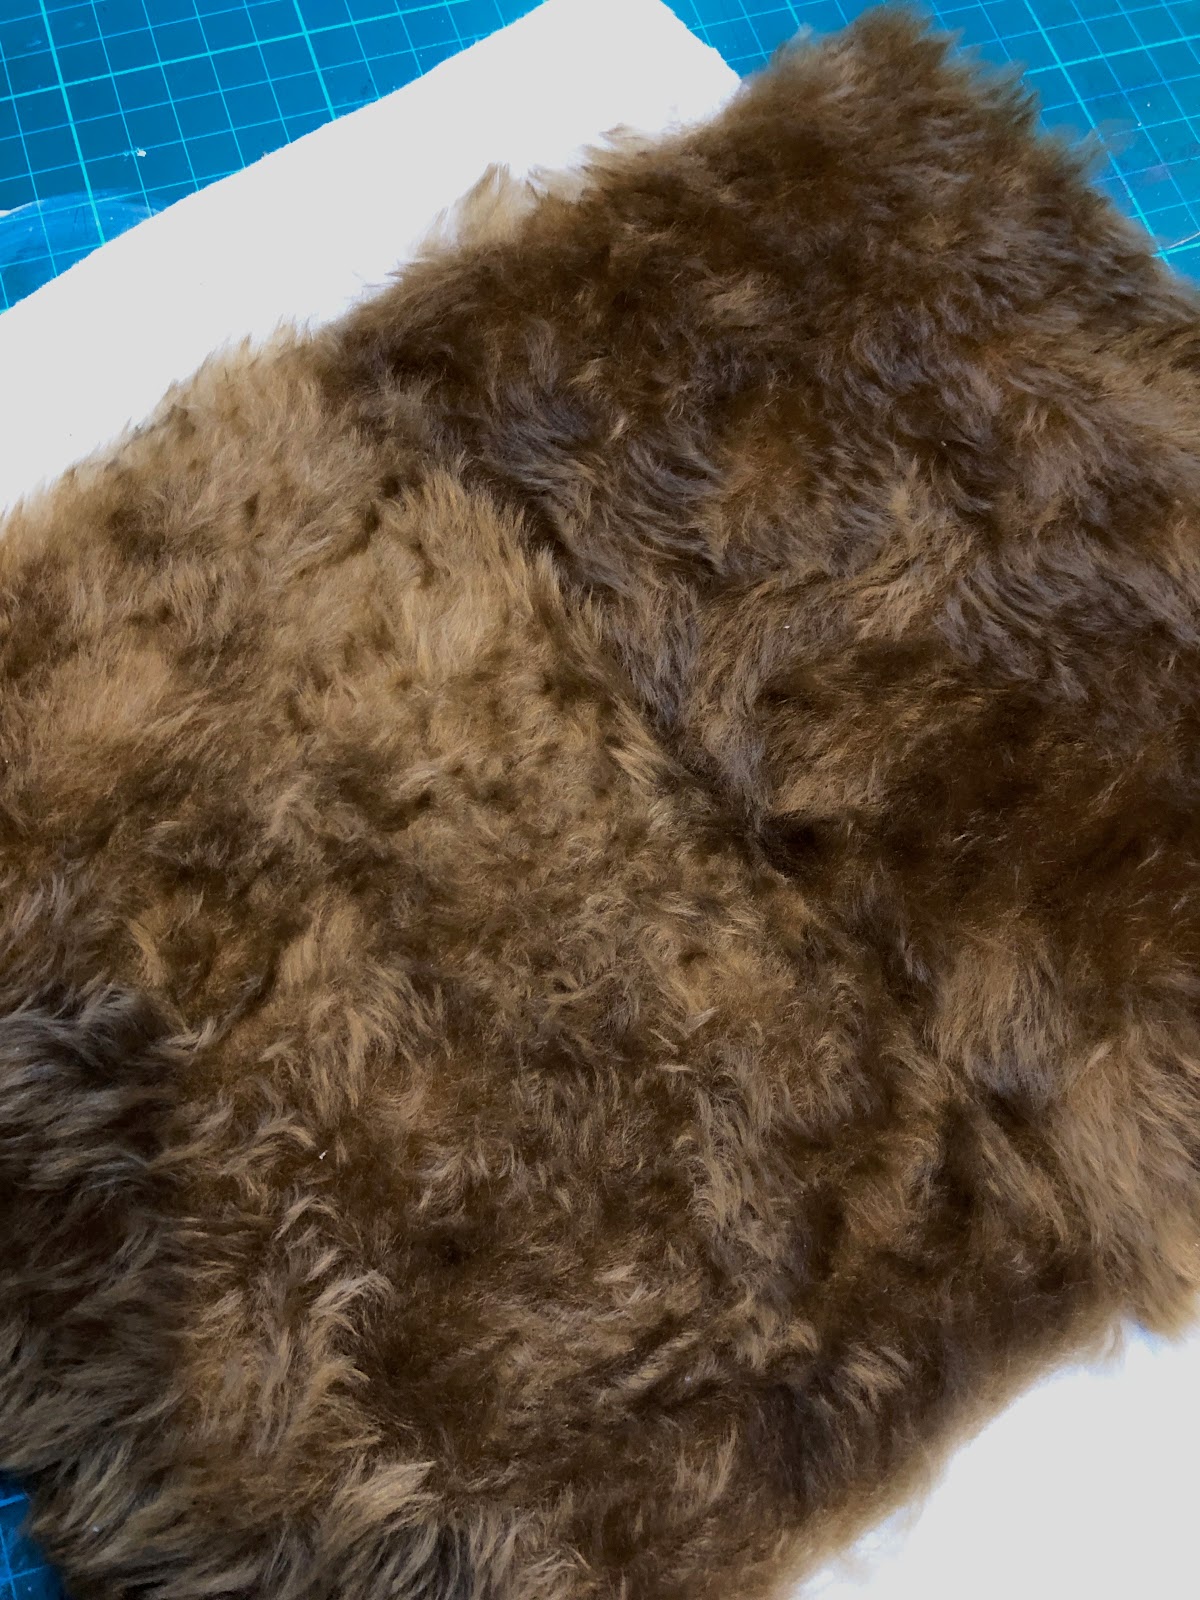
I was very pleased with the end result. A giant piece of teddy bear fur. Now the process could continue as per the guides I had already researched. All of the guidance I read said to have a plan before you start doing anything to the fur. I had worked out a road plan for the Lutzen battlefield, and using a sharpie, drew this out on the material. Then I could start shaving!


Next day the painting started. I collected together every yellow, green and brown acrylic paint I could find in the house. I had children’s craft paint, artist colours and emulsion interior paint. The painting was also a lot of fun and I enjoyed mixing the colours and imagining the landscape I was creating. Stubble fields, grass road verges, and areas of scrubby grassland. I made one mistake at this point, and this was not combing in the paint enough. I learnt to keep combing the newly painted area until the paint was as spread out as possible. I had to go back over some areas the next day with water and a tangle tamer brush to break up clogs of paint where I hadn’t combed enough to to start with. Be warned. The painting, and then sorting out problems I caused, took a couple of days. I was lucky with fabulous February weather that allowed outside drying.

Next, I used Barry’s approach to the roads. Paint, PVA and sand, with some water to taste.

Next, a dry brushing over the dark brown using buff. Done!

The resulting battle rug rolls up very nicely. I need to investigate some storage options, perhaps something to roll the monster on to. I am very pleased with the result. Having the basic battlefield structure set out meant that it was now possible to get the toy soldiers out and start working out if they would all fit together, and how the buildings etc. would fit on the layout. Dress rehearsal results next time!


Very well done! I appreciate you posting your experience on the progress. Your wargame mat came out beautifully. 😀
ReplyDeleteThanks, Stew. The biggest lesson for me was combing the paint in - you need to do it a lot !
DeleteLooks excellent.
ReplyDeleteThanks, Ray!
Delete