

Basing
As well as getting the next batch of the militia ready for painting I have also come up with my planned basing approach for the figures. I did consider building a single diorama model of the whole scene, but I still wanted to be able to use the miniatures for games - if I have to paint a figure then I want to play with it! My preferred basing approach for single 28mm figures is the UK two pence piece (2p). These are a good size, are made of a material that attaches to magnetic sheets for easy storage, and is in fairly ready supply, judging by the “piggy banks” in my house, at least. Normally I glue the figure to the 2p and then add sand and static grass to match my other multi based figures, representing troops out in the field.
 |
| An extract from the painting showing the paved ground. |
For my Amsterdam militia I wanted bases that would match the painting. In the painting the militia are show on a paved area, and this has a warm, ochre colour. I tried a couple of ways of having a fairly flat basing area in to which I could then scribe the suggestion of paving slabs. First was using green stuff. This worked ok but was a lot slower than the second method which was just to use ordinary filler (spakle). When the bases were dry / cured I then used a modelling saw and a craft blade to cut some lines on to each base the represent the joins in the paving slabs. You can see the two methods I tried in the picture below.
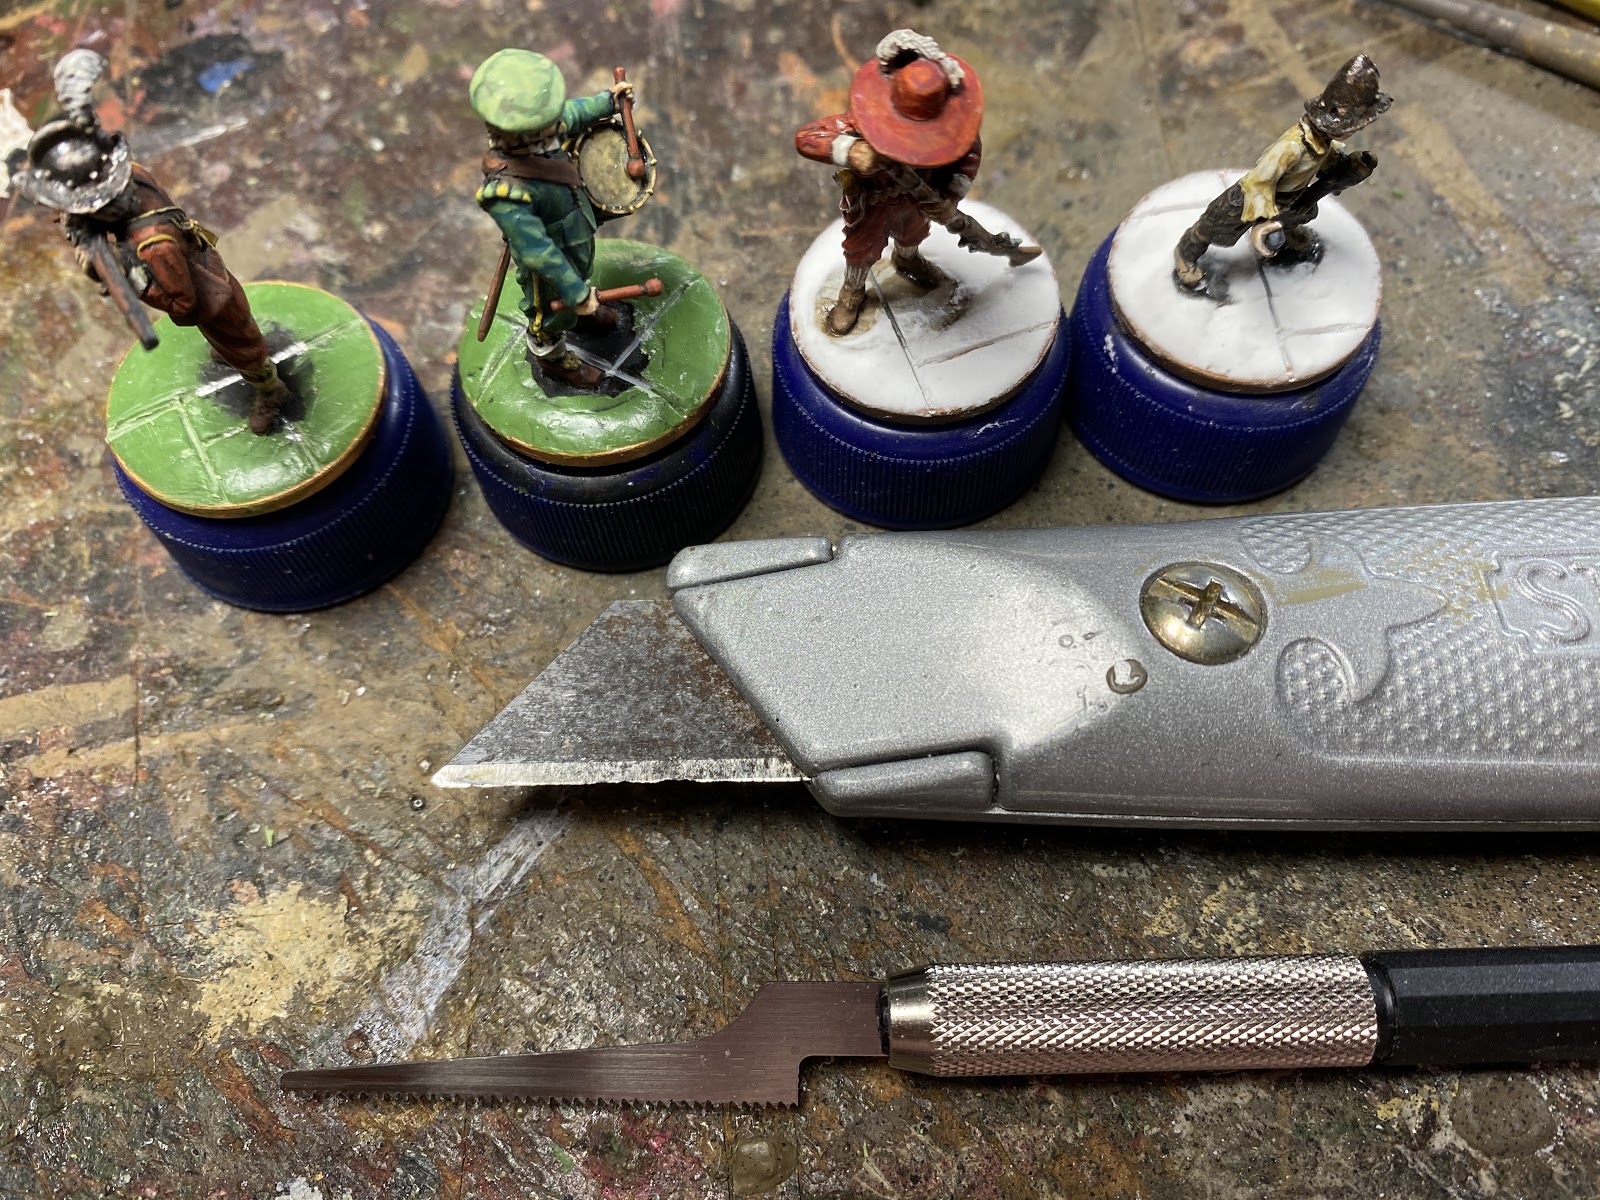 |
| Craft blade and model saw are ideal tools to carve pavement slabs in to the filled bases. |
Next step was to paint the textured bases. I used Humbrol Dark Earth (Matt 29) as a base coat, with a wash of GW Agrax Earth Shade over that. When the wash was dry I then dry brushed with the Dark Earth again, and then a further dry brush of Vallejo Ochre Brown.
 |
| Ordinary filler / spackle on the righthand two figures. |
The photo above shows the finish on the two basing methods. I prefer the finish of the ordinary filler / spackle own the right. Its slightly rougher texture picks up the dry brushing better. Successful basing test complete :) .
More Militia
Elbert Willemsen
The next militiaman to be tackled is Elbert Willemsen. Elbert was from a long line of fishmongers and merchants, and continued the family tradition. Despite his modest position in the picture Elbert must have been successful in his chosen career as the city records suggest he amassed a small fortune by the time of his death in 1644.
No need for conversion this time as I have been able to use a Warlord figure from their Pike and Shotte range (in metal); in the Musketeer Marching pack. Elbert is shown with his musket shouldered and it looks like he’s holding his musket-rest as well, so this figures works out nicely.
Jan Pietersen Bronckhorst
Jan had worked his way up from humble beginnings, as a sheep-shearer, to being a wealthy merchant. He appears to be another shield-bearer in the militia. His role as shield-bearer was to guard the ensign, and he is shown with his sword drawn, carrying his shield.


The base for this conversion was an 1898 Miniatures armoured pikemen from their Thirty Years War range. He has had his right hand swapped for a hand from the spares box that is carrying a sword. I have found shields from The Assault Group that are the right size and shape, and one of these will be added to the figure after painting.
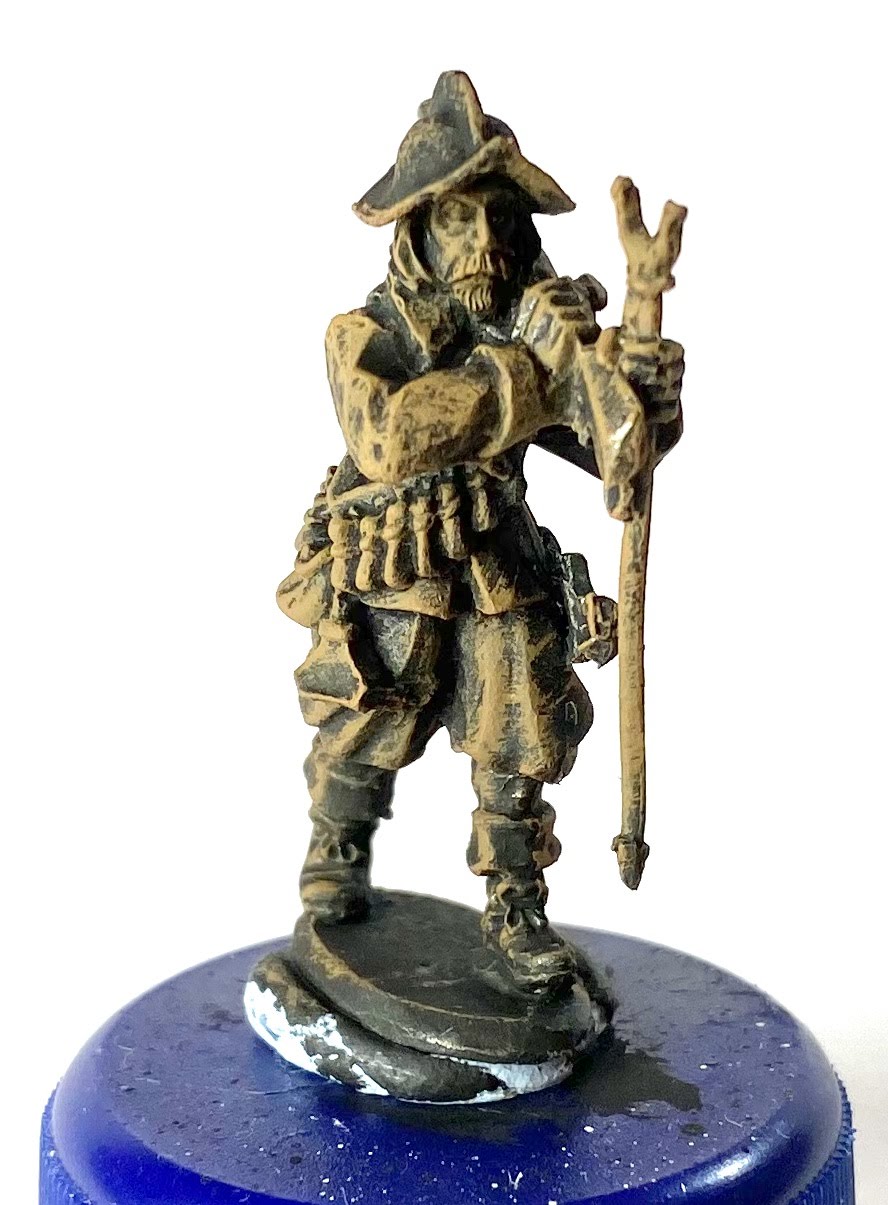
An Unknown Musketeer
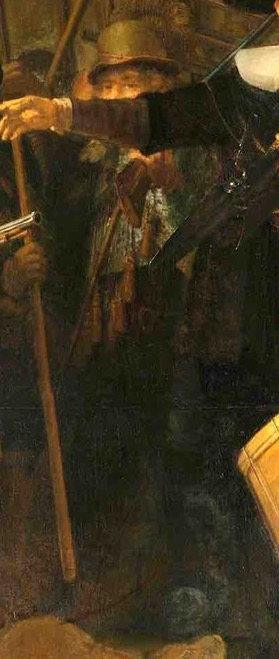
The final figure this time in an unknown musketeer. We can see his face, partly obscured, and he appears to have his musket shouldered.

A marching musketeer from the Warlord plastic Pike and Shotte set seems to work well here. I have modified the hat to match the figure in the picture, with a narrow-ish brim and a tall feather.
Next update on this project will hopefully have some more figures painted.
Until next time!
Andy @ FOGH


This is just brilliant. Taking a great, iconic painting - and turning it into a wargaming event - is such an inspiring idea. I really like the way you're taking the most suitable figures across many ranges and converting them a little more, to match Rembrandt's figures in the painting. The basing using the filler-spackle looks great - and well done for etching in the pavement lines, which I find quite tricky.
ReplyDeleteReally a lovely, terrific centrepiece. But, wait.... a centrepiece to what - a new Dutch army, perhaps? ;)
Thanks, Sir Sidney, much appreciated! A Dutch army would make sense, then I’ve have something to do with the Spanish figures I’ve been buying, and Breda has some interesting sieges :-D.
DeleteIt's great to see you are back posting about this project- I always look forward to the next installment.
ReplyDeleteThanks, Codsticker! Progress on all hobby fronts has been slow over the summer. Hoping to have some more time now.
DeleteWell I'm glad this project is still live! More super work,looking forward to it continuing!
ReplyDeleteBest Iain
Thanks, Iain! Hopefully will be easier to progress now that I have basing sorted.
DeleteSome splendid figures for a splendid project!
ReplyDeleteThanks, Phil, much appreciated!
DeleteAmazing and inspirational artistry - I've always wanted to replicate (best possible) of a famous painting with figures.
ReplyDeleteThanks, Dean! Yes, there are a few out there that it would be fun to do :-)
Delete